Using Your Camera

Using My Naturewatch Camera is straightforward:
Power up the camera by plugging the power cable from the camera to a charged USB battery / powerbank.
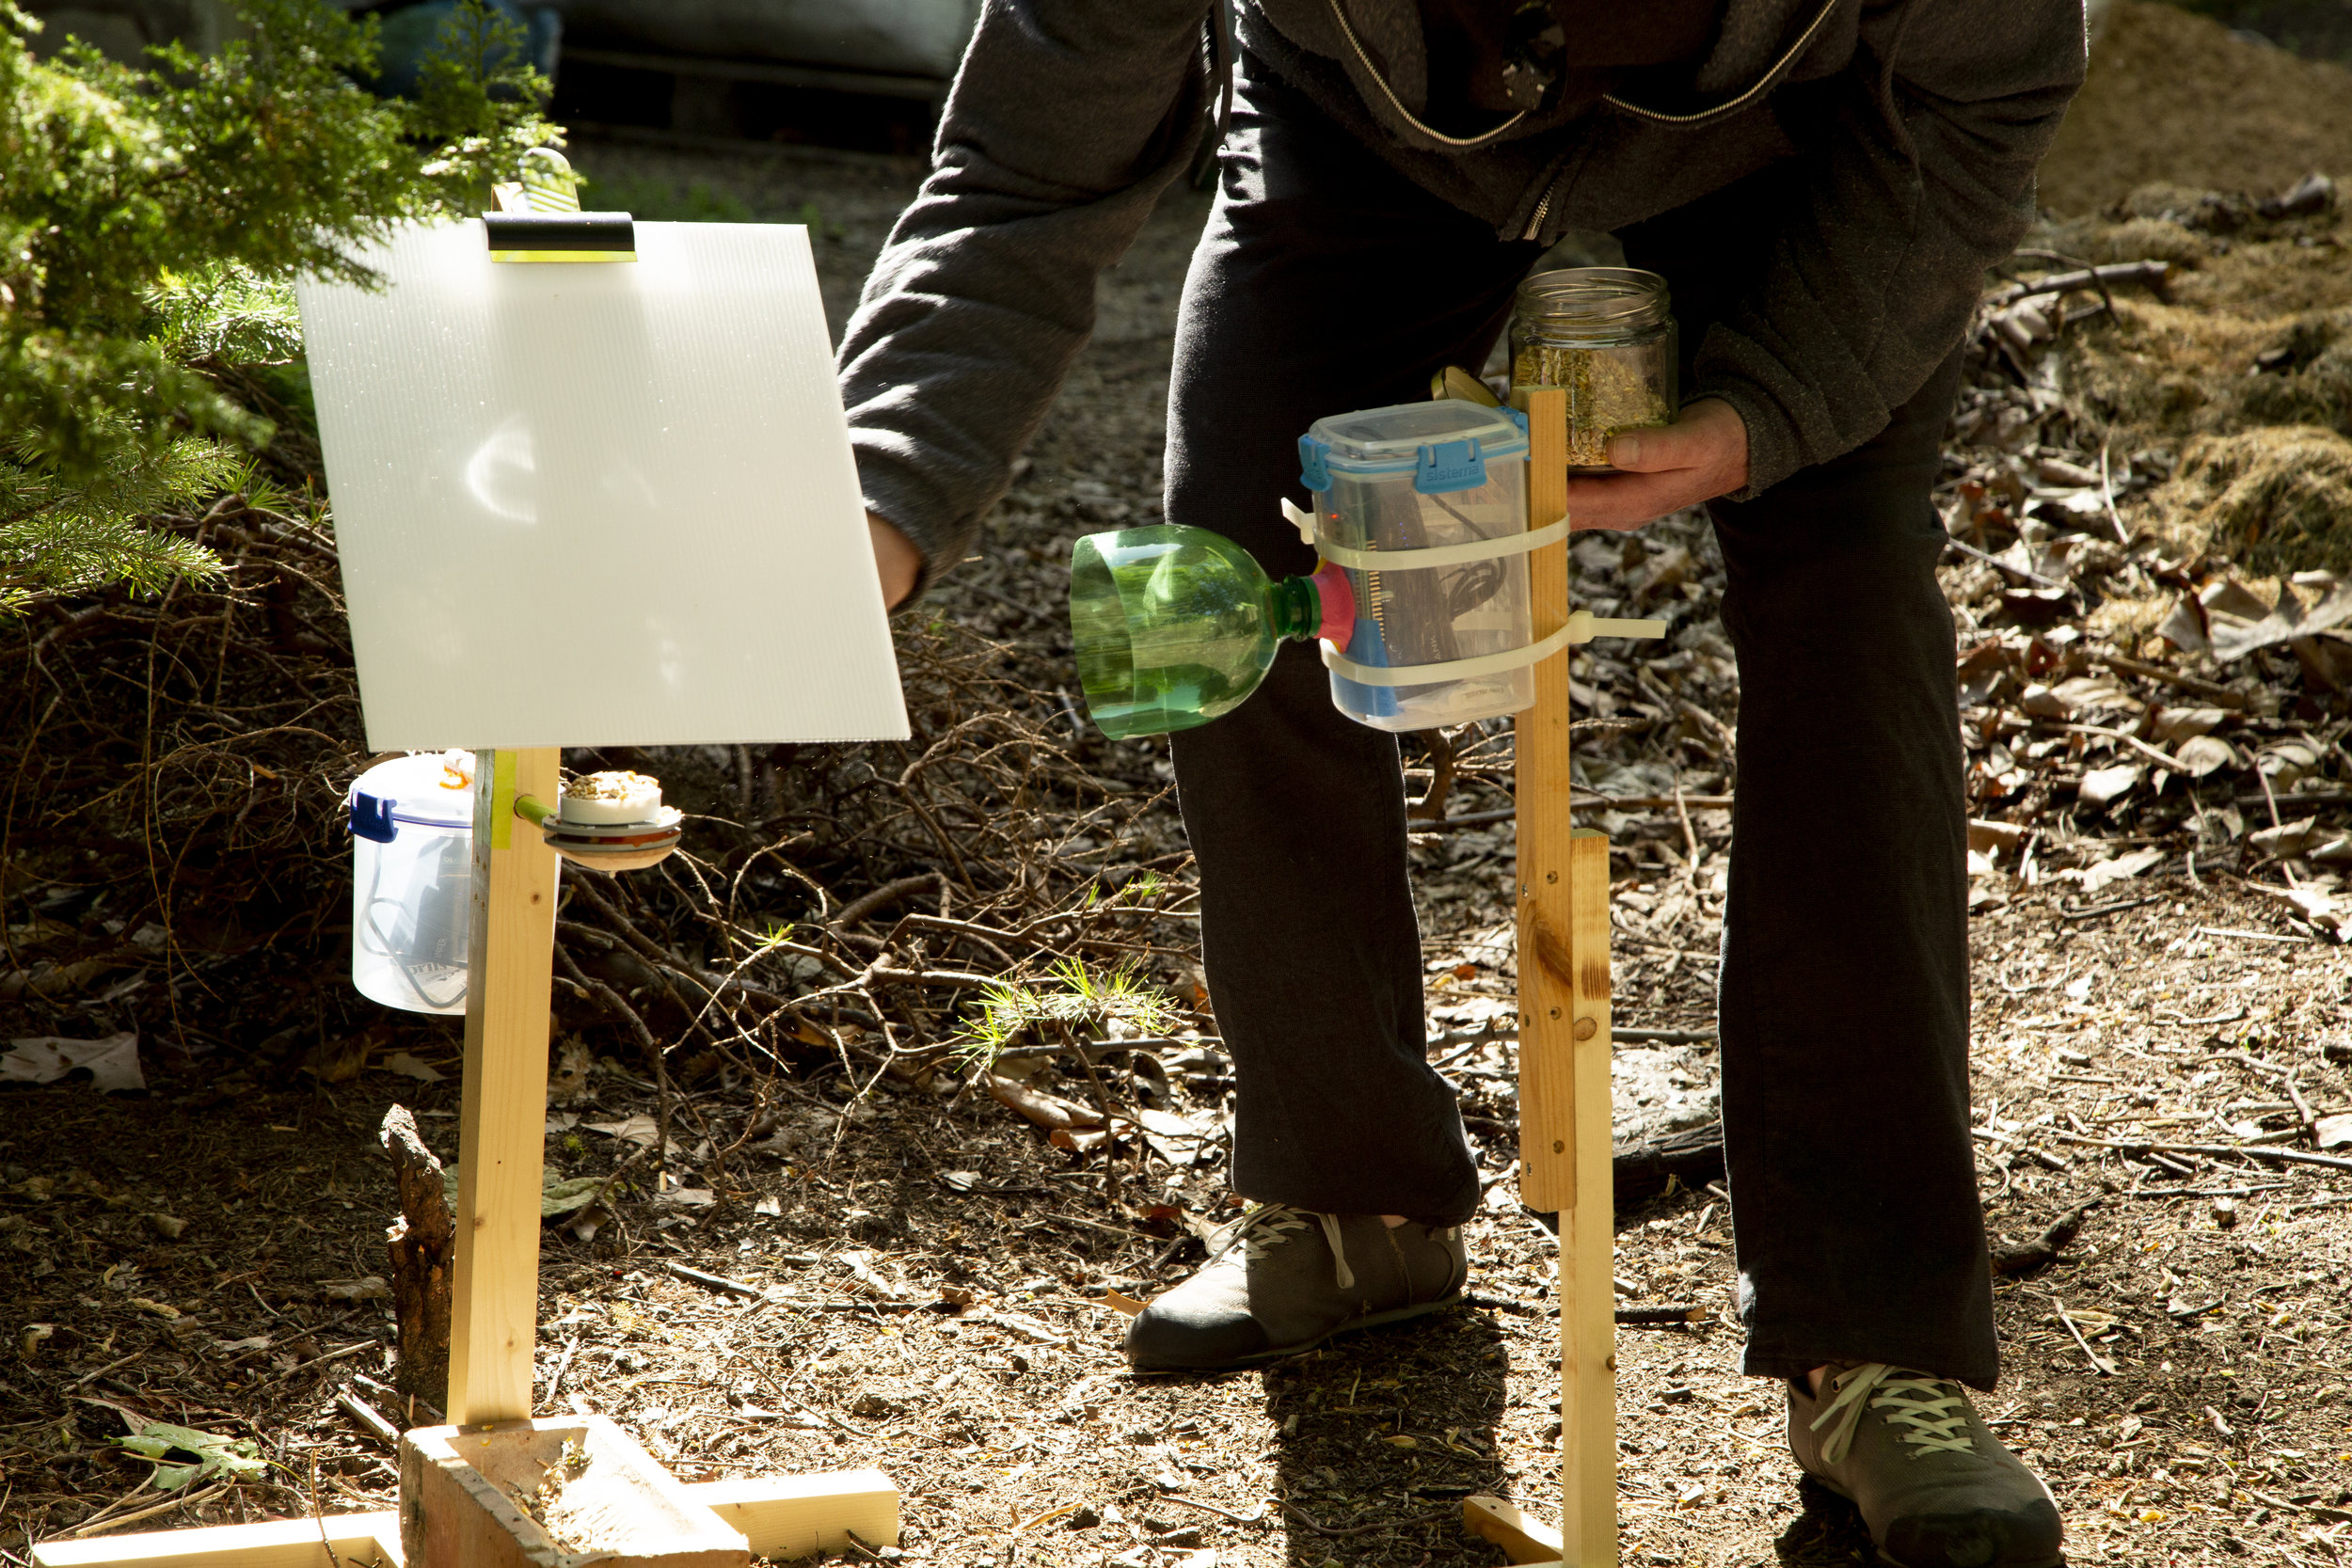
Enclose the camera in the case you've made.
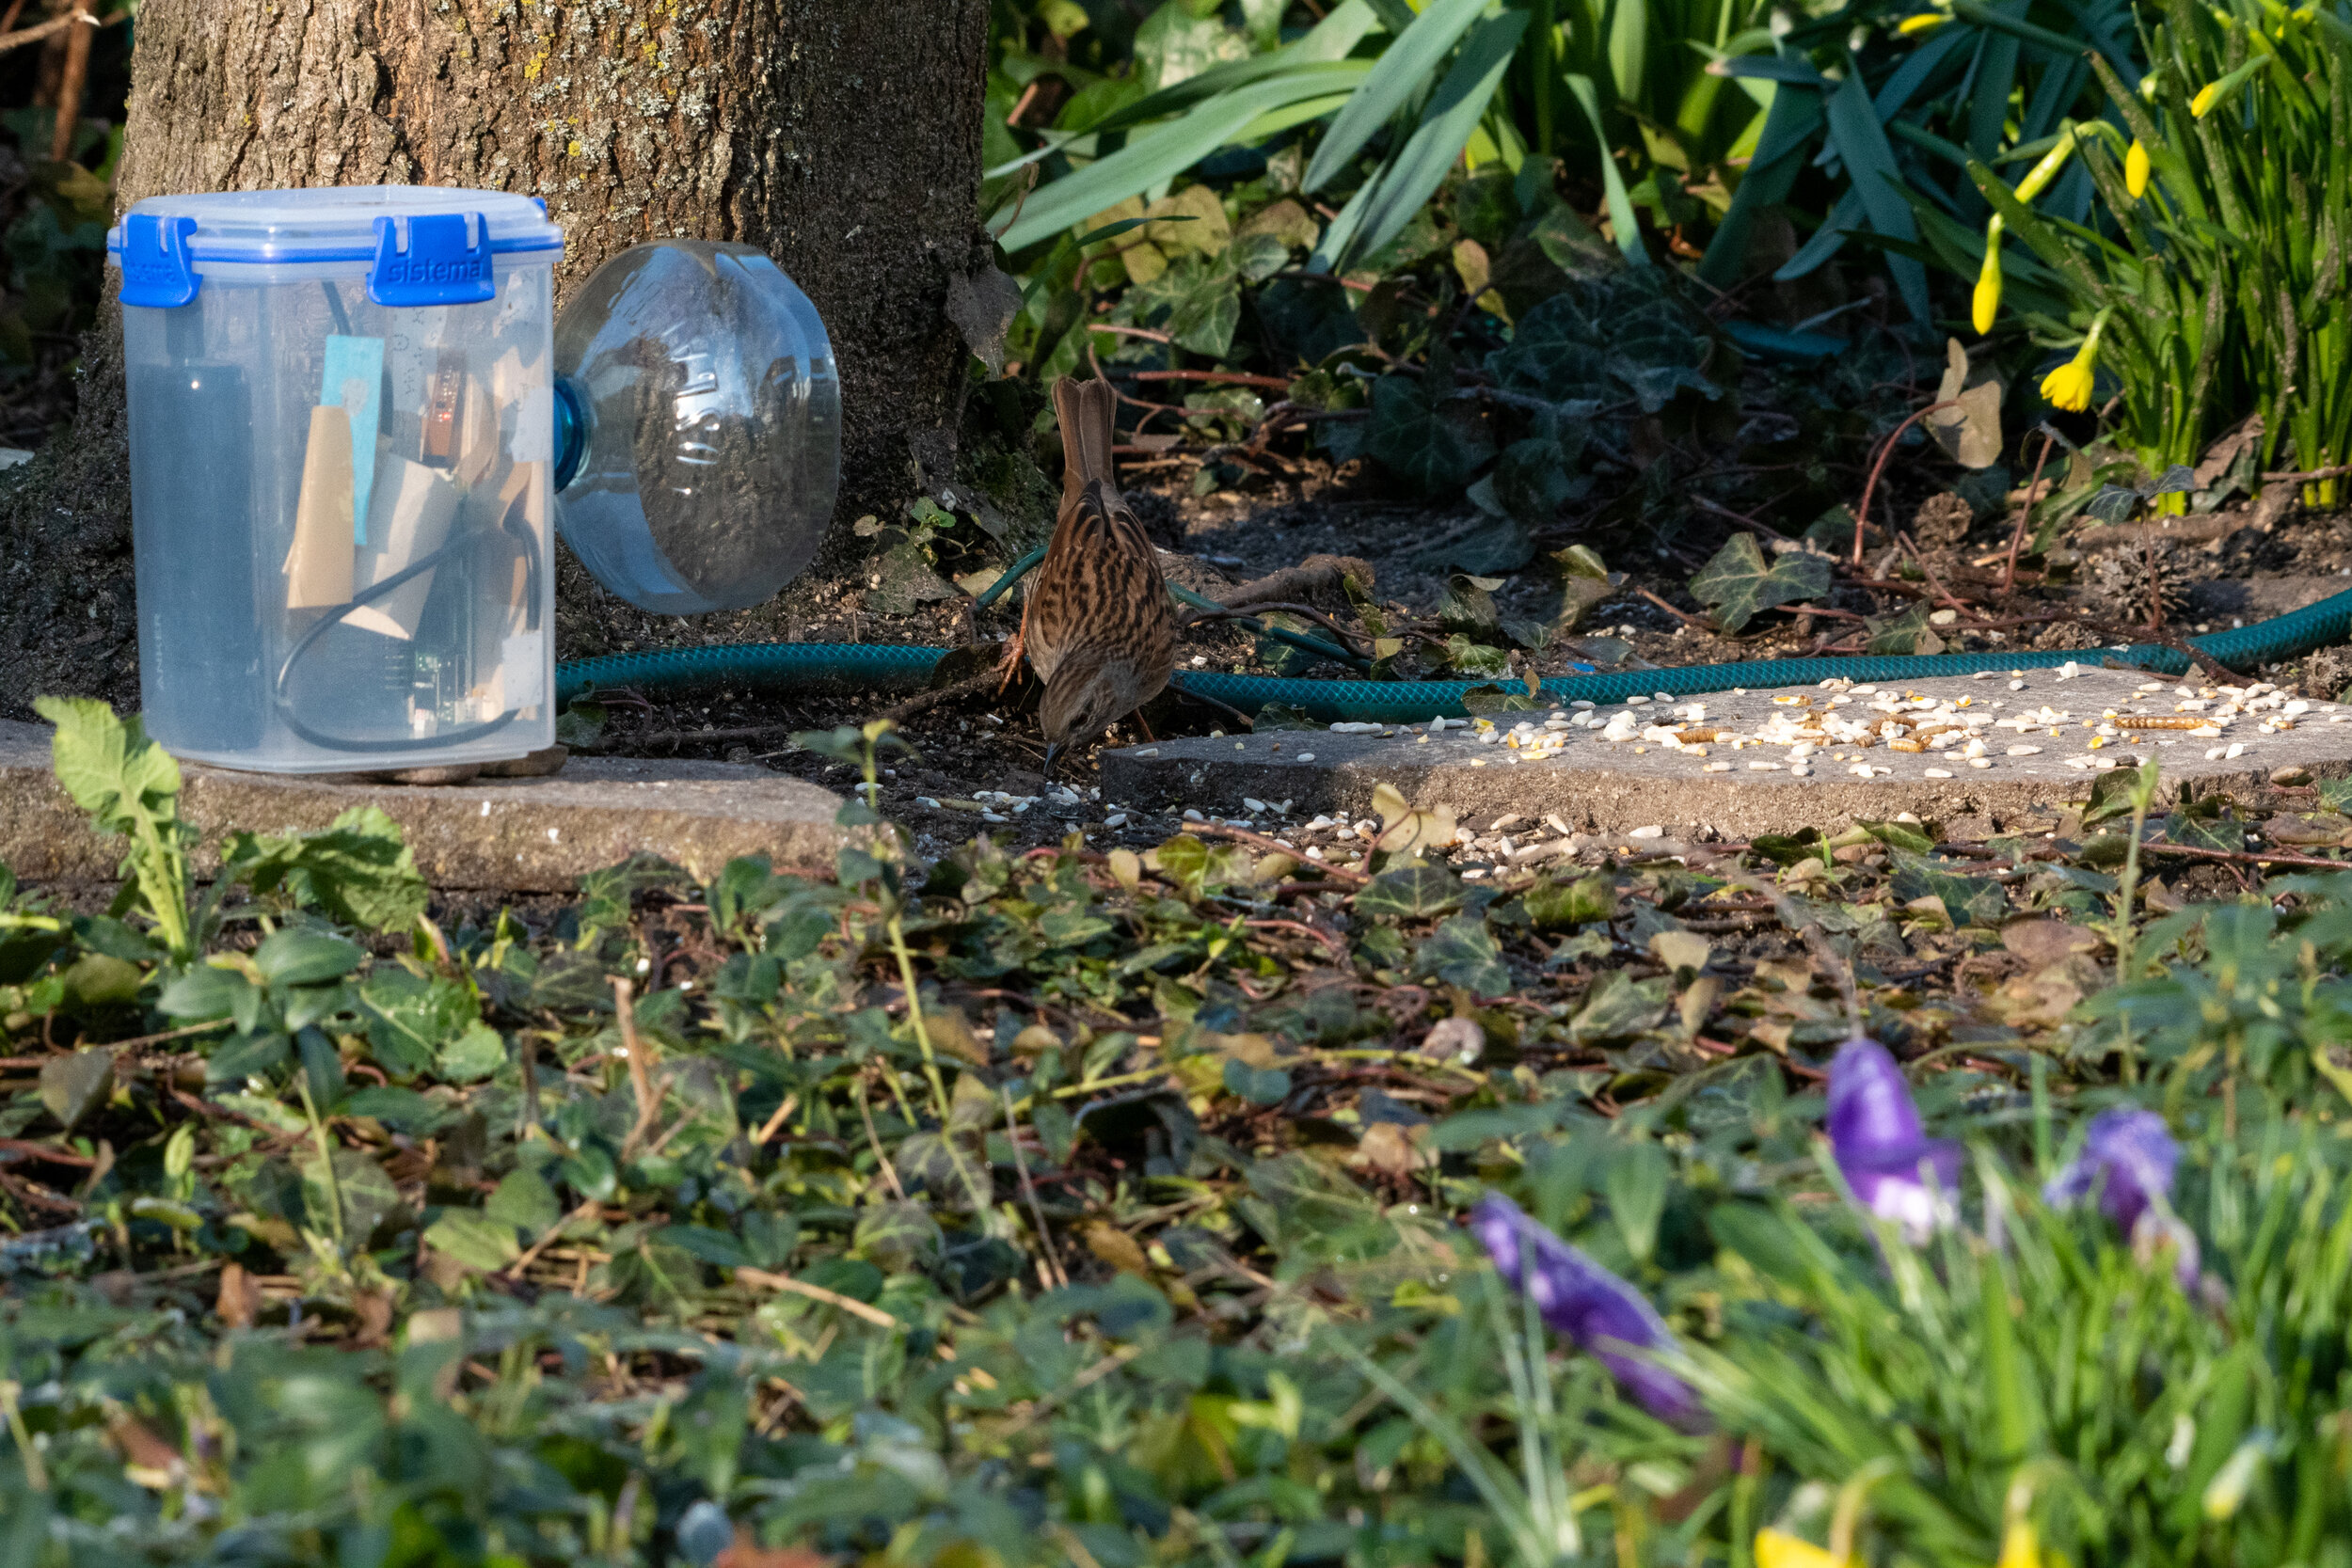
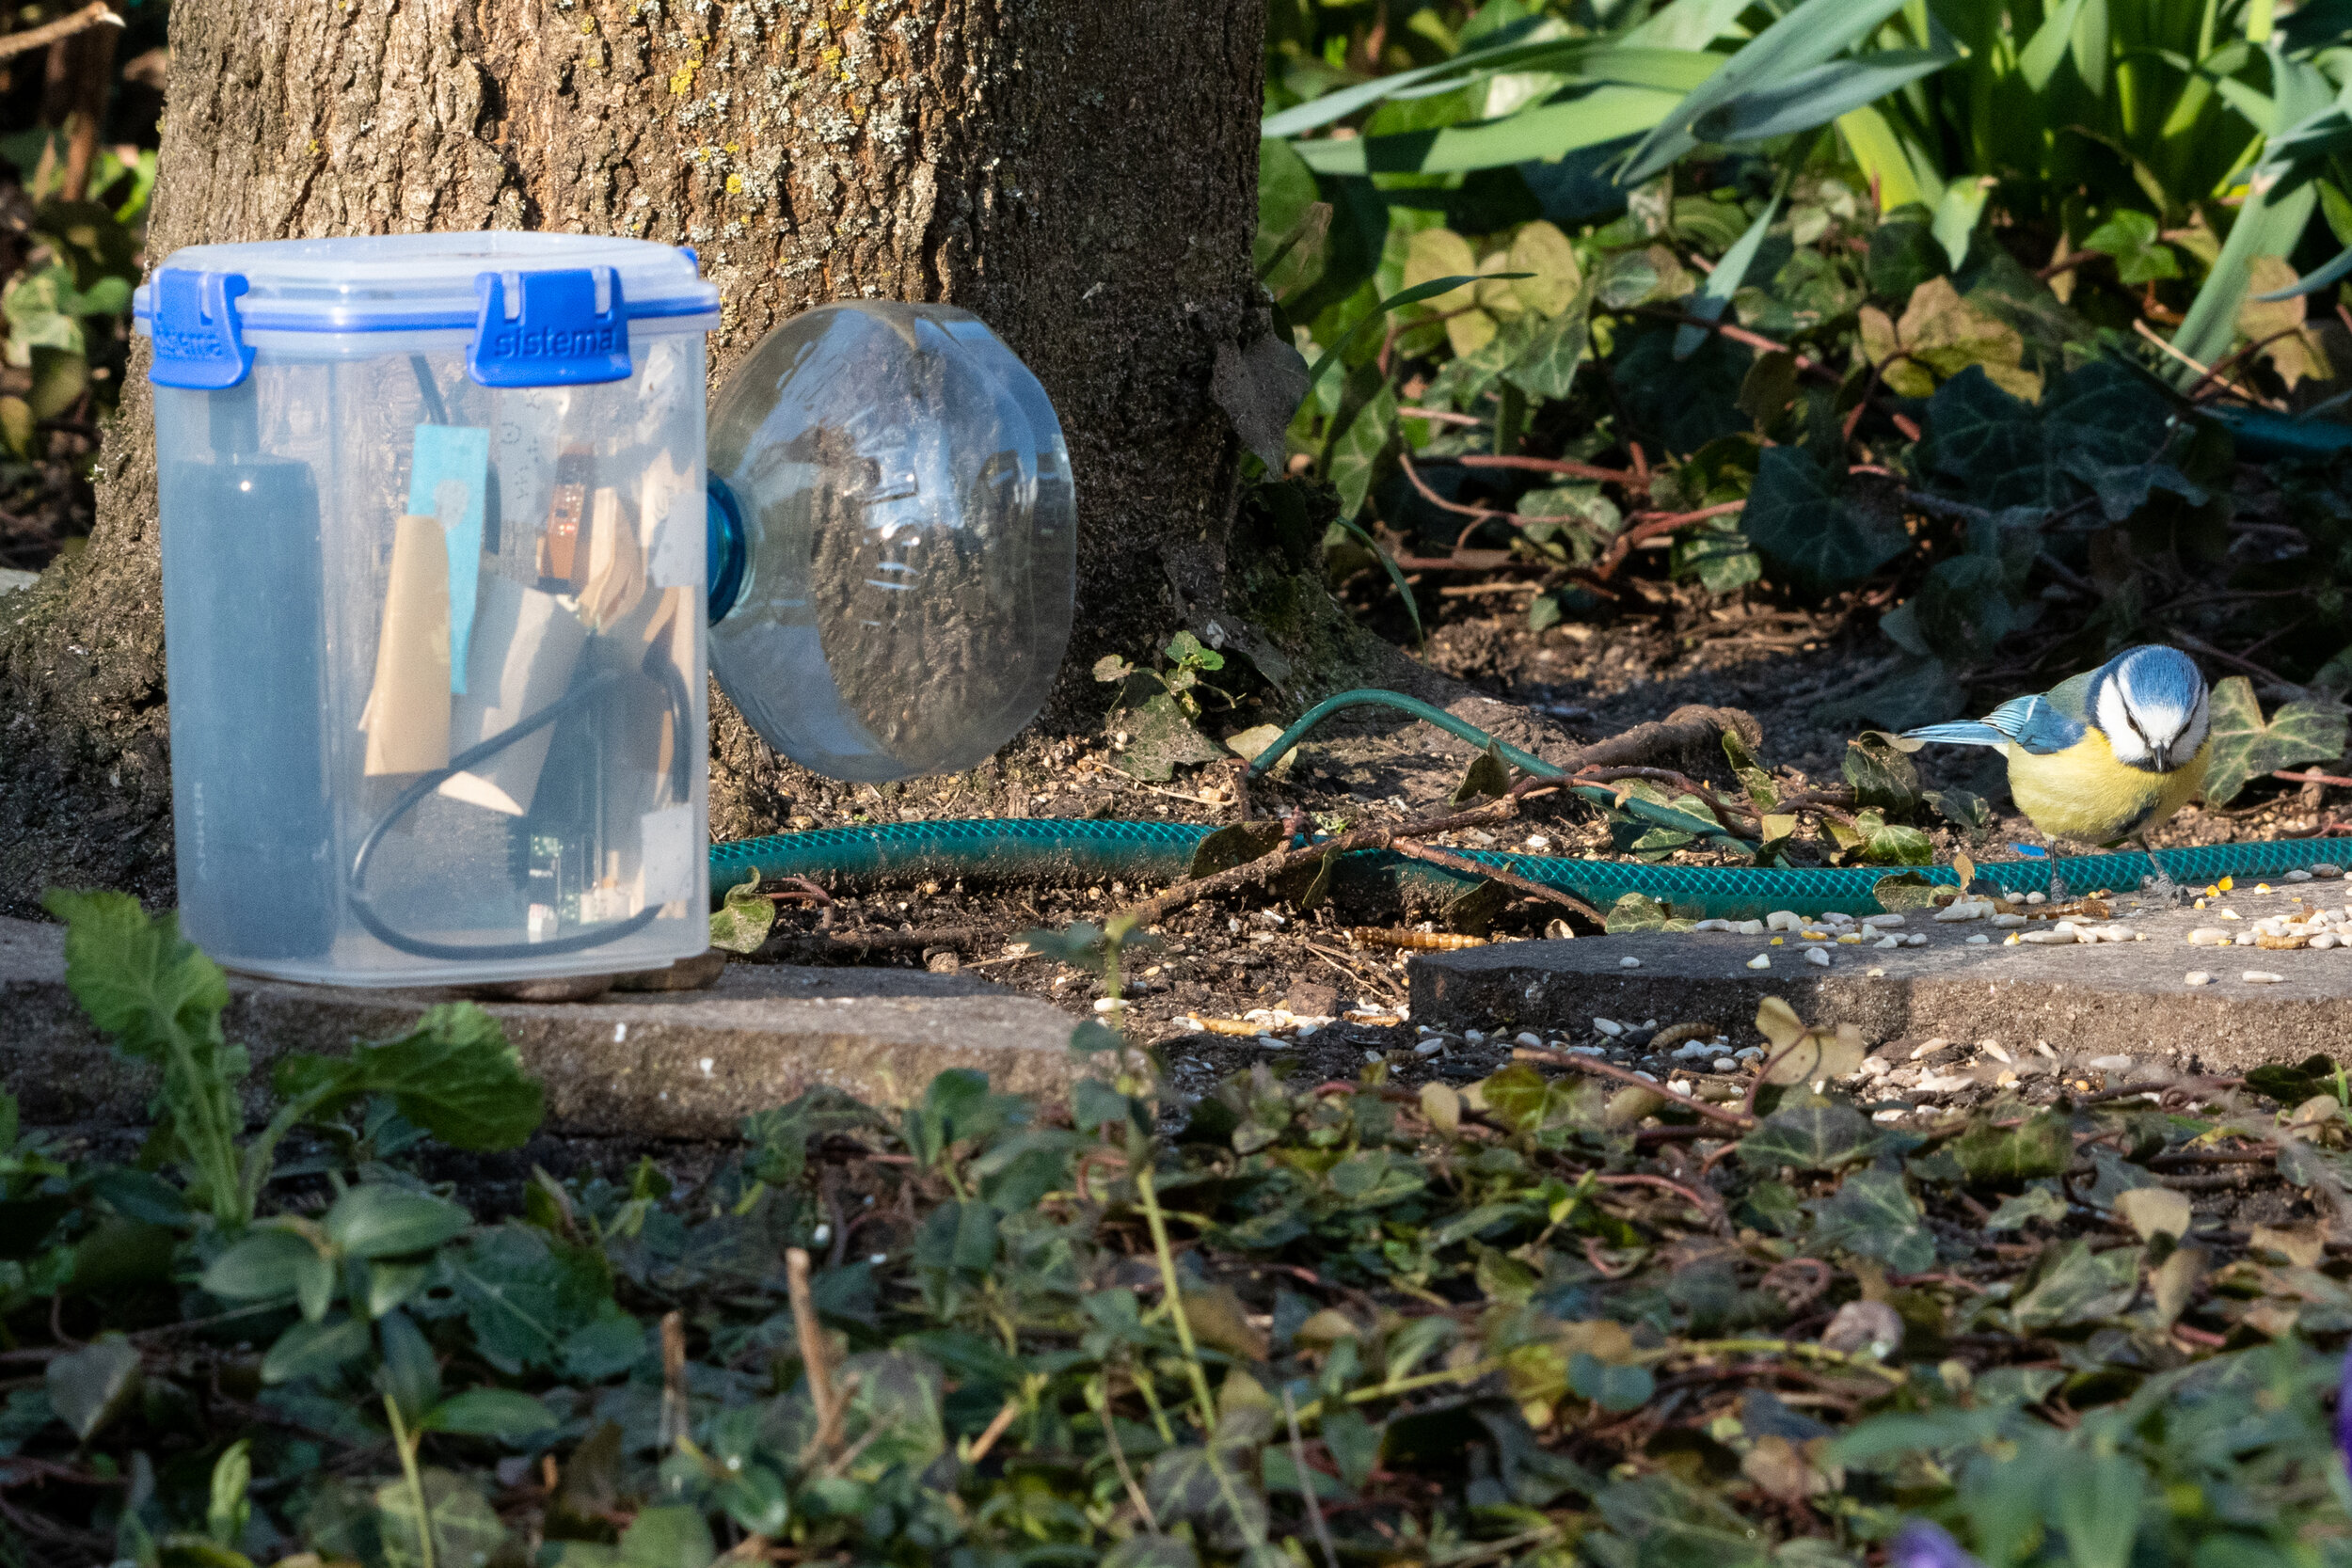
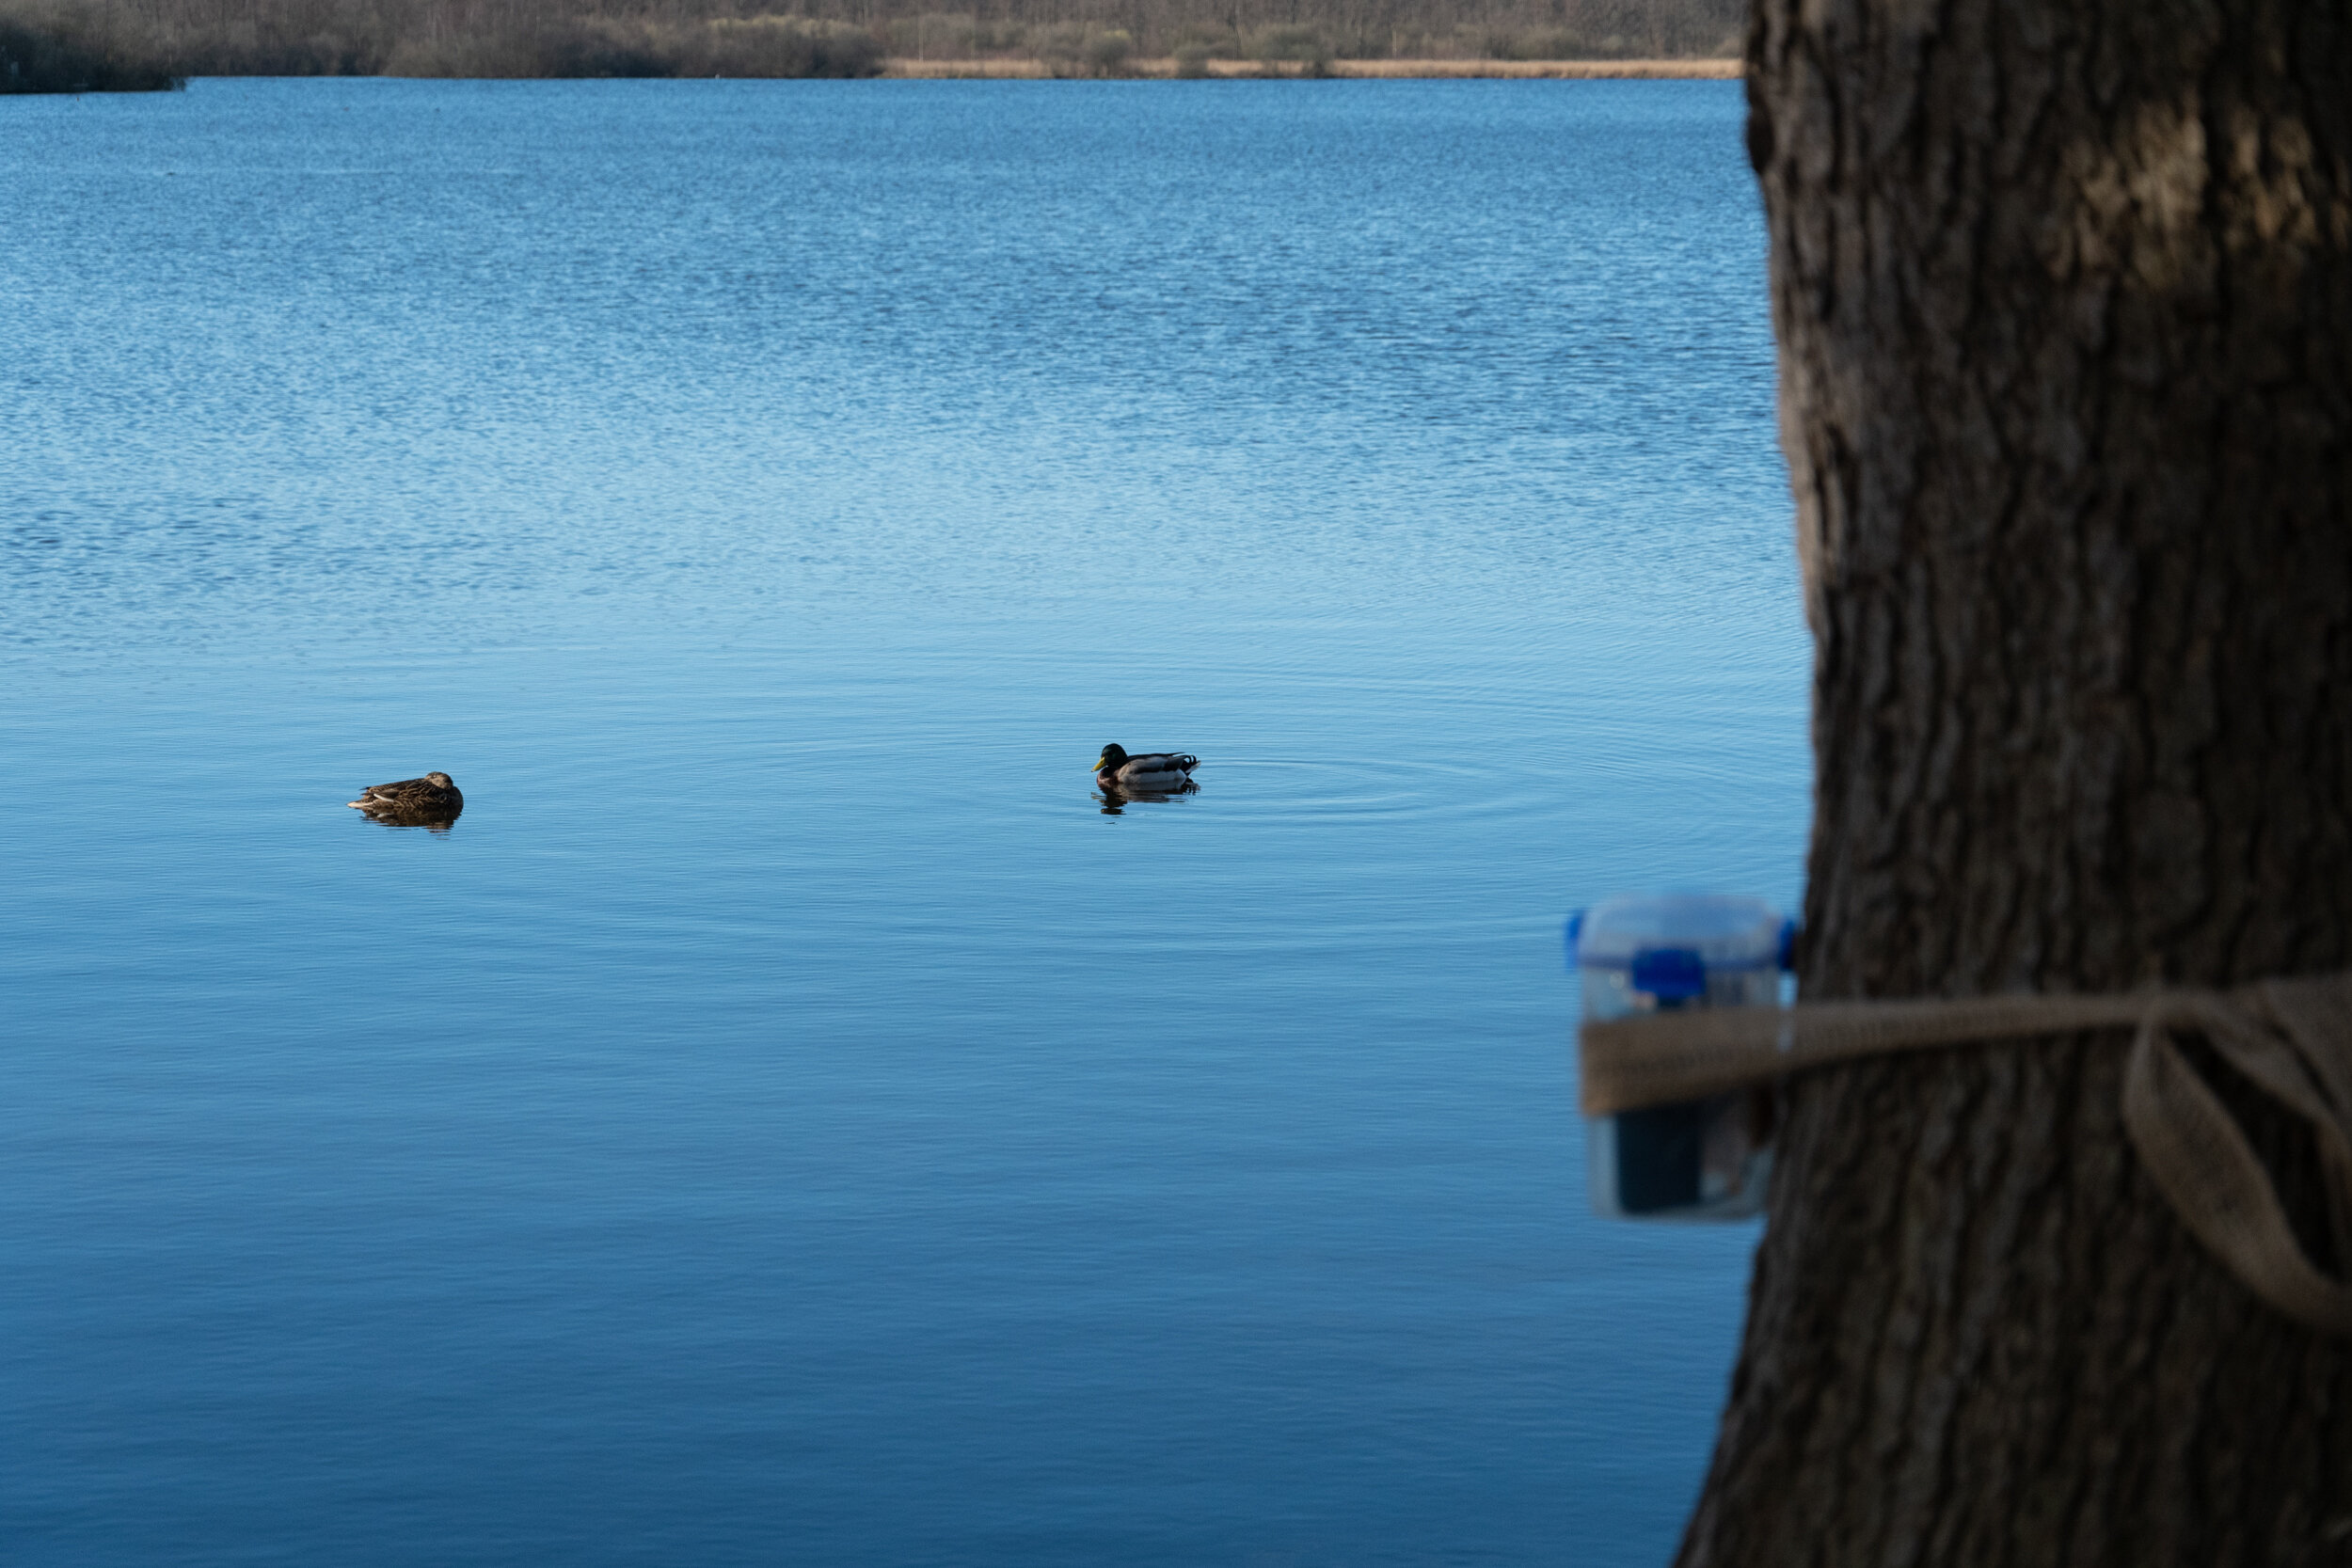
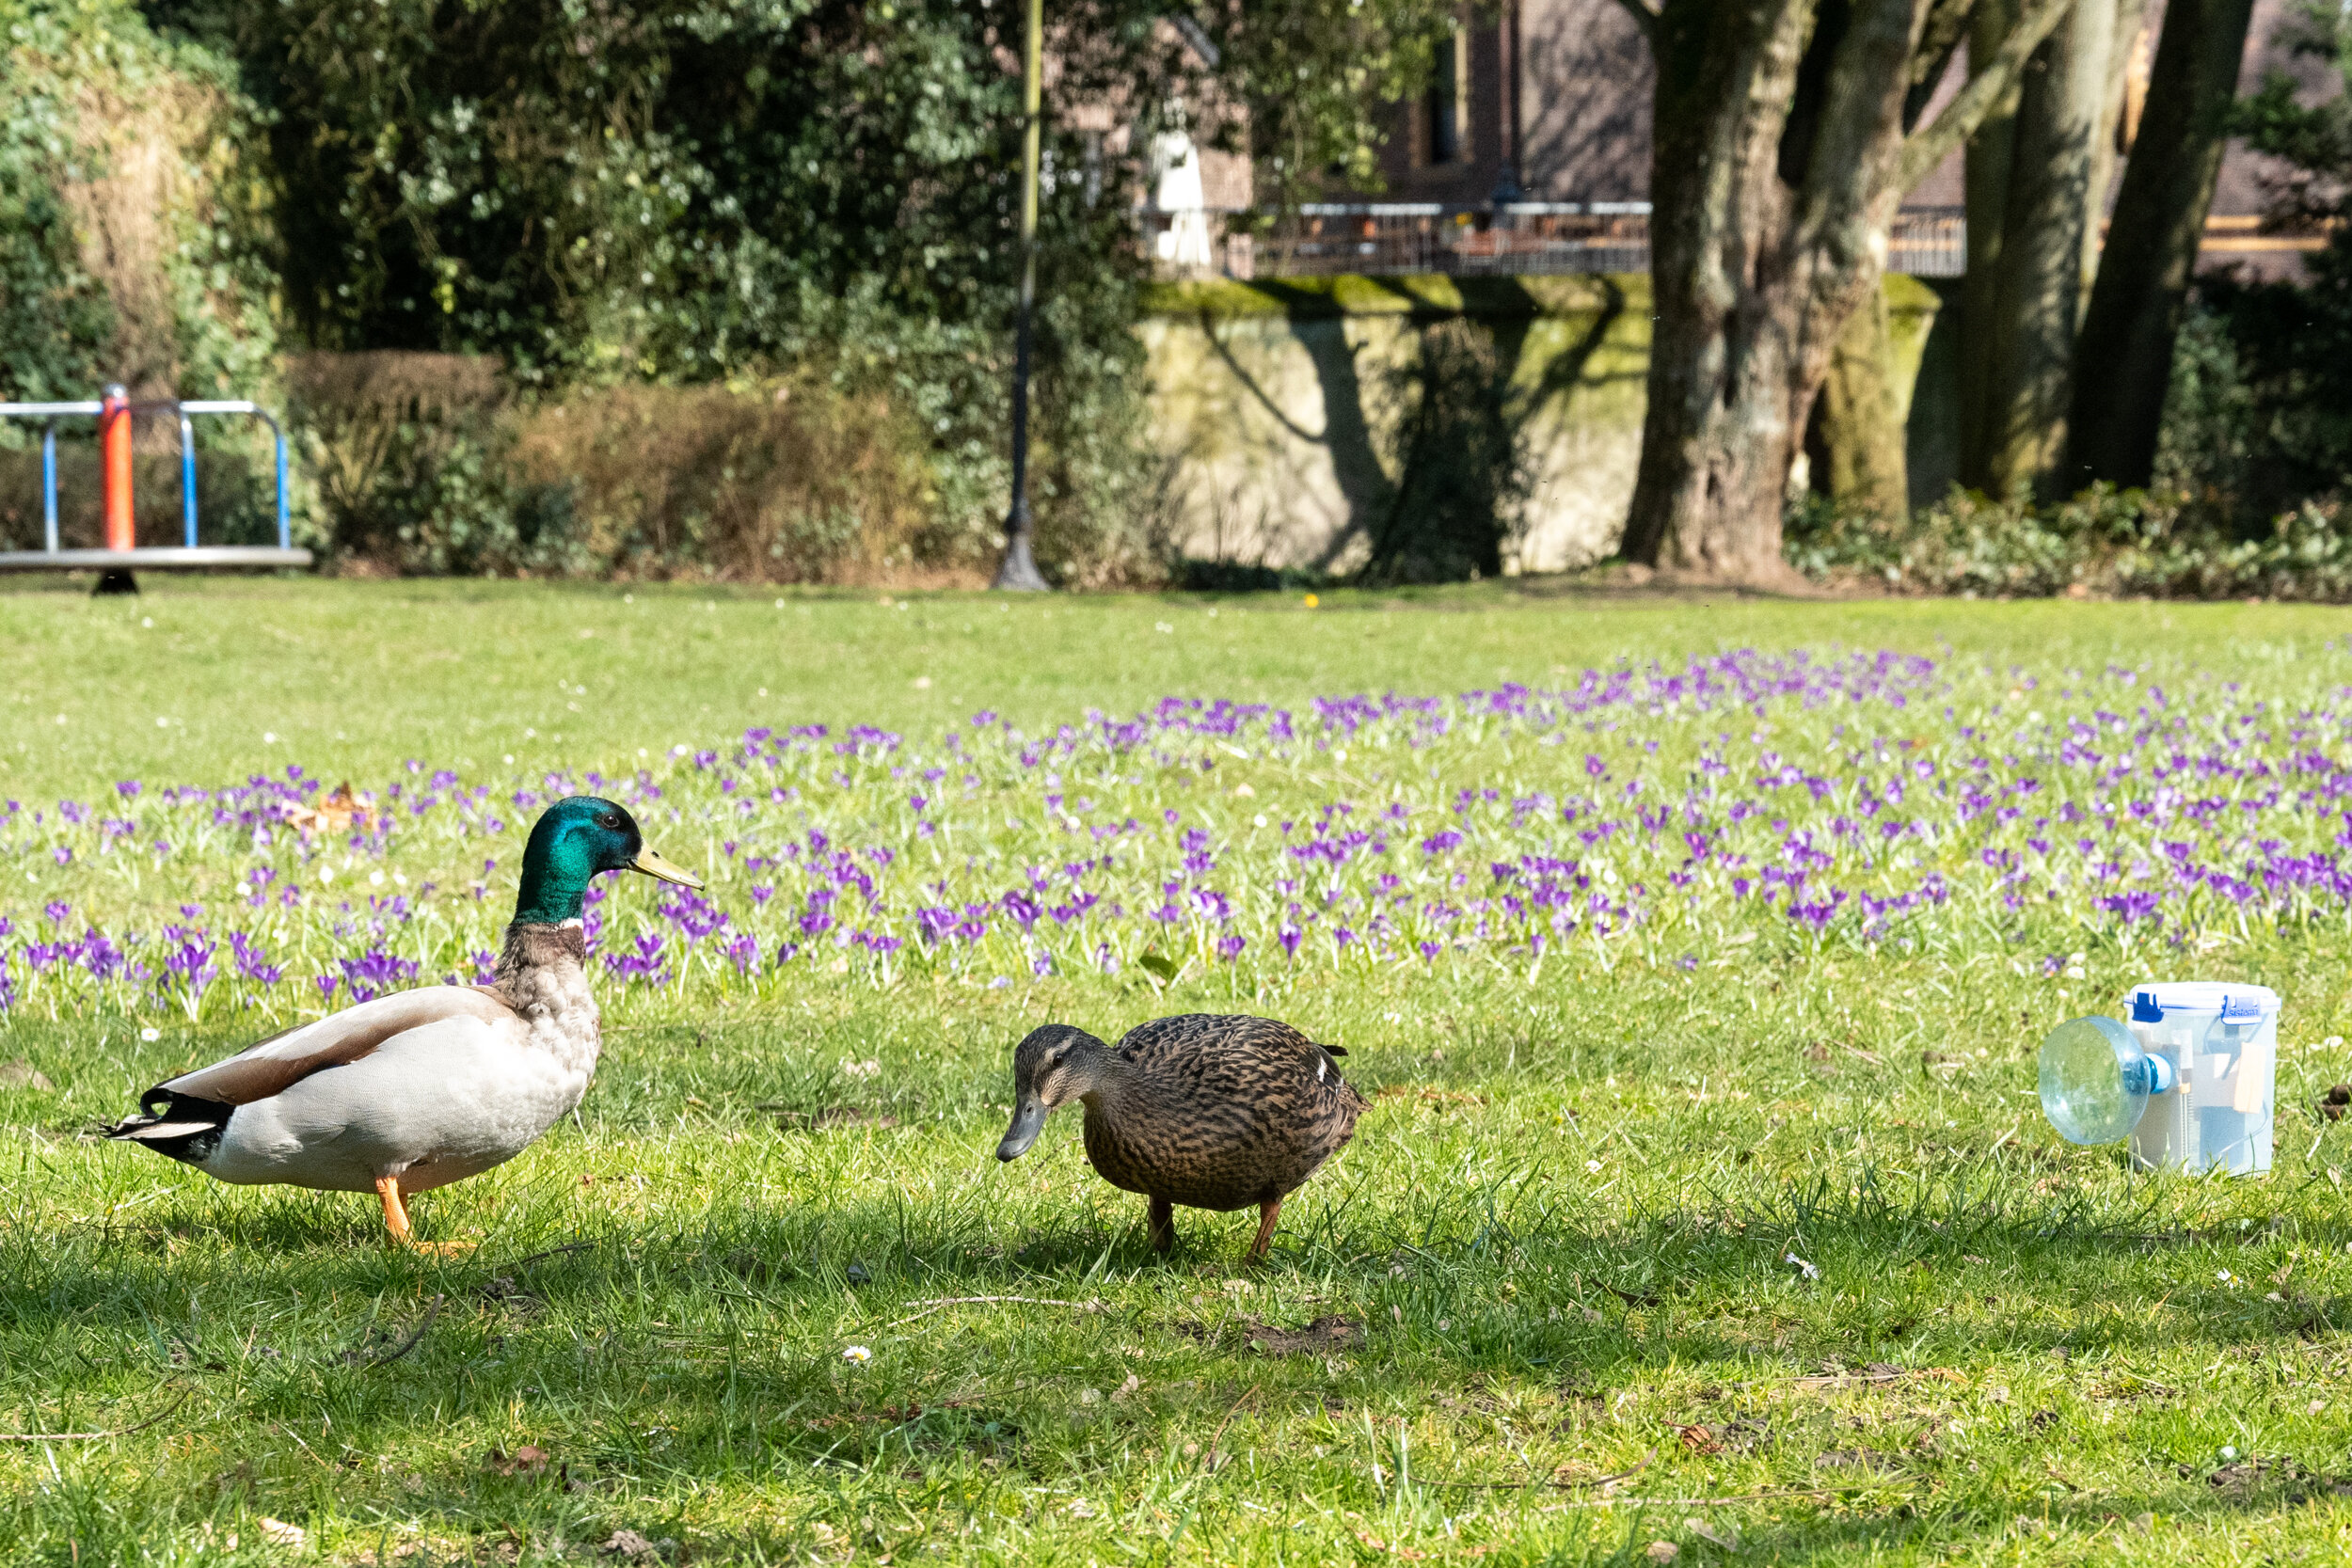
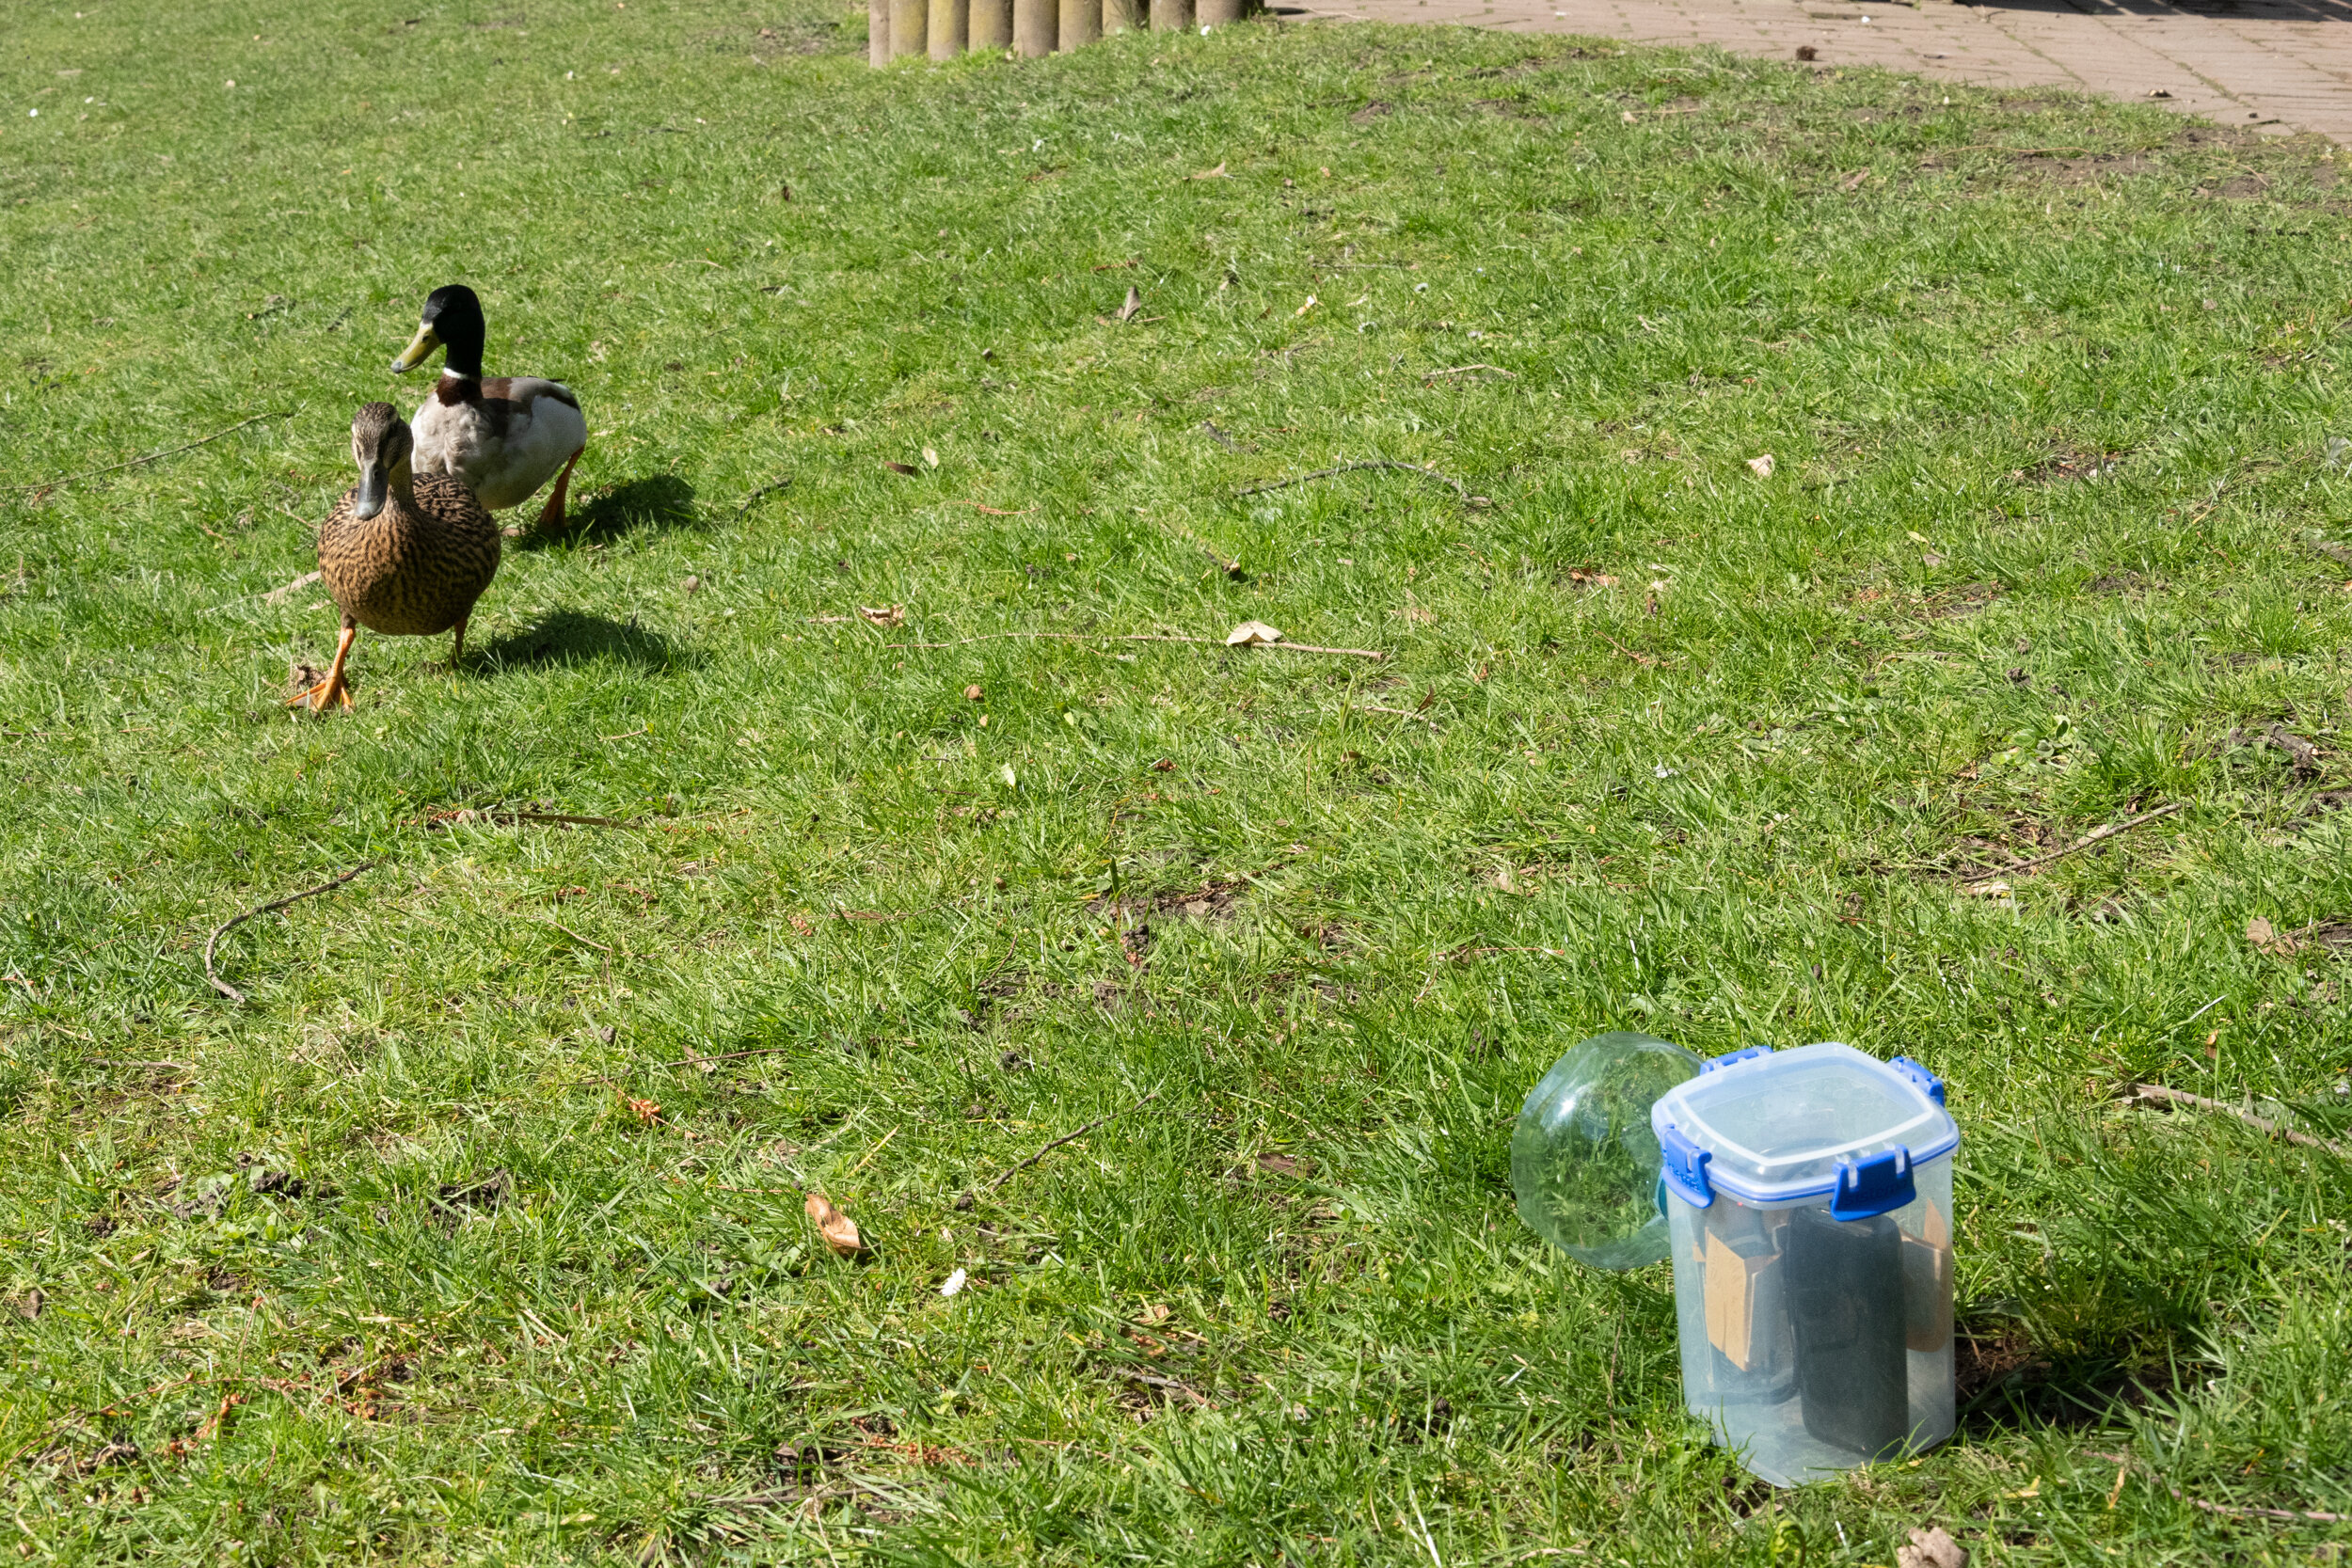
Position the camera in a good place to spot wildlife, trying to avoid busy backgrounds.
Scatter bait about 0.5 - 1 meter from the camera for optimal focus.
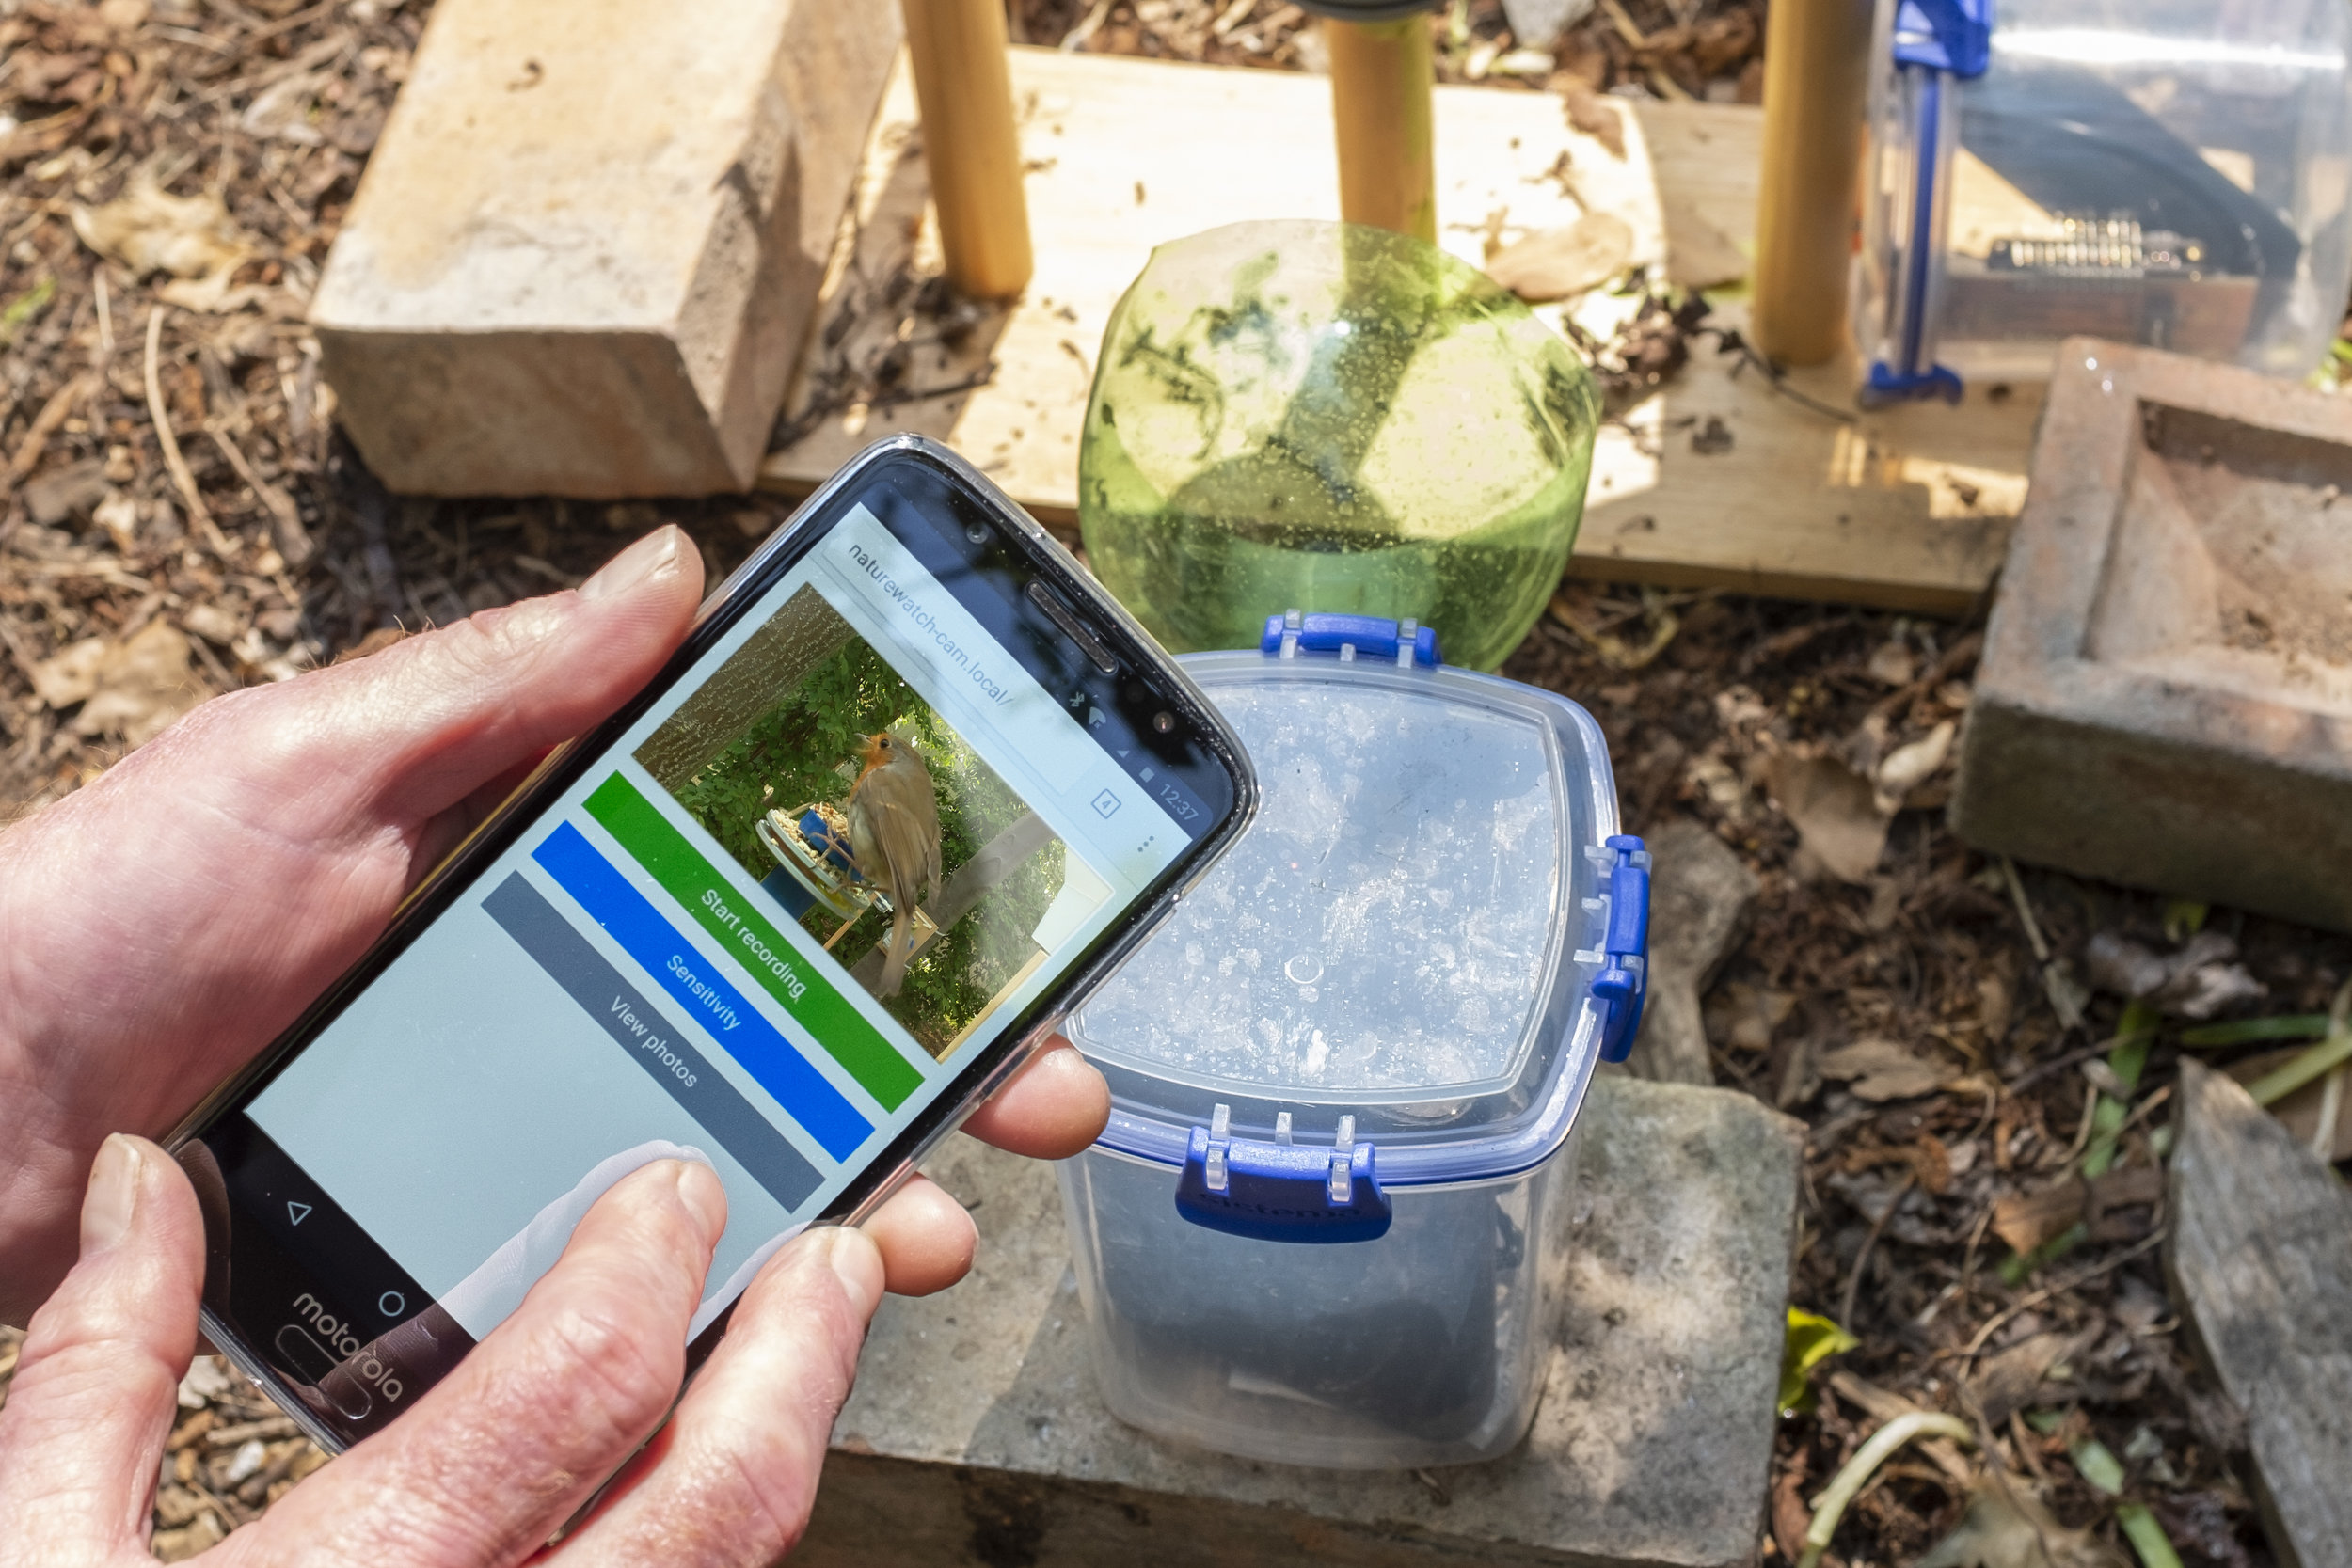
Use the web interface to control the camera and see pictures.
If you are experiencing problems using your camera you can visit our Troubleshooting page where you will find information on how to fix common problems.
Using the Web Interface
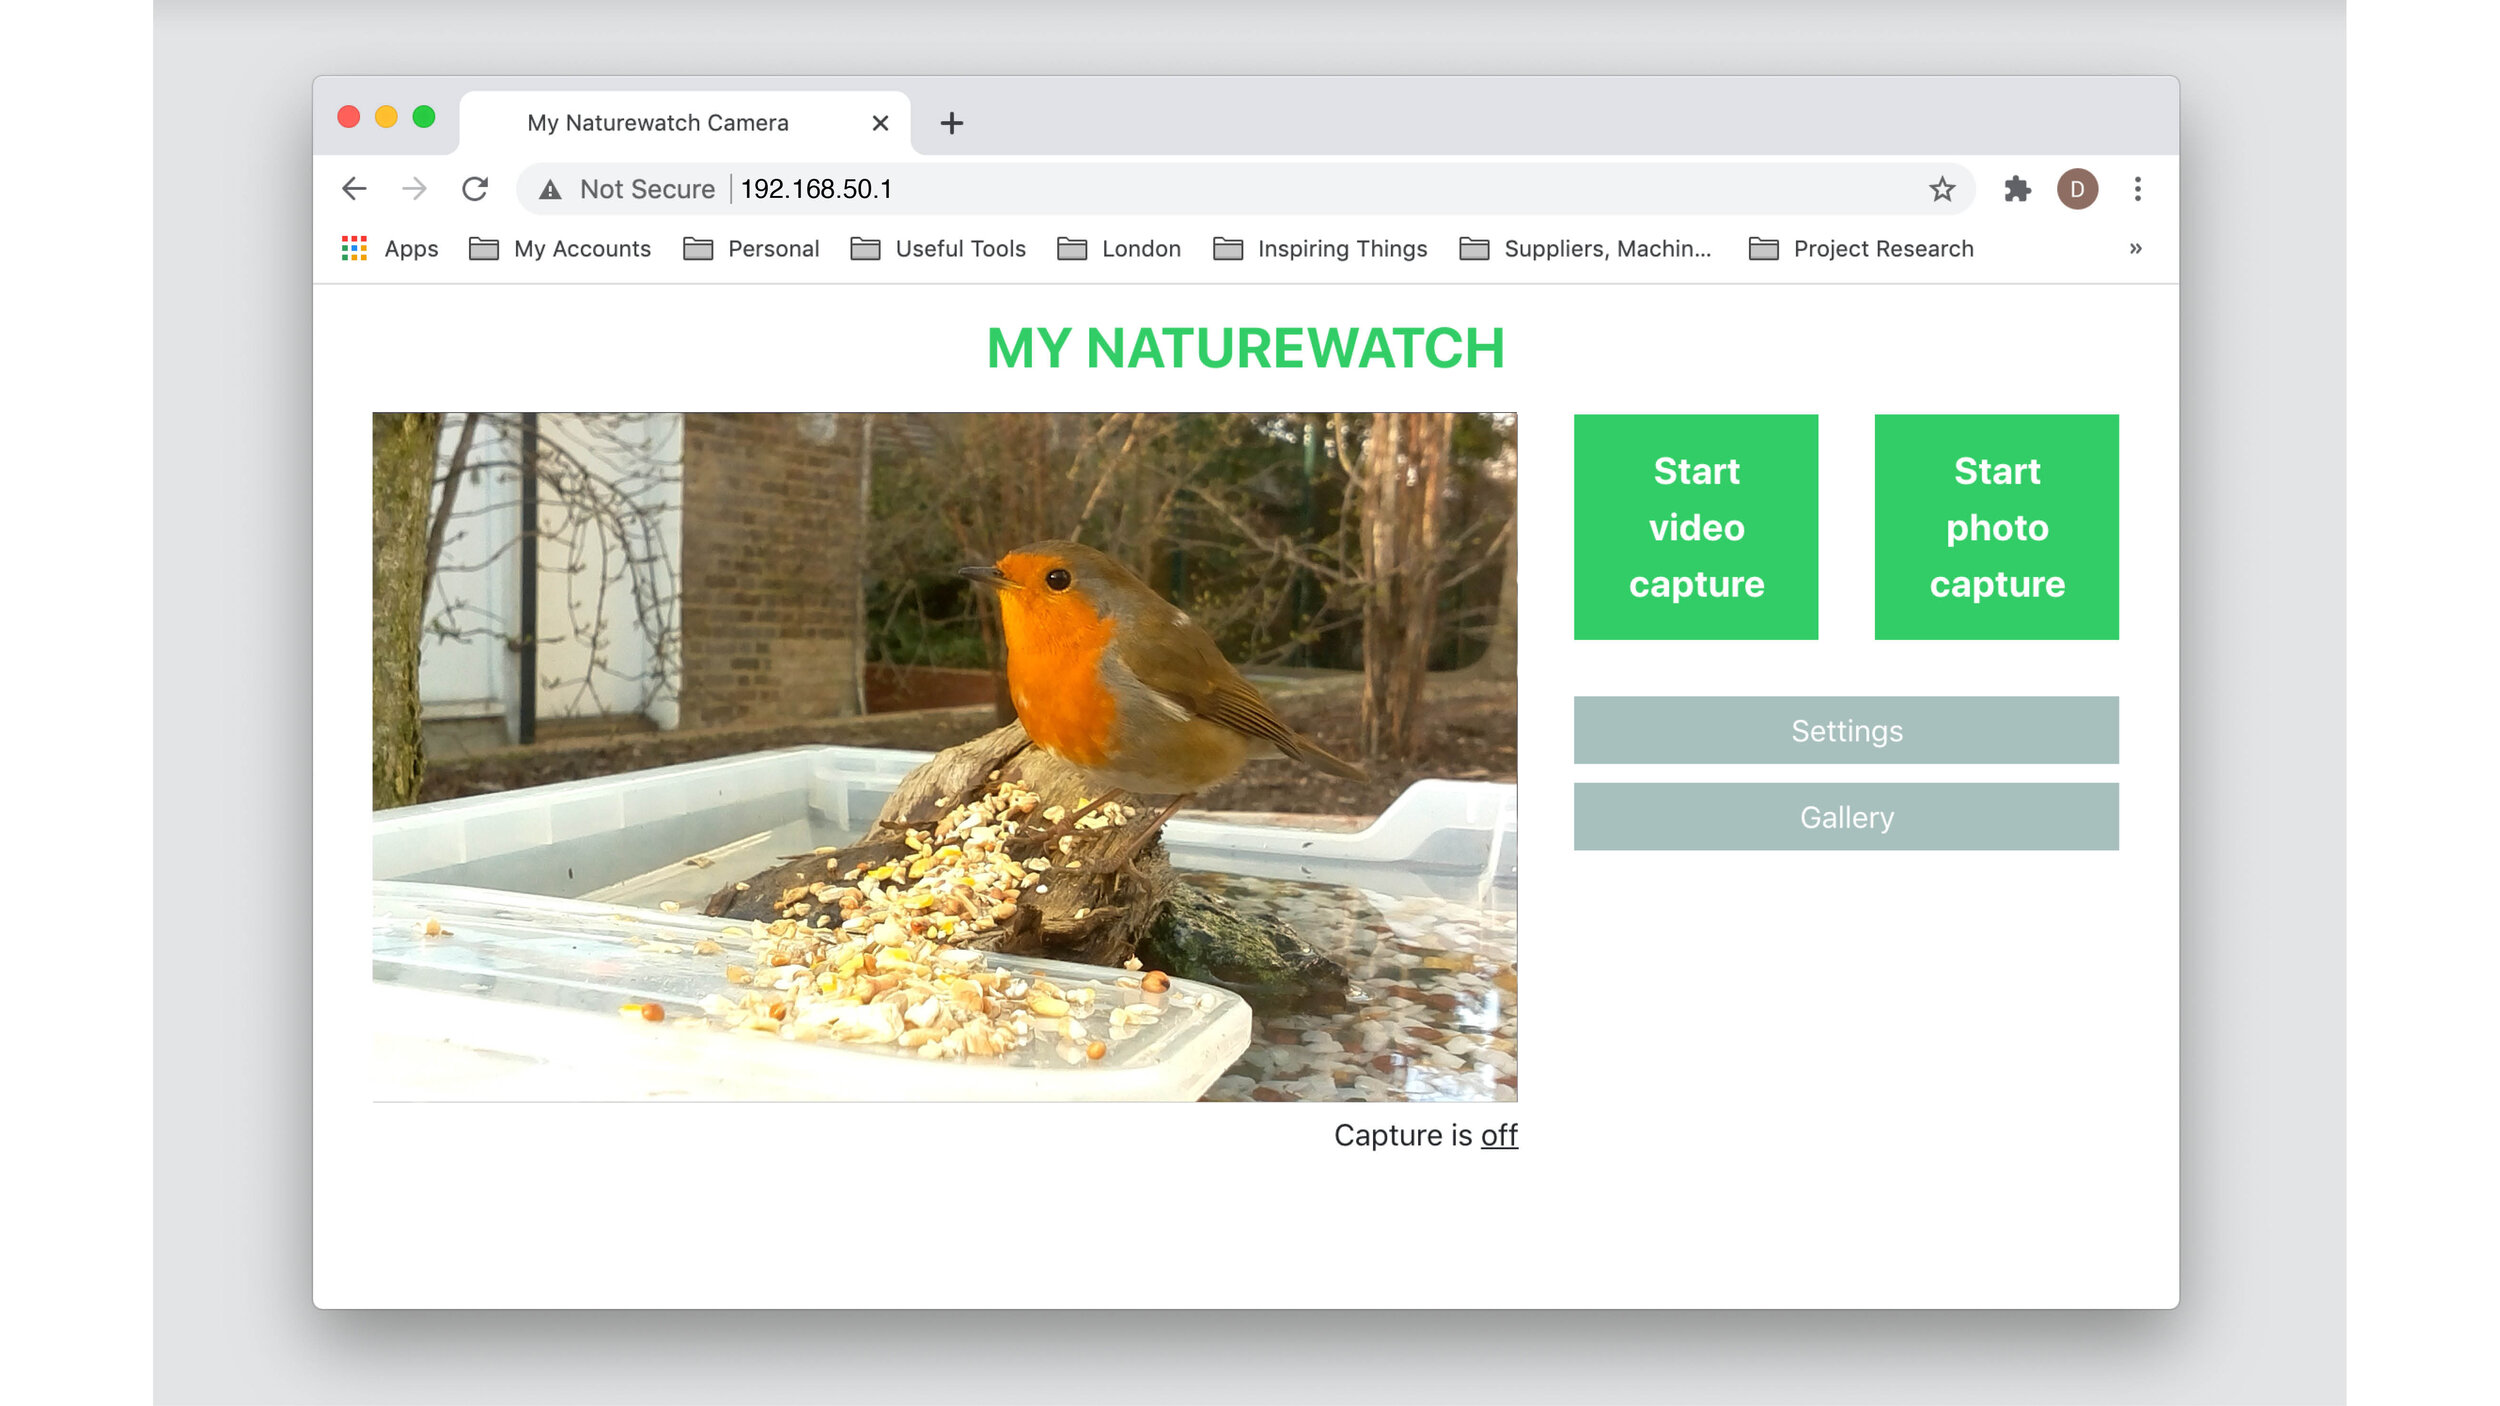
You can connect to My Naturewatch Camera using your computer, tablet or smartphone. The example here shows a smartphone and a desktop computer; other interfaces look identical except for one feature we explain below.
Connect to the camera wi-fi network
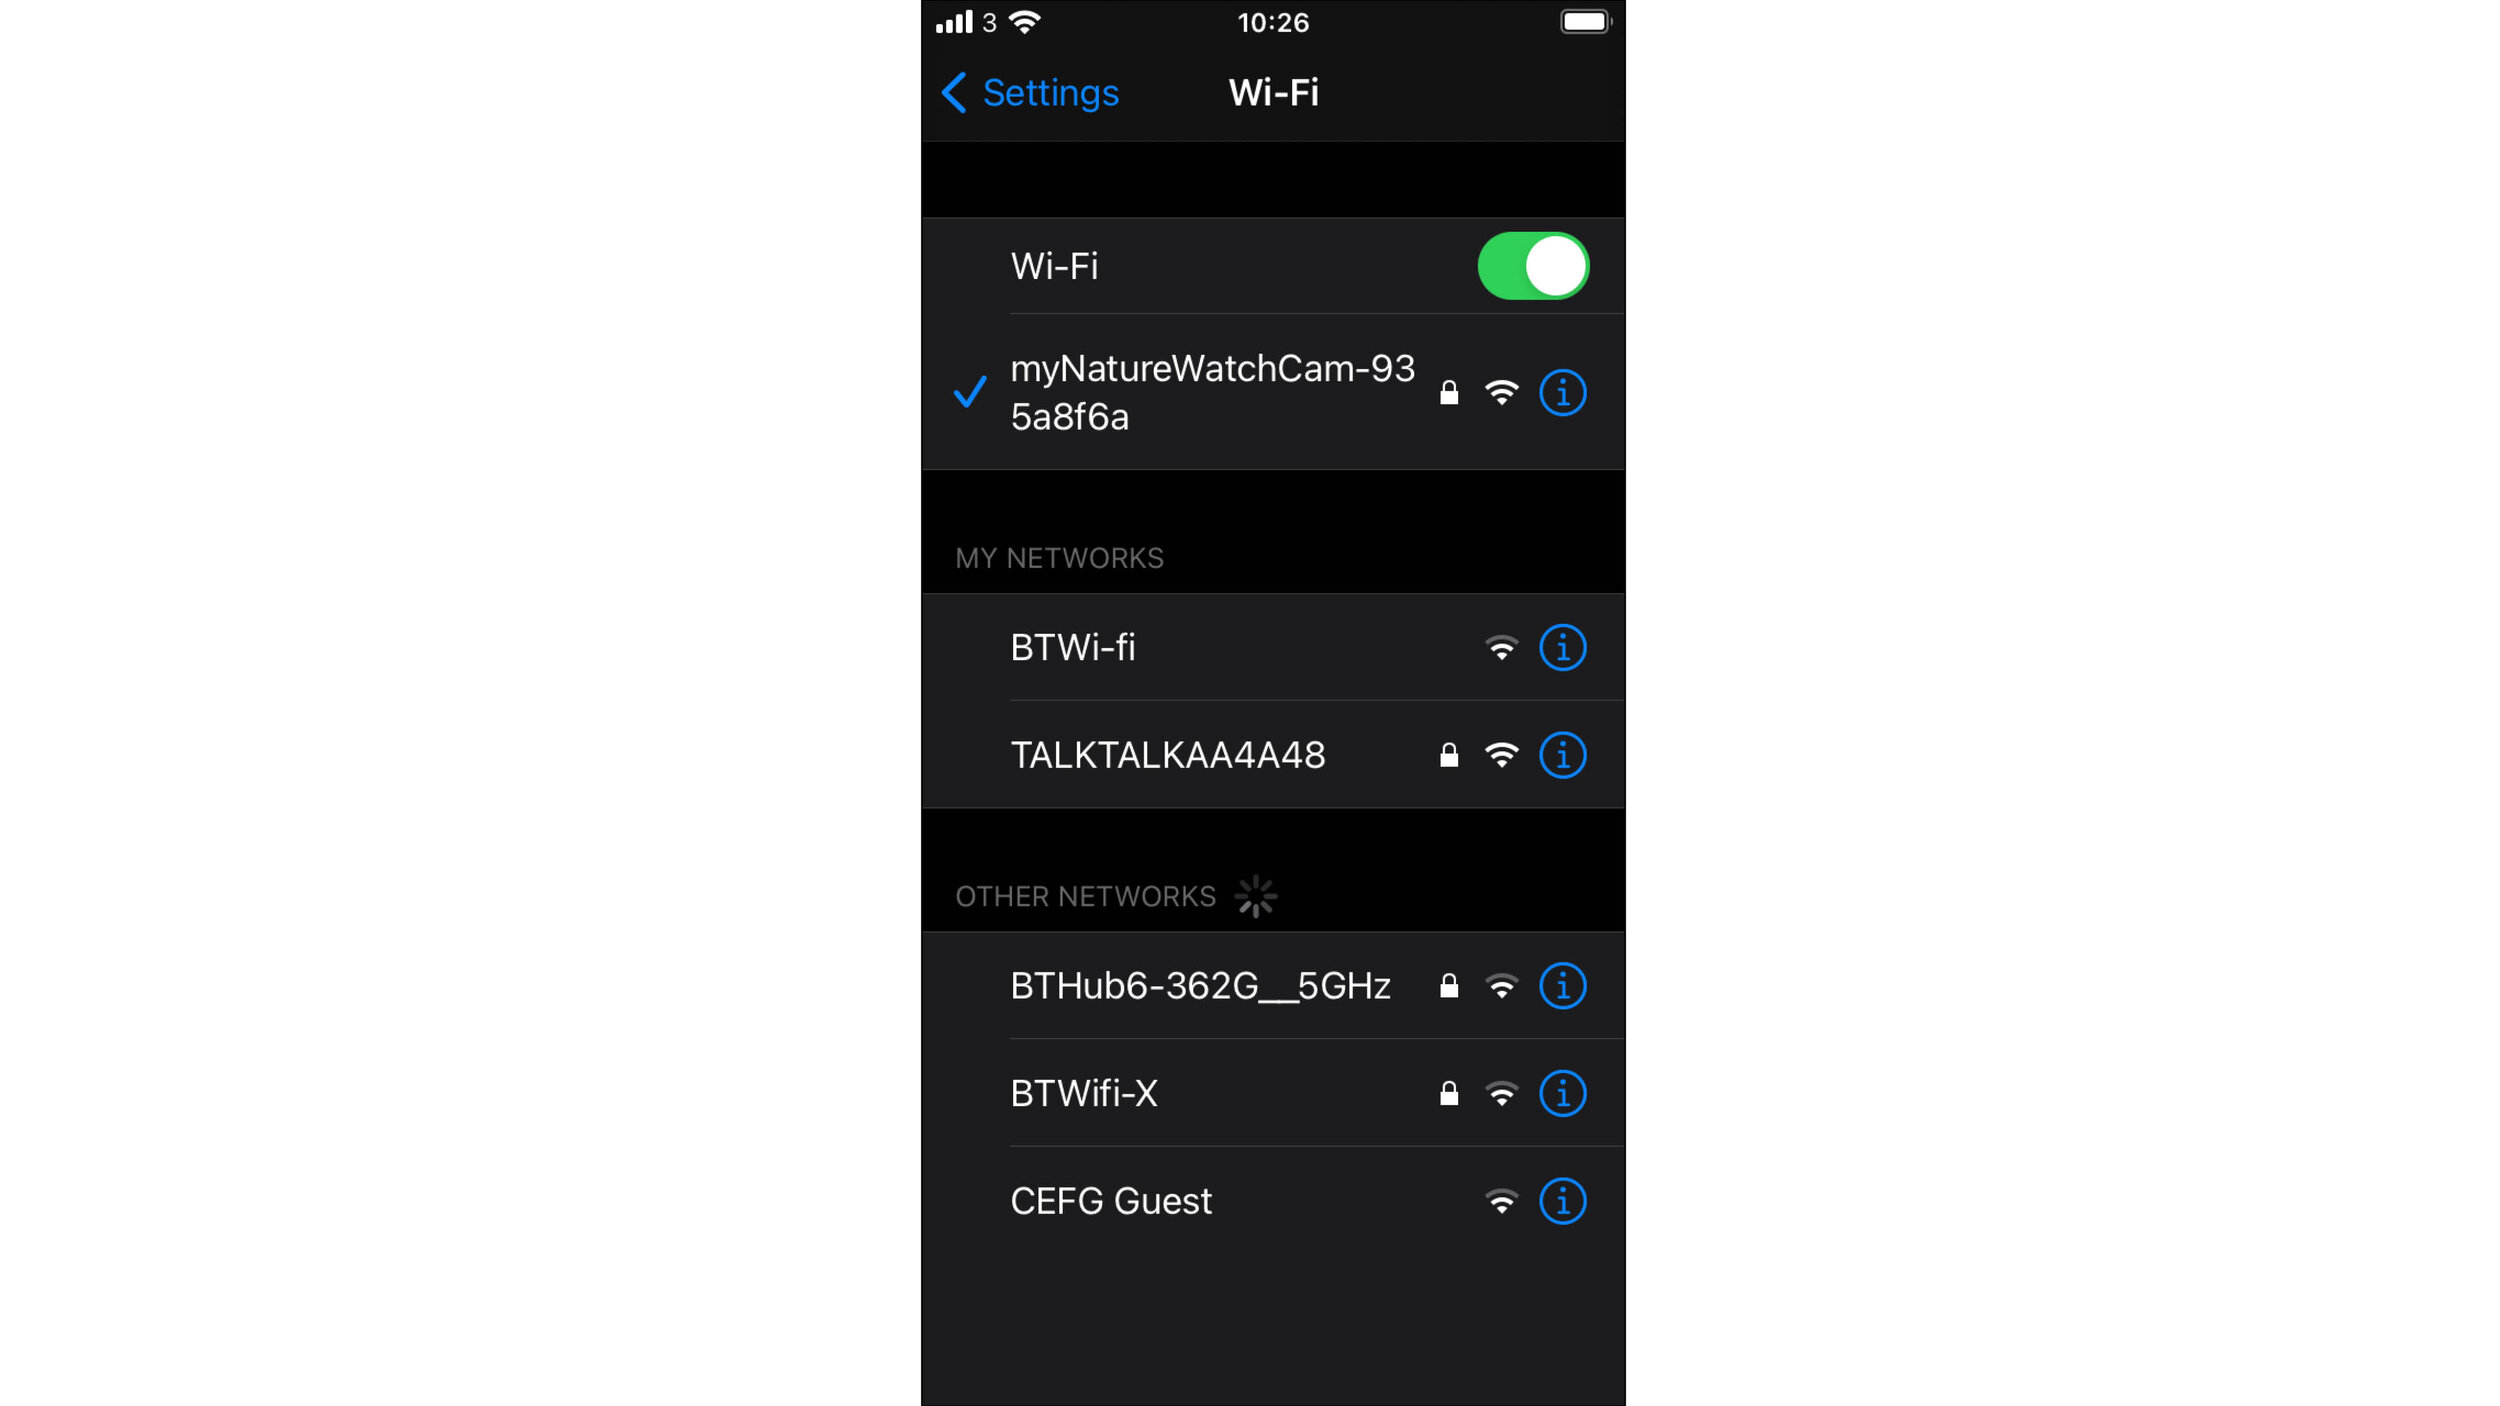
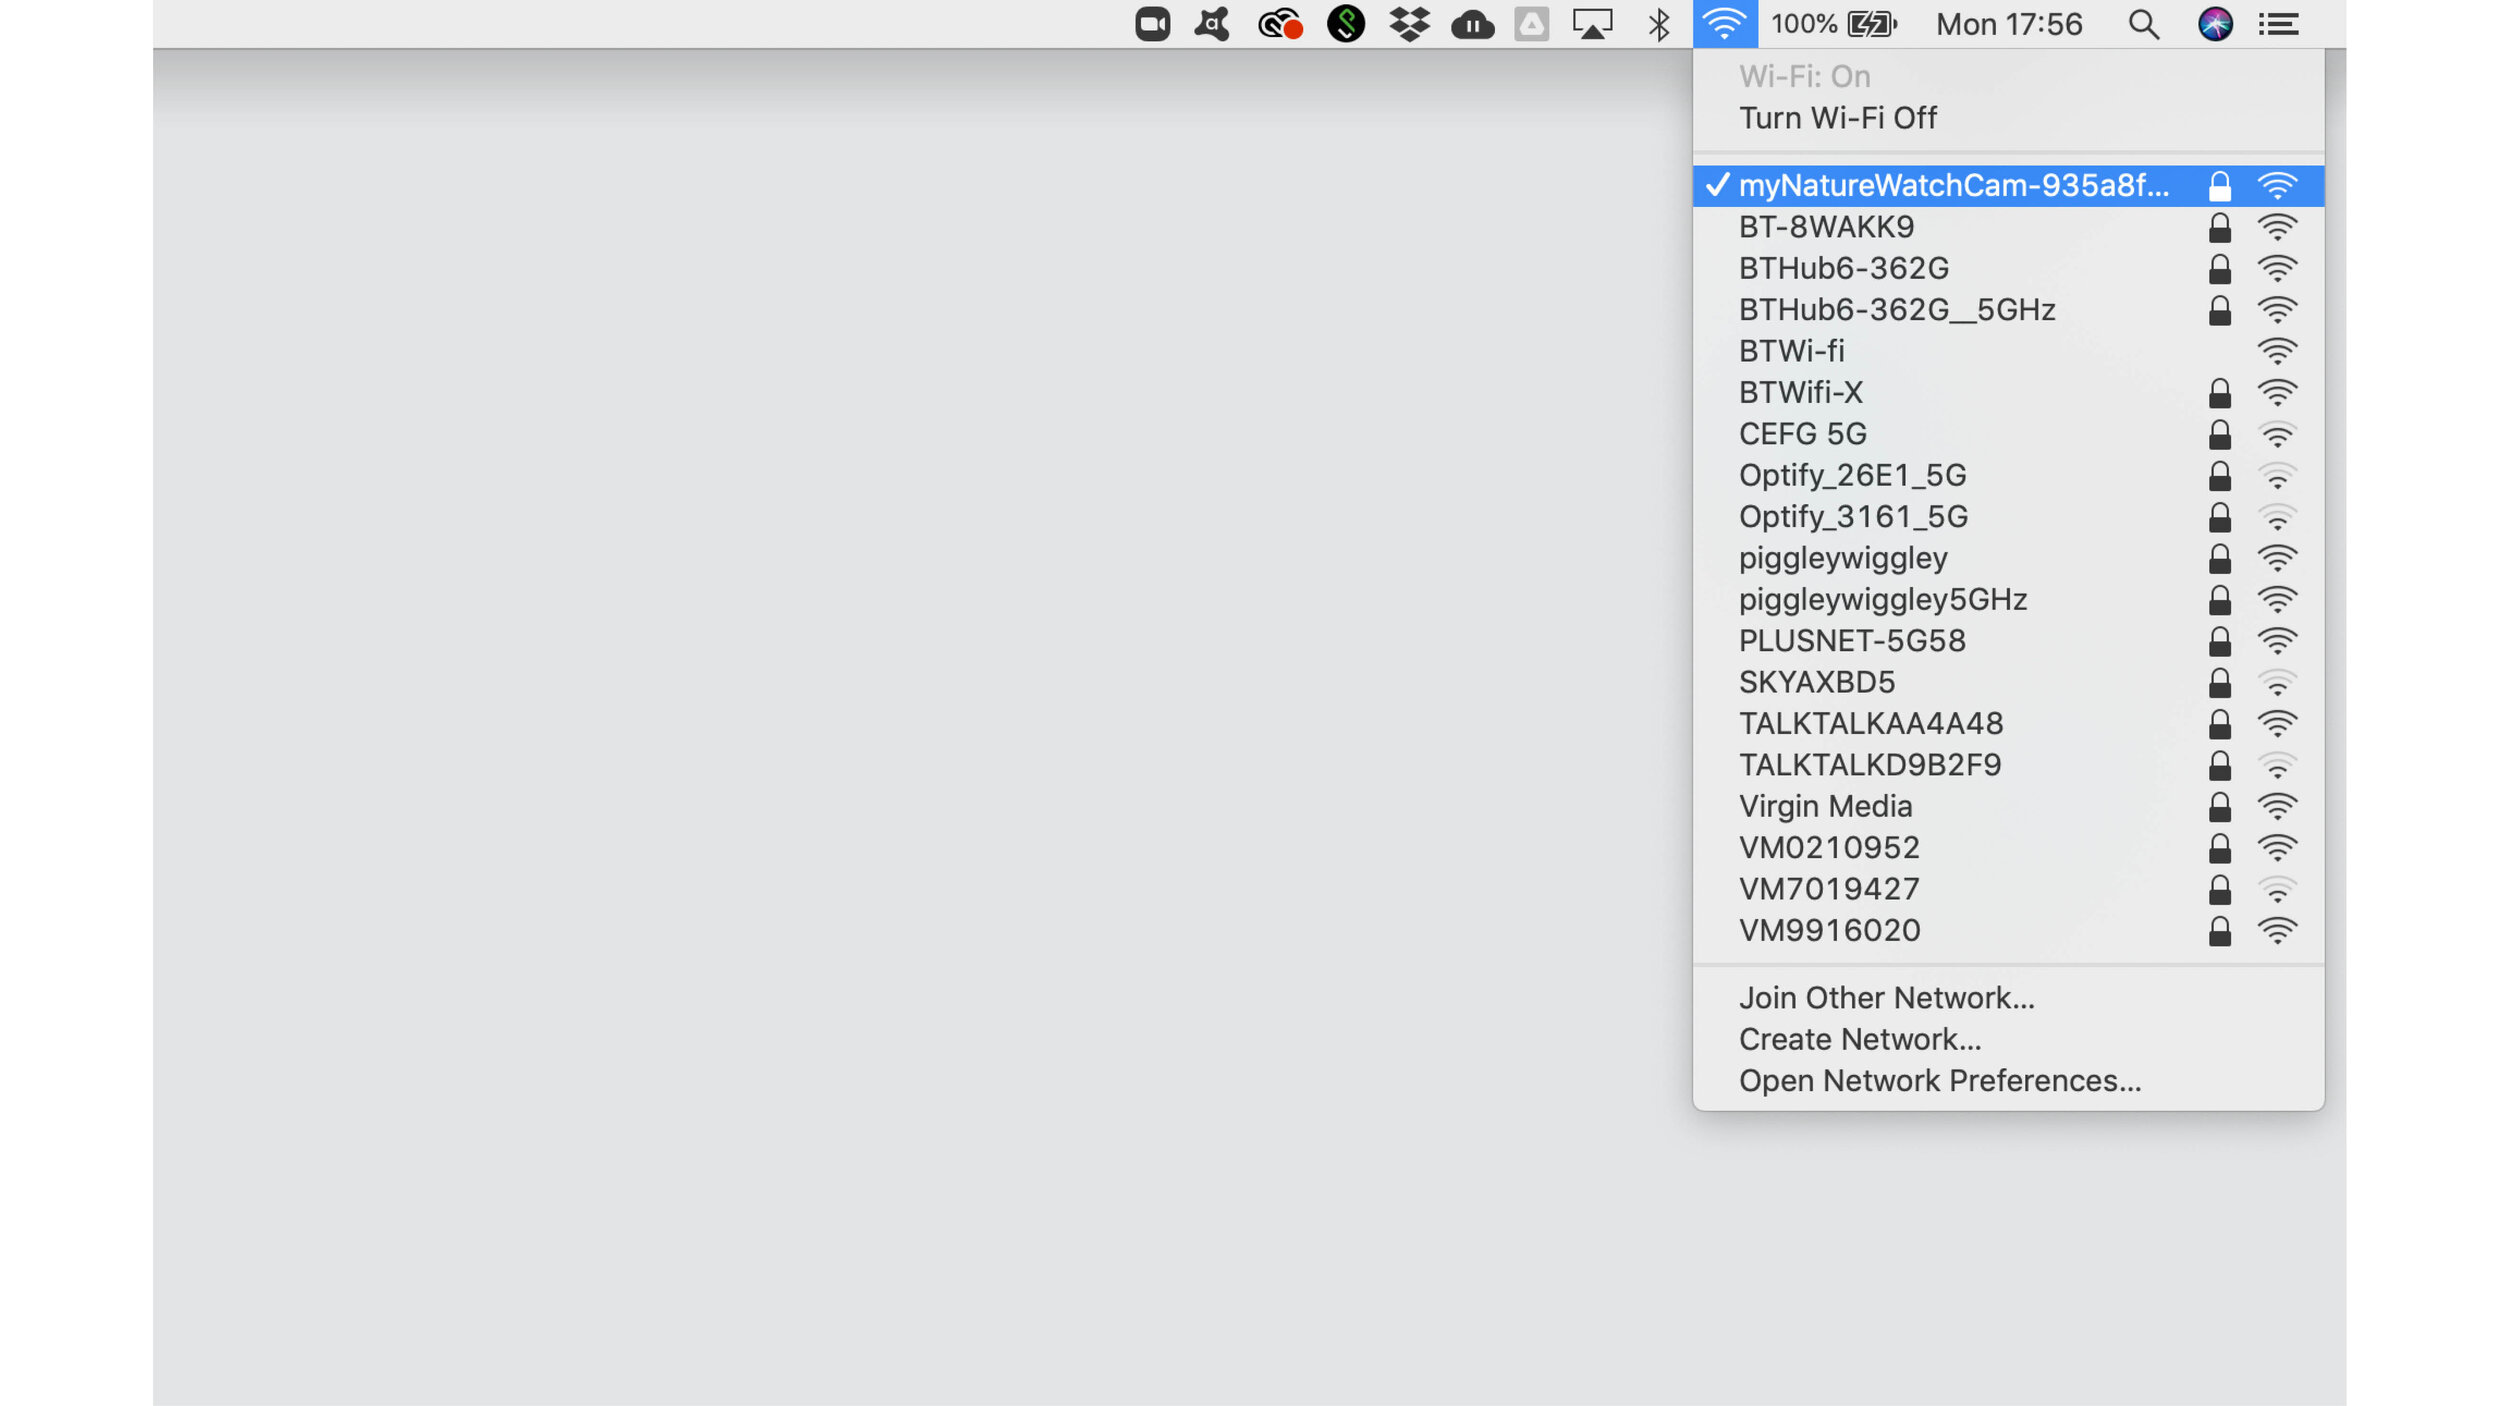
Using wi-fi settings on your device, search for the wi-fi network name created by your My Naturewatch Camera. It will have the default name of 'MyNaturewatch-123456' with the default password of 'badgersandfoxes'.
Note: In previous versions of the software there was an option to change the wi-fi name and password using a configuration file, but most users didn’t want to change credentials and the latest software has a different networking stack that automatically creates a unique wi-fi name for each camera. If you need to change the password though, there are details on how to do this here.
2. Access the camera with your browser
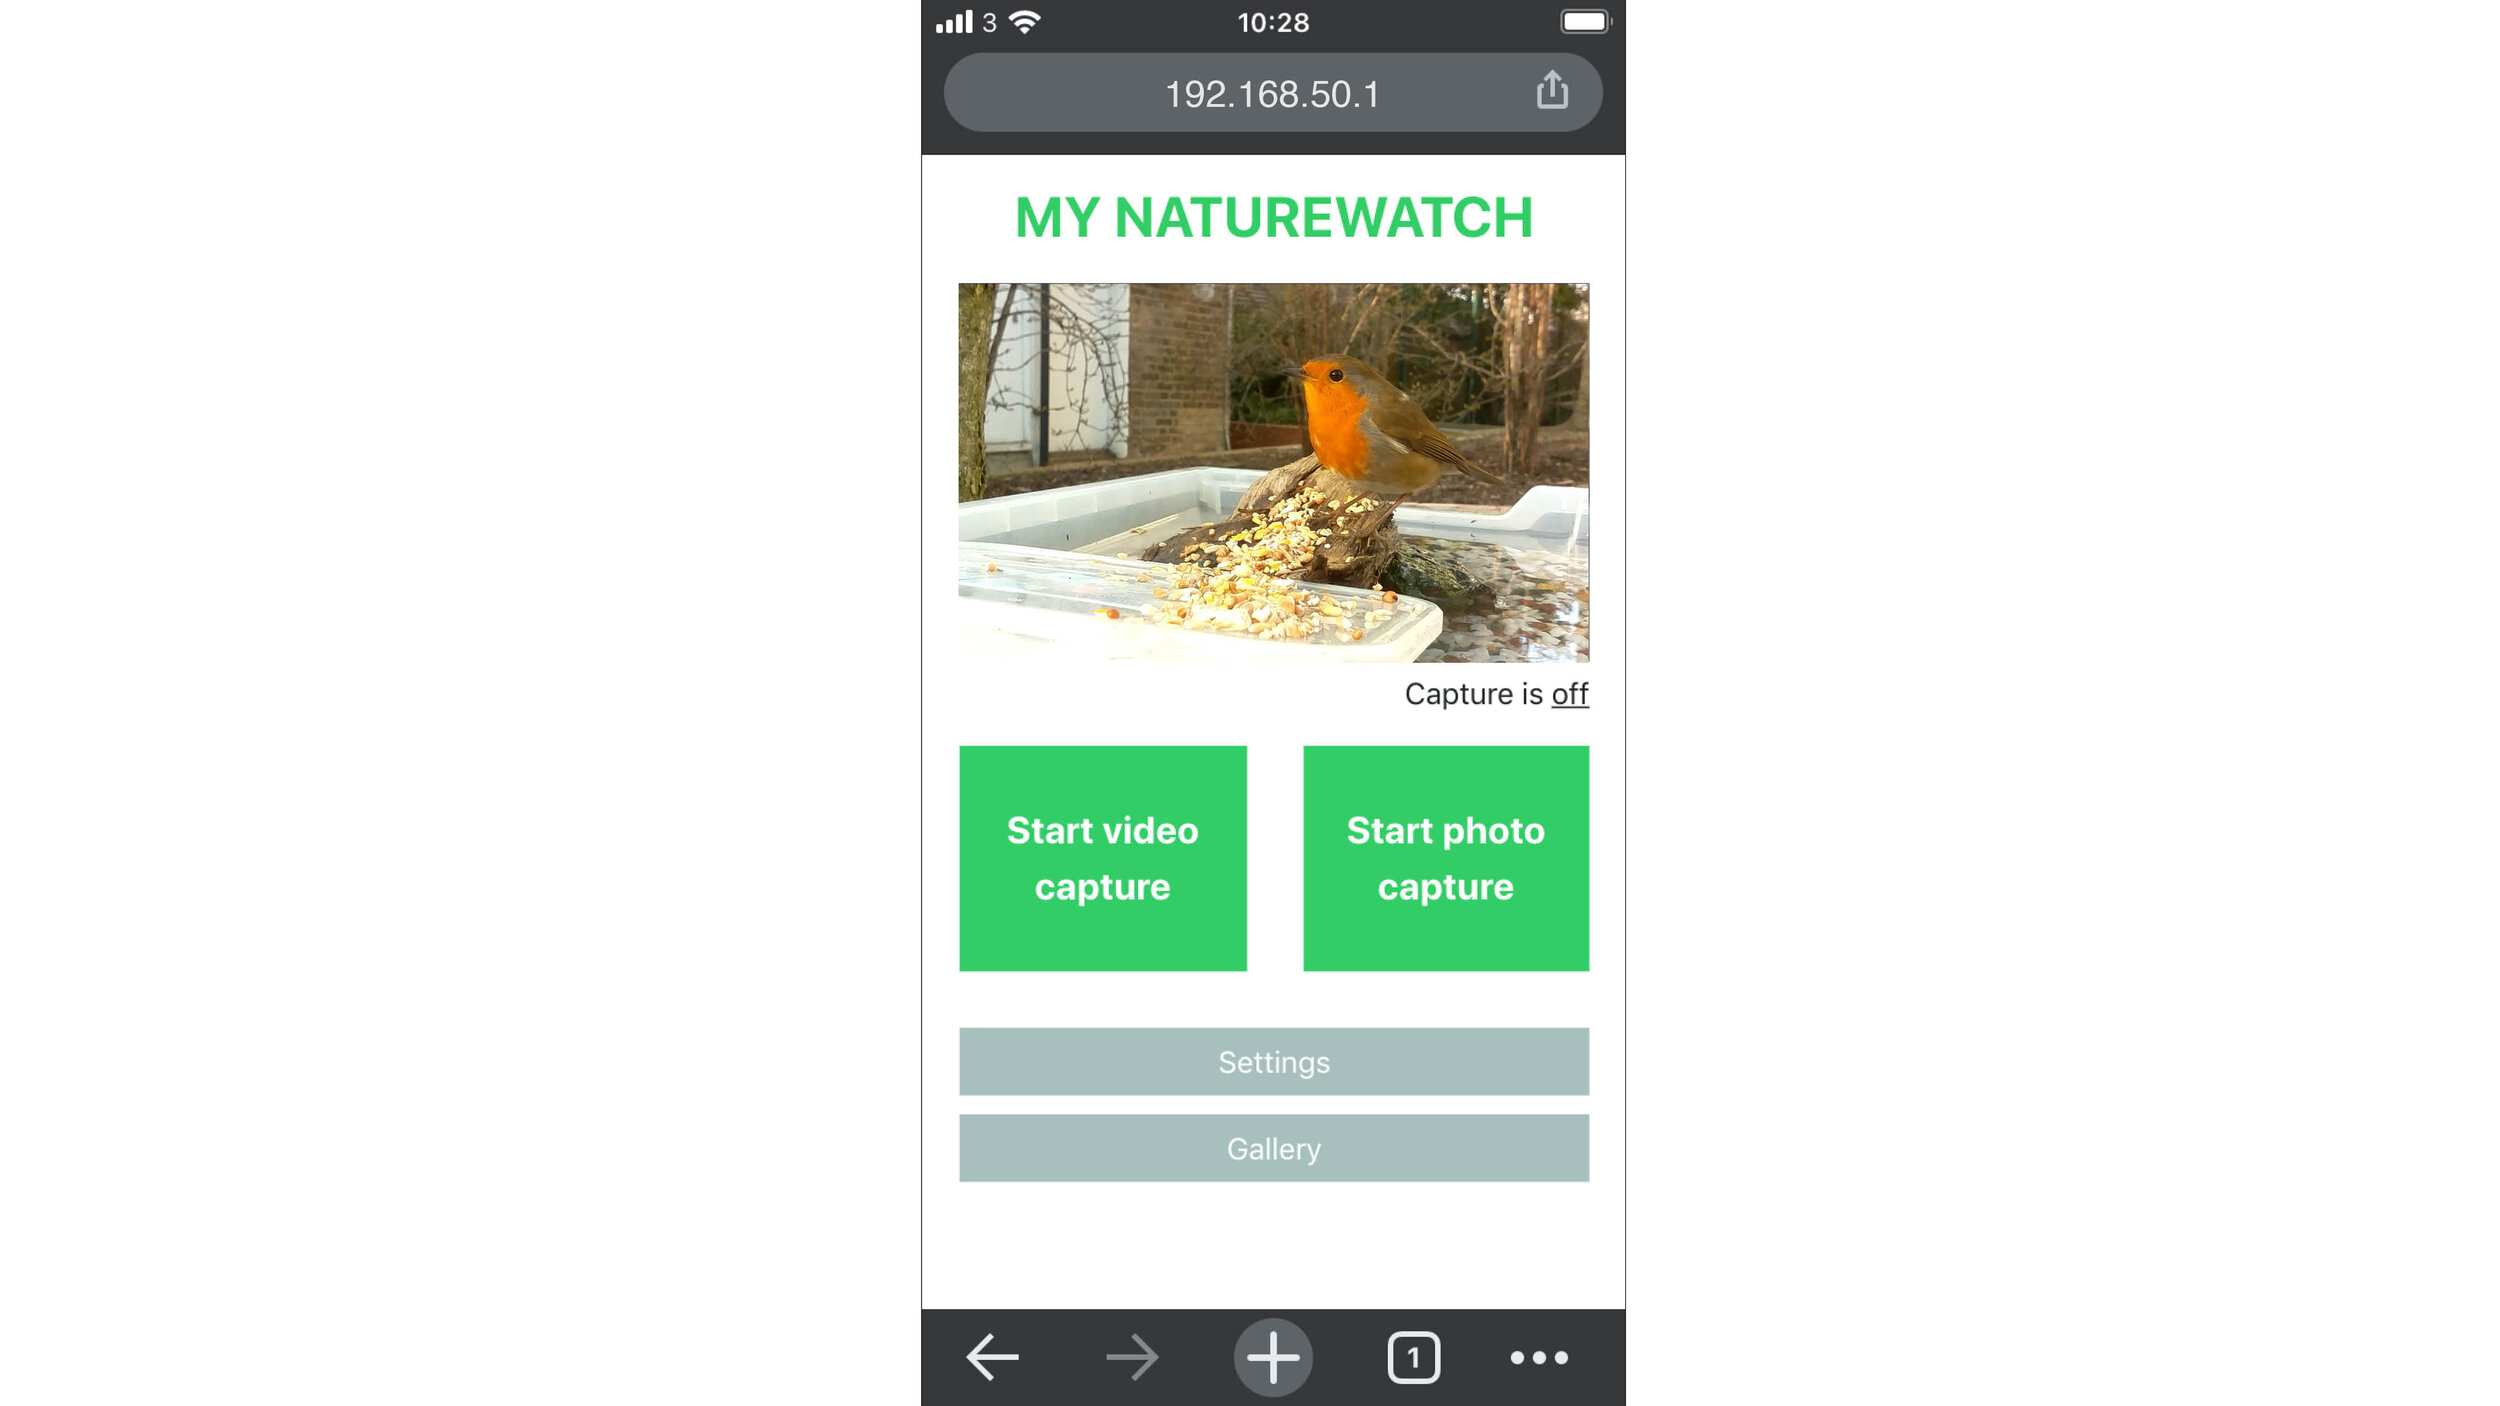
In your web browser, type out the following IP address into the address bar :
192.168.50.1
You should see the live preview feed from your camera along with the following simple control buttons: Start Video Capture, Start Photo Capture, Settings and Gallery.
Having issues connecting to your camera? You can visit our Troubleshooting page to identify the problem.
3. Start recording
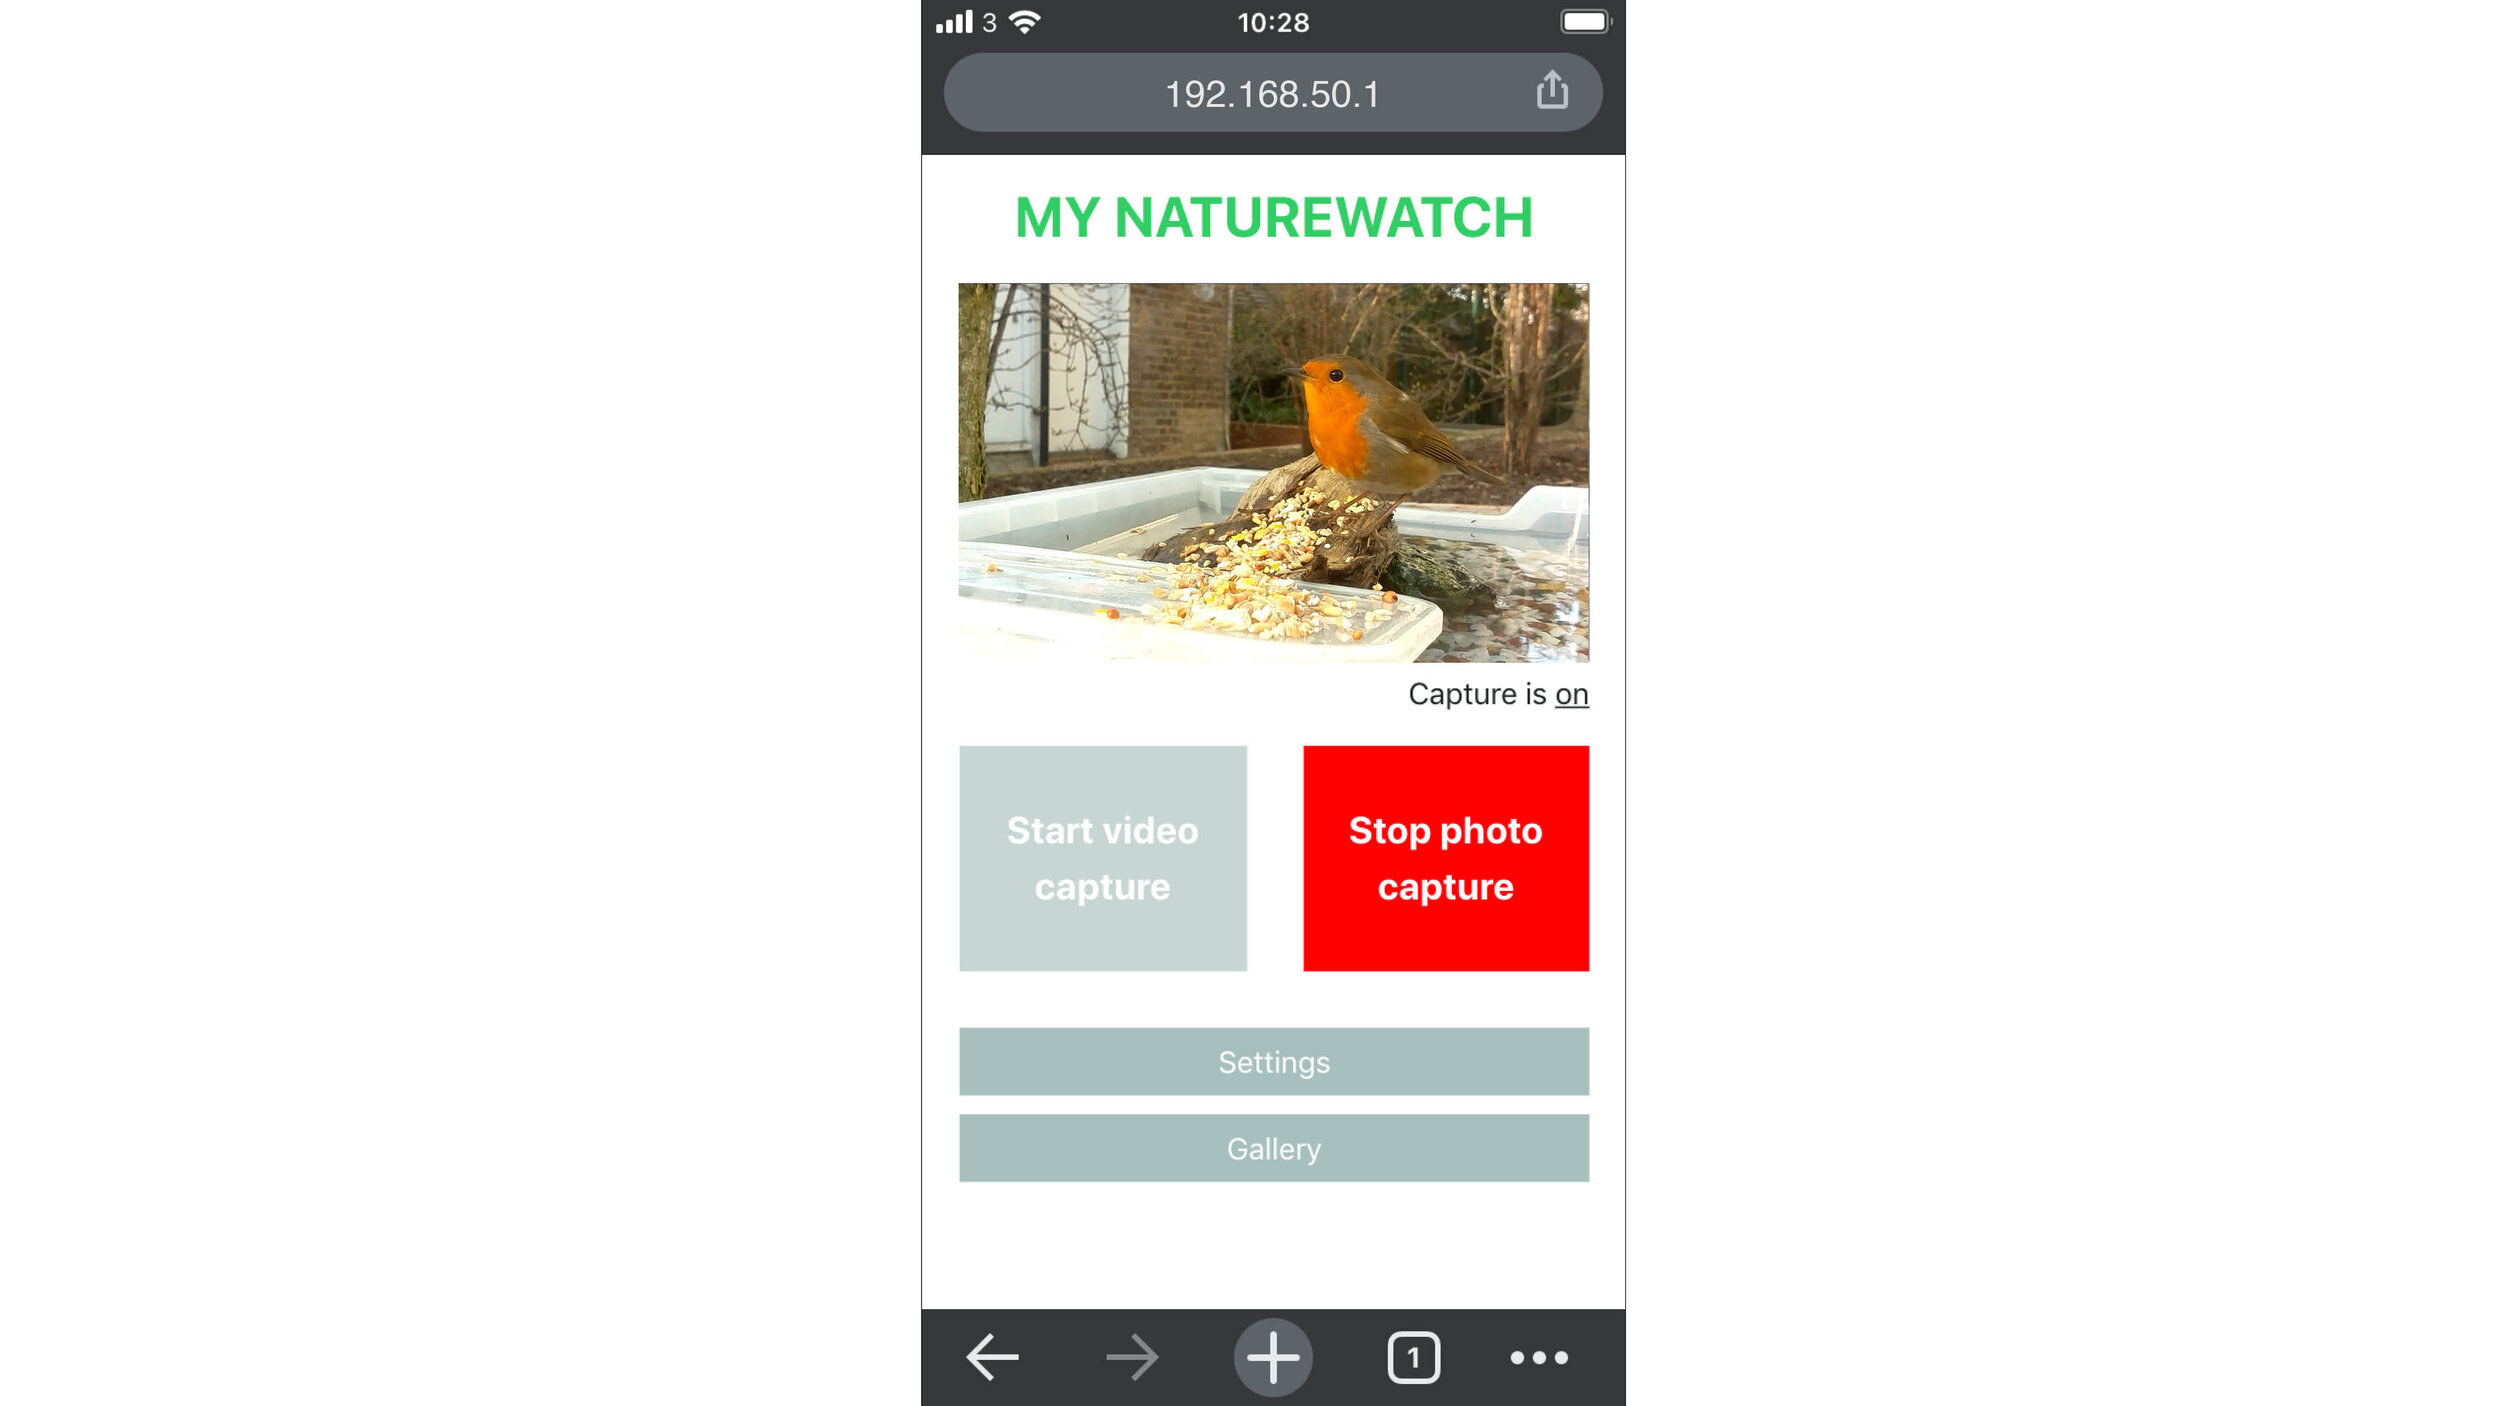
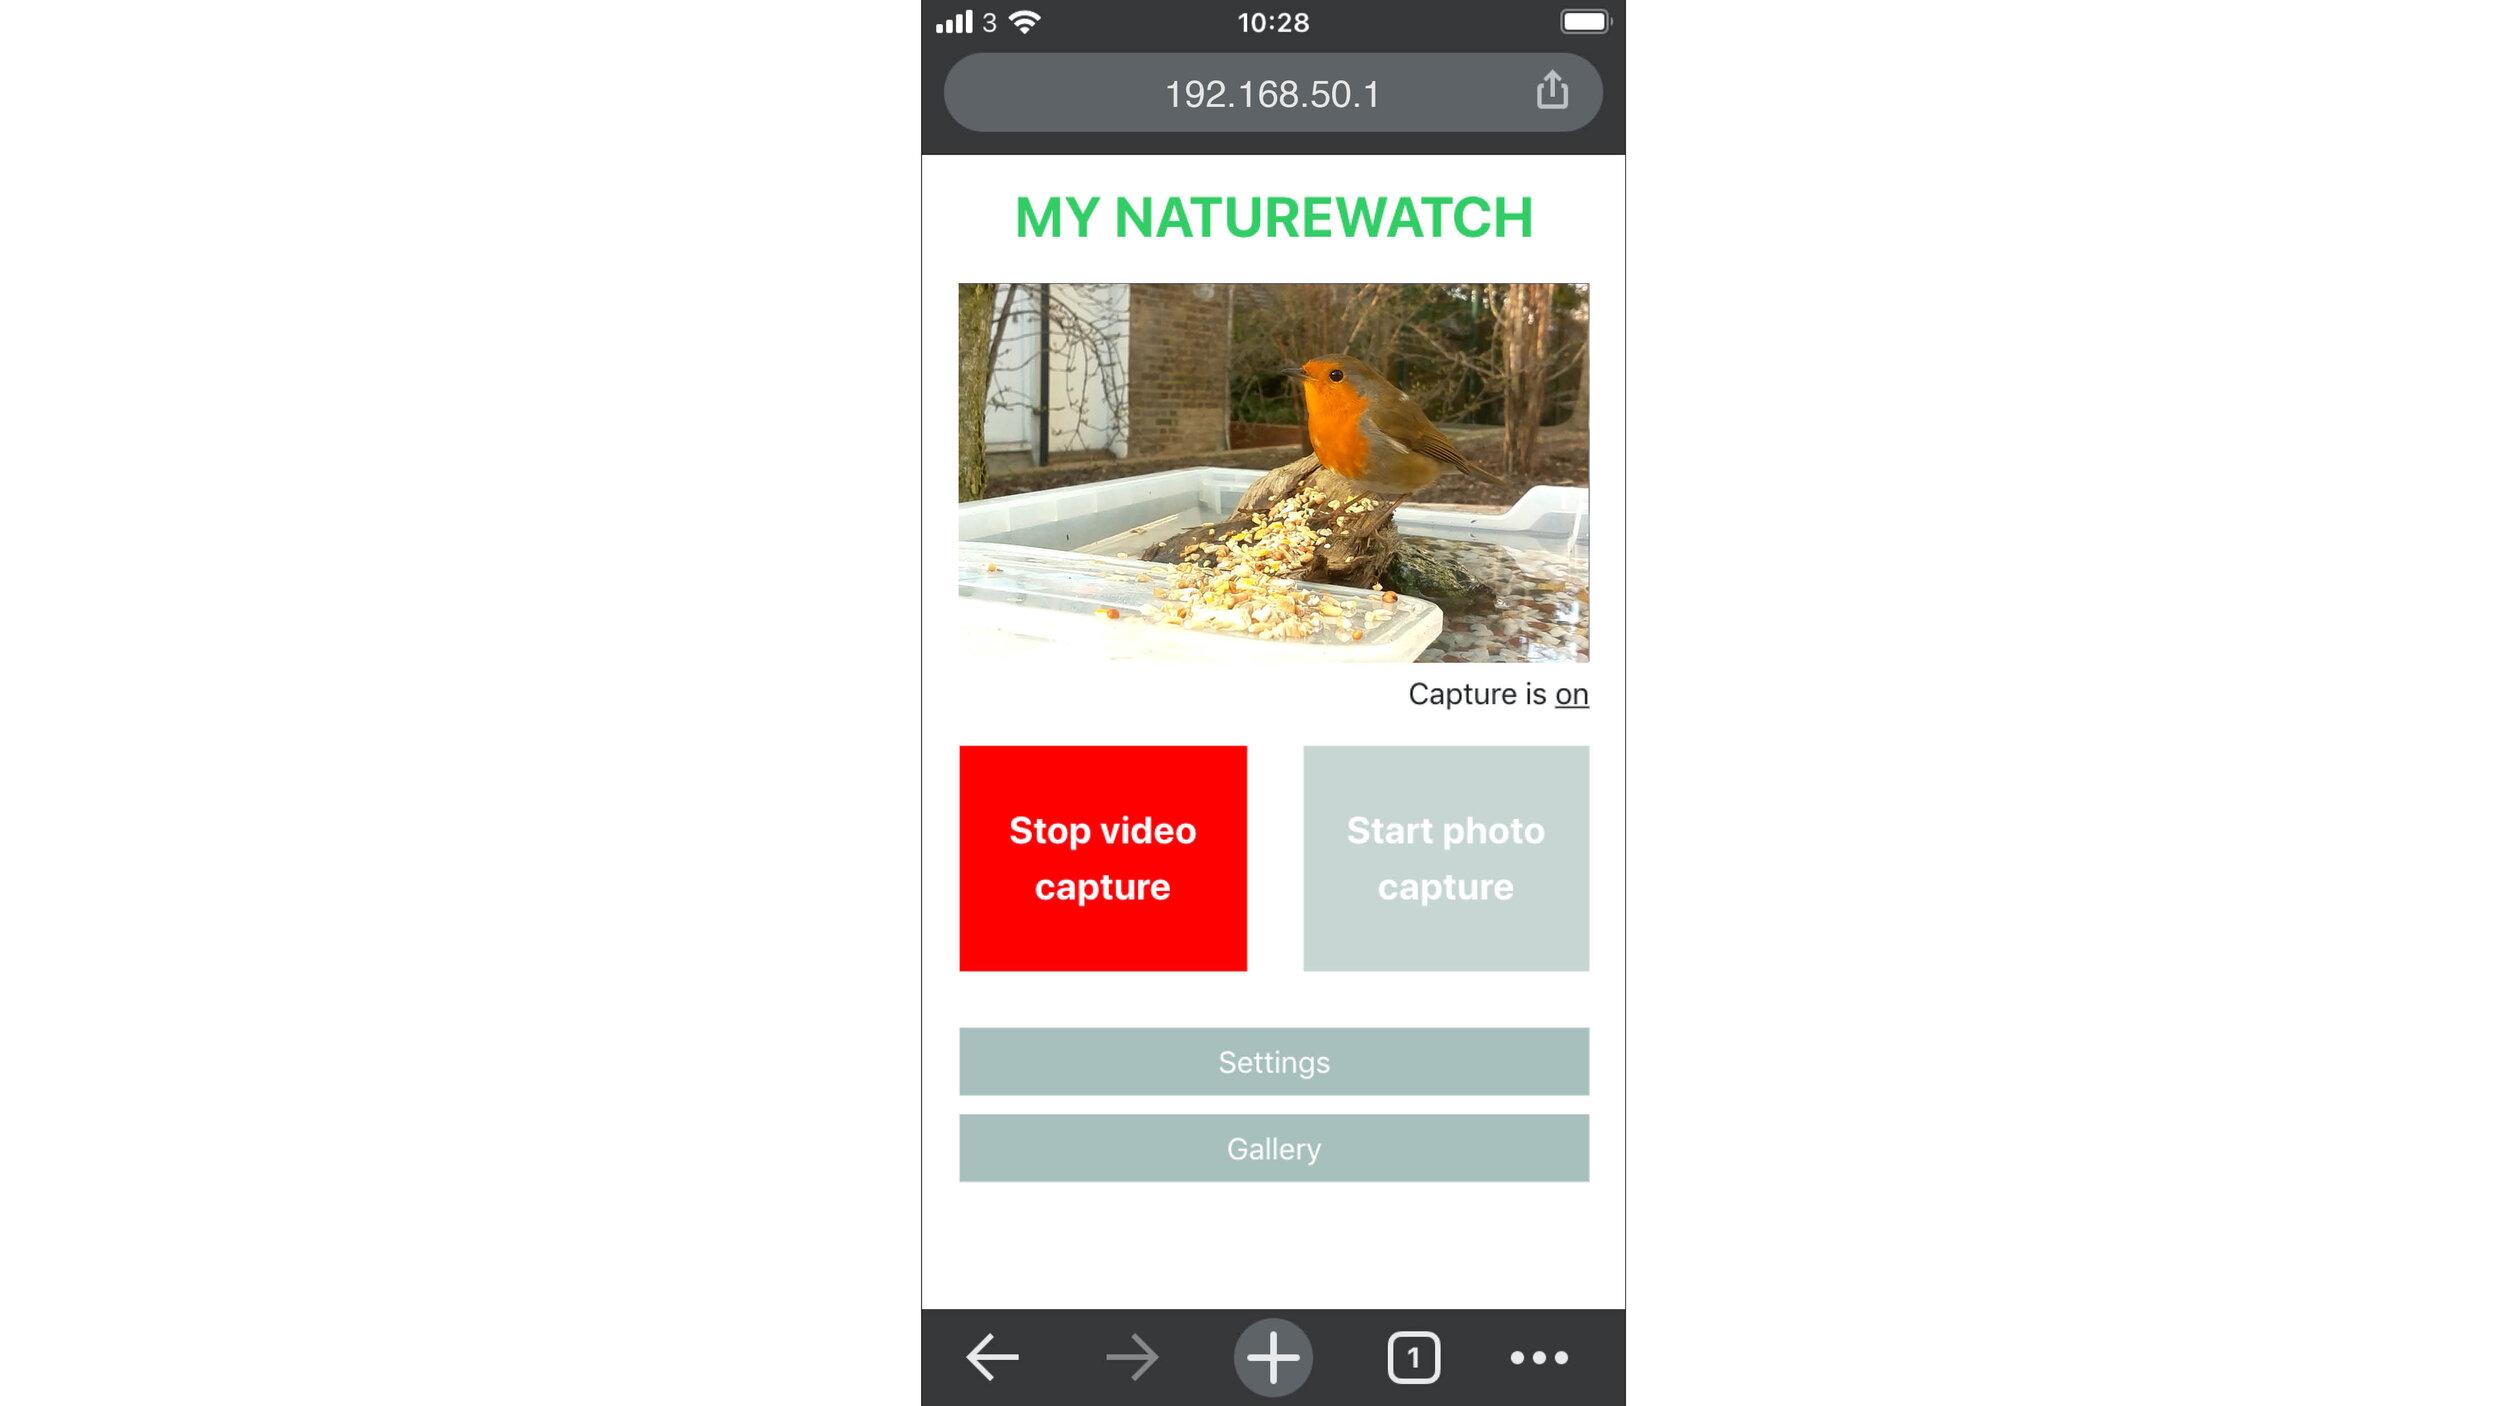
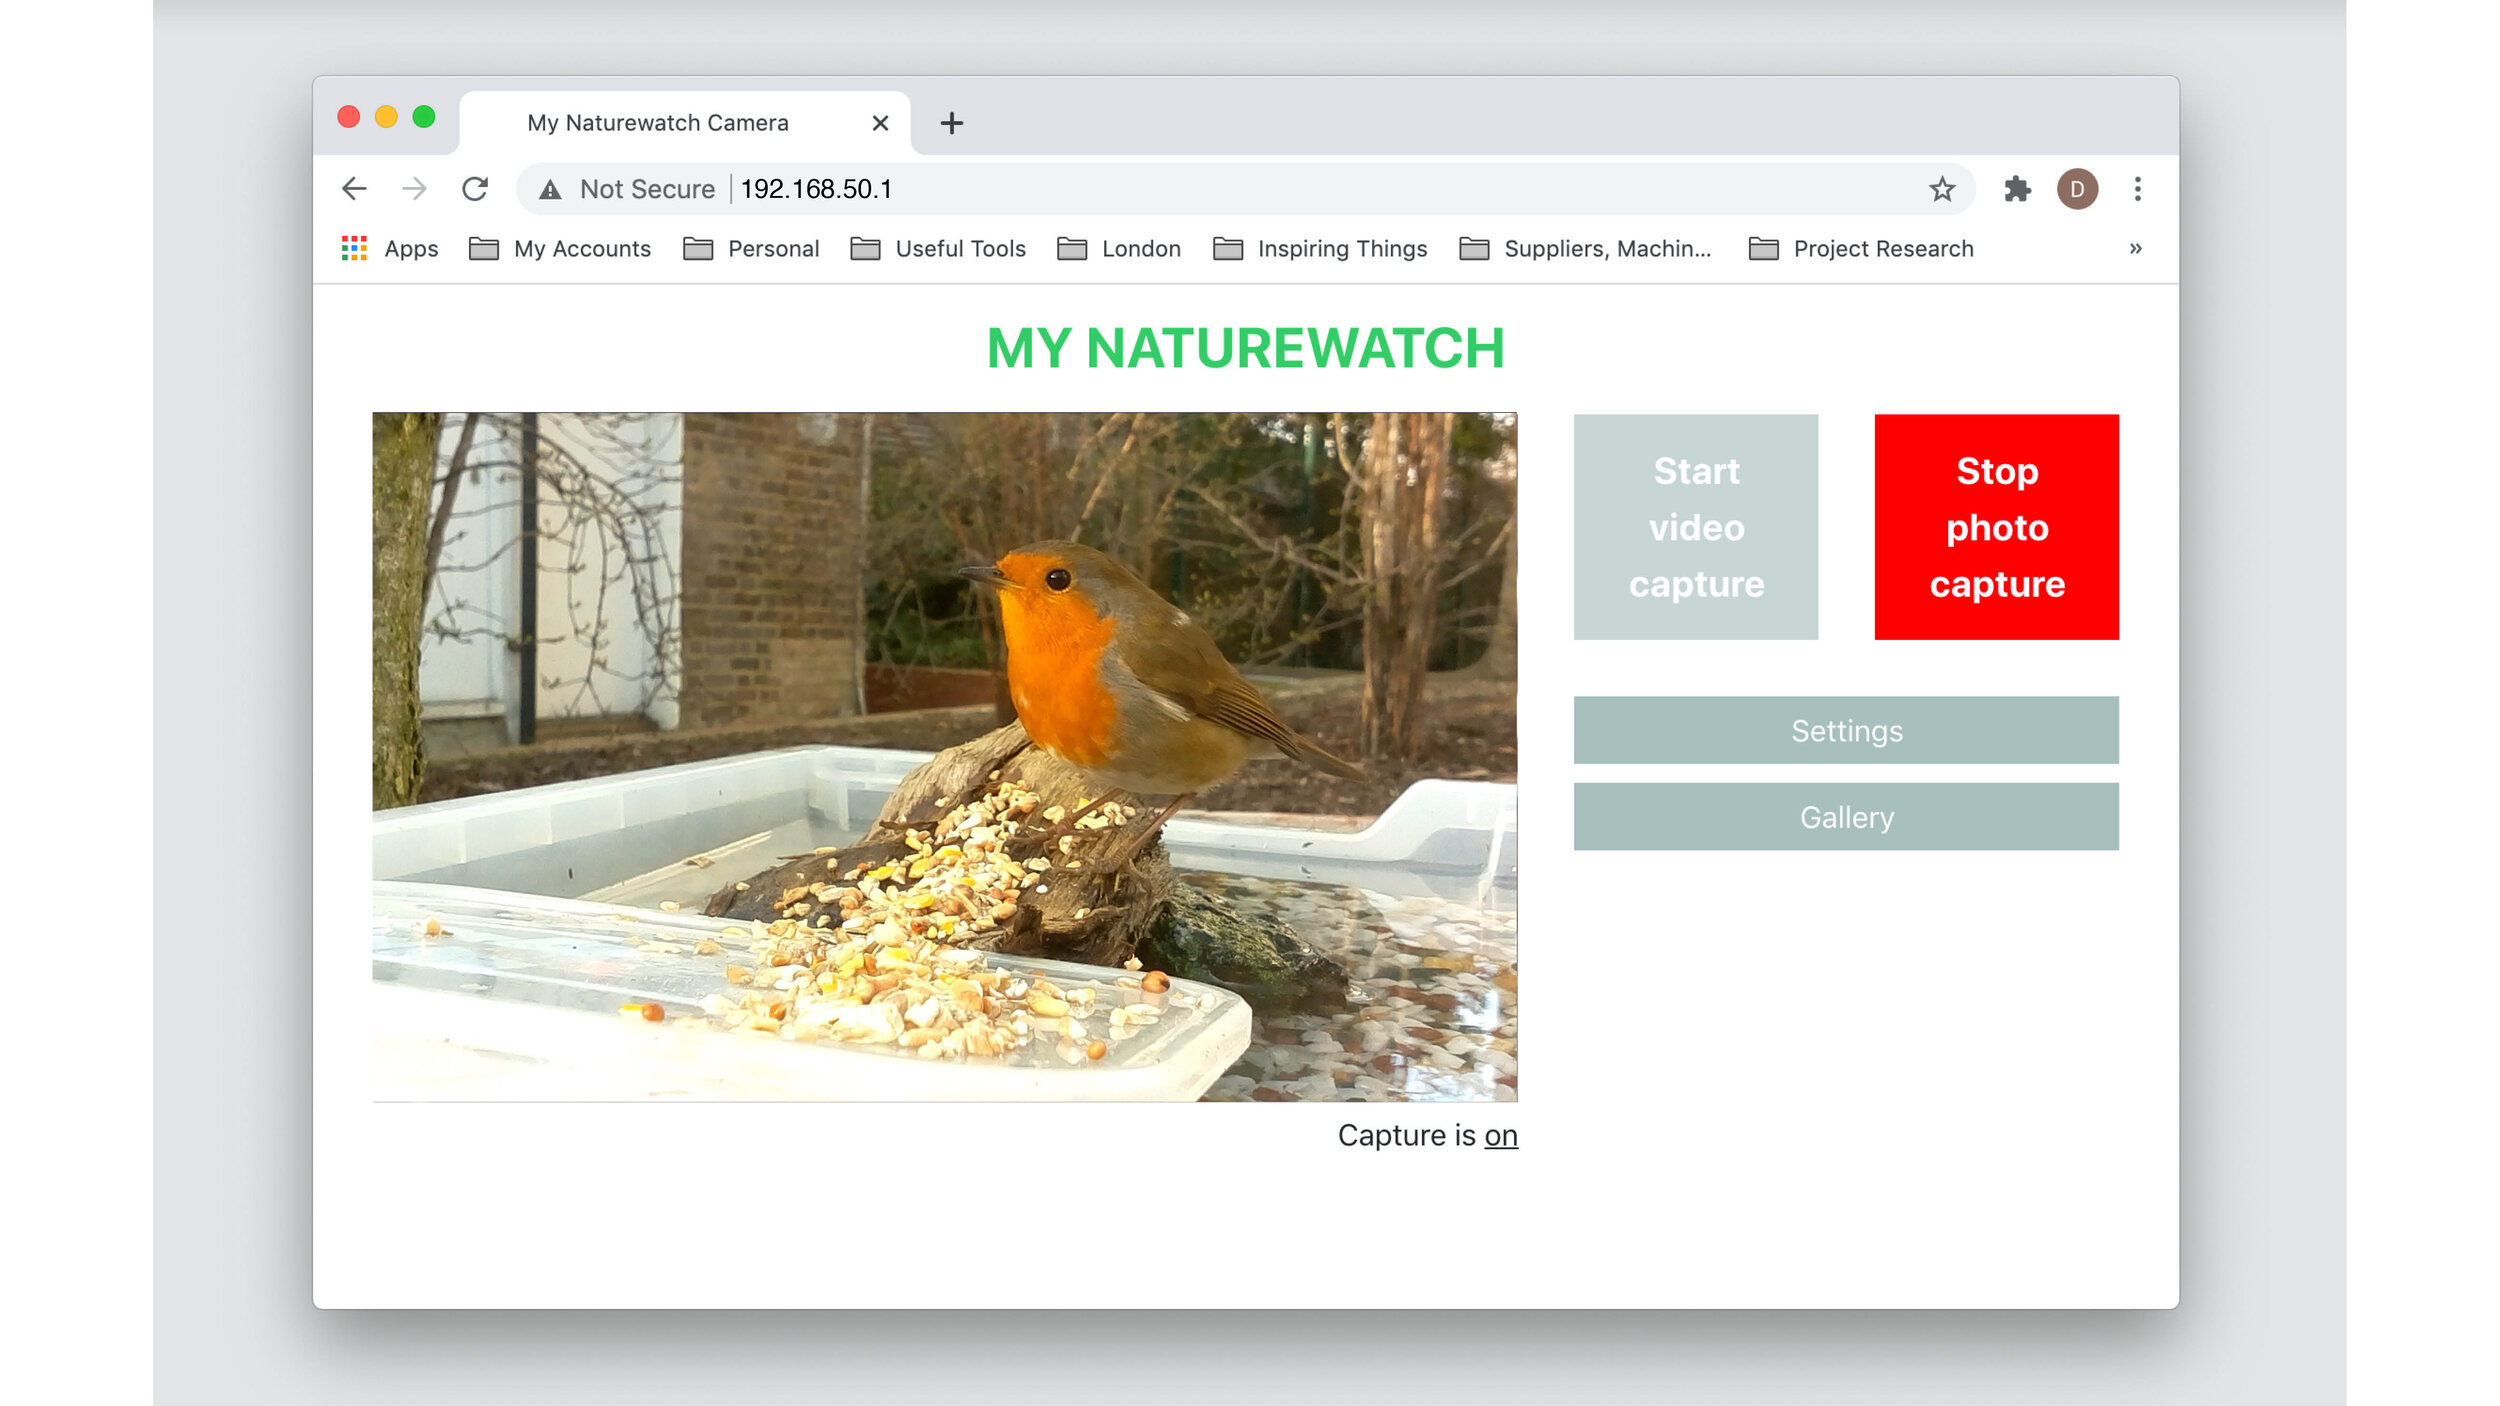

The My Naturewatch Camera works by continuously monitoring the live preview feed for movement. To start this process select ‘Start Video Capture’ or ‘Start Photo Capture’ depending on the type of media that you would like to capture. The camera will now be taking photos/video automatically and the selected button will change to a red 'Stop Capture' button. All the recorded media will be stored within the Gallery. Press the 'Stop video capture' or the ‘Stop photo capture’ button to cease capture.
The live preview feed in the browser window is useful to setup your camera and frame the area you want to monitor for wildlife, but it is not intended for continuous use. Once the My Naturewatch Camera has been setup and the image capture begun, disconnect by closing the web browser window, whether on phone, tablet or computer. Keeping the live preview feed open in the browser will drain the battery and put extra strain on the Raspberry Pi which could lead to overheating issues.
4. Adjust sensitivity
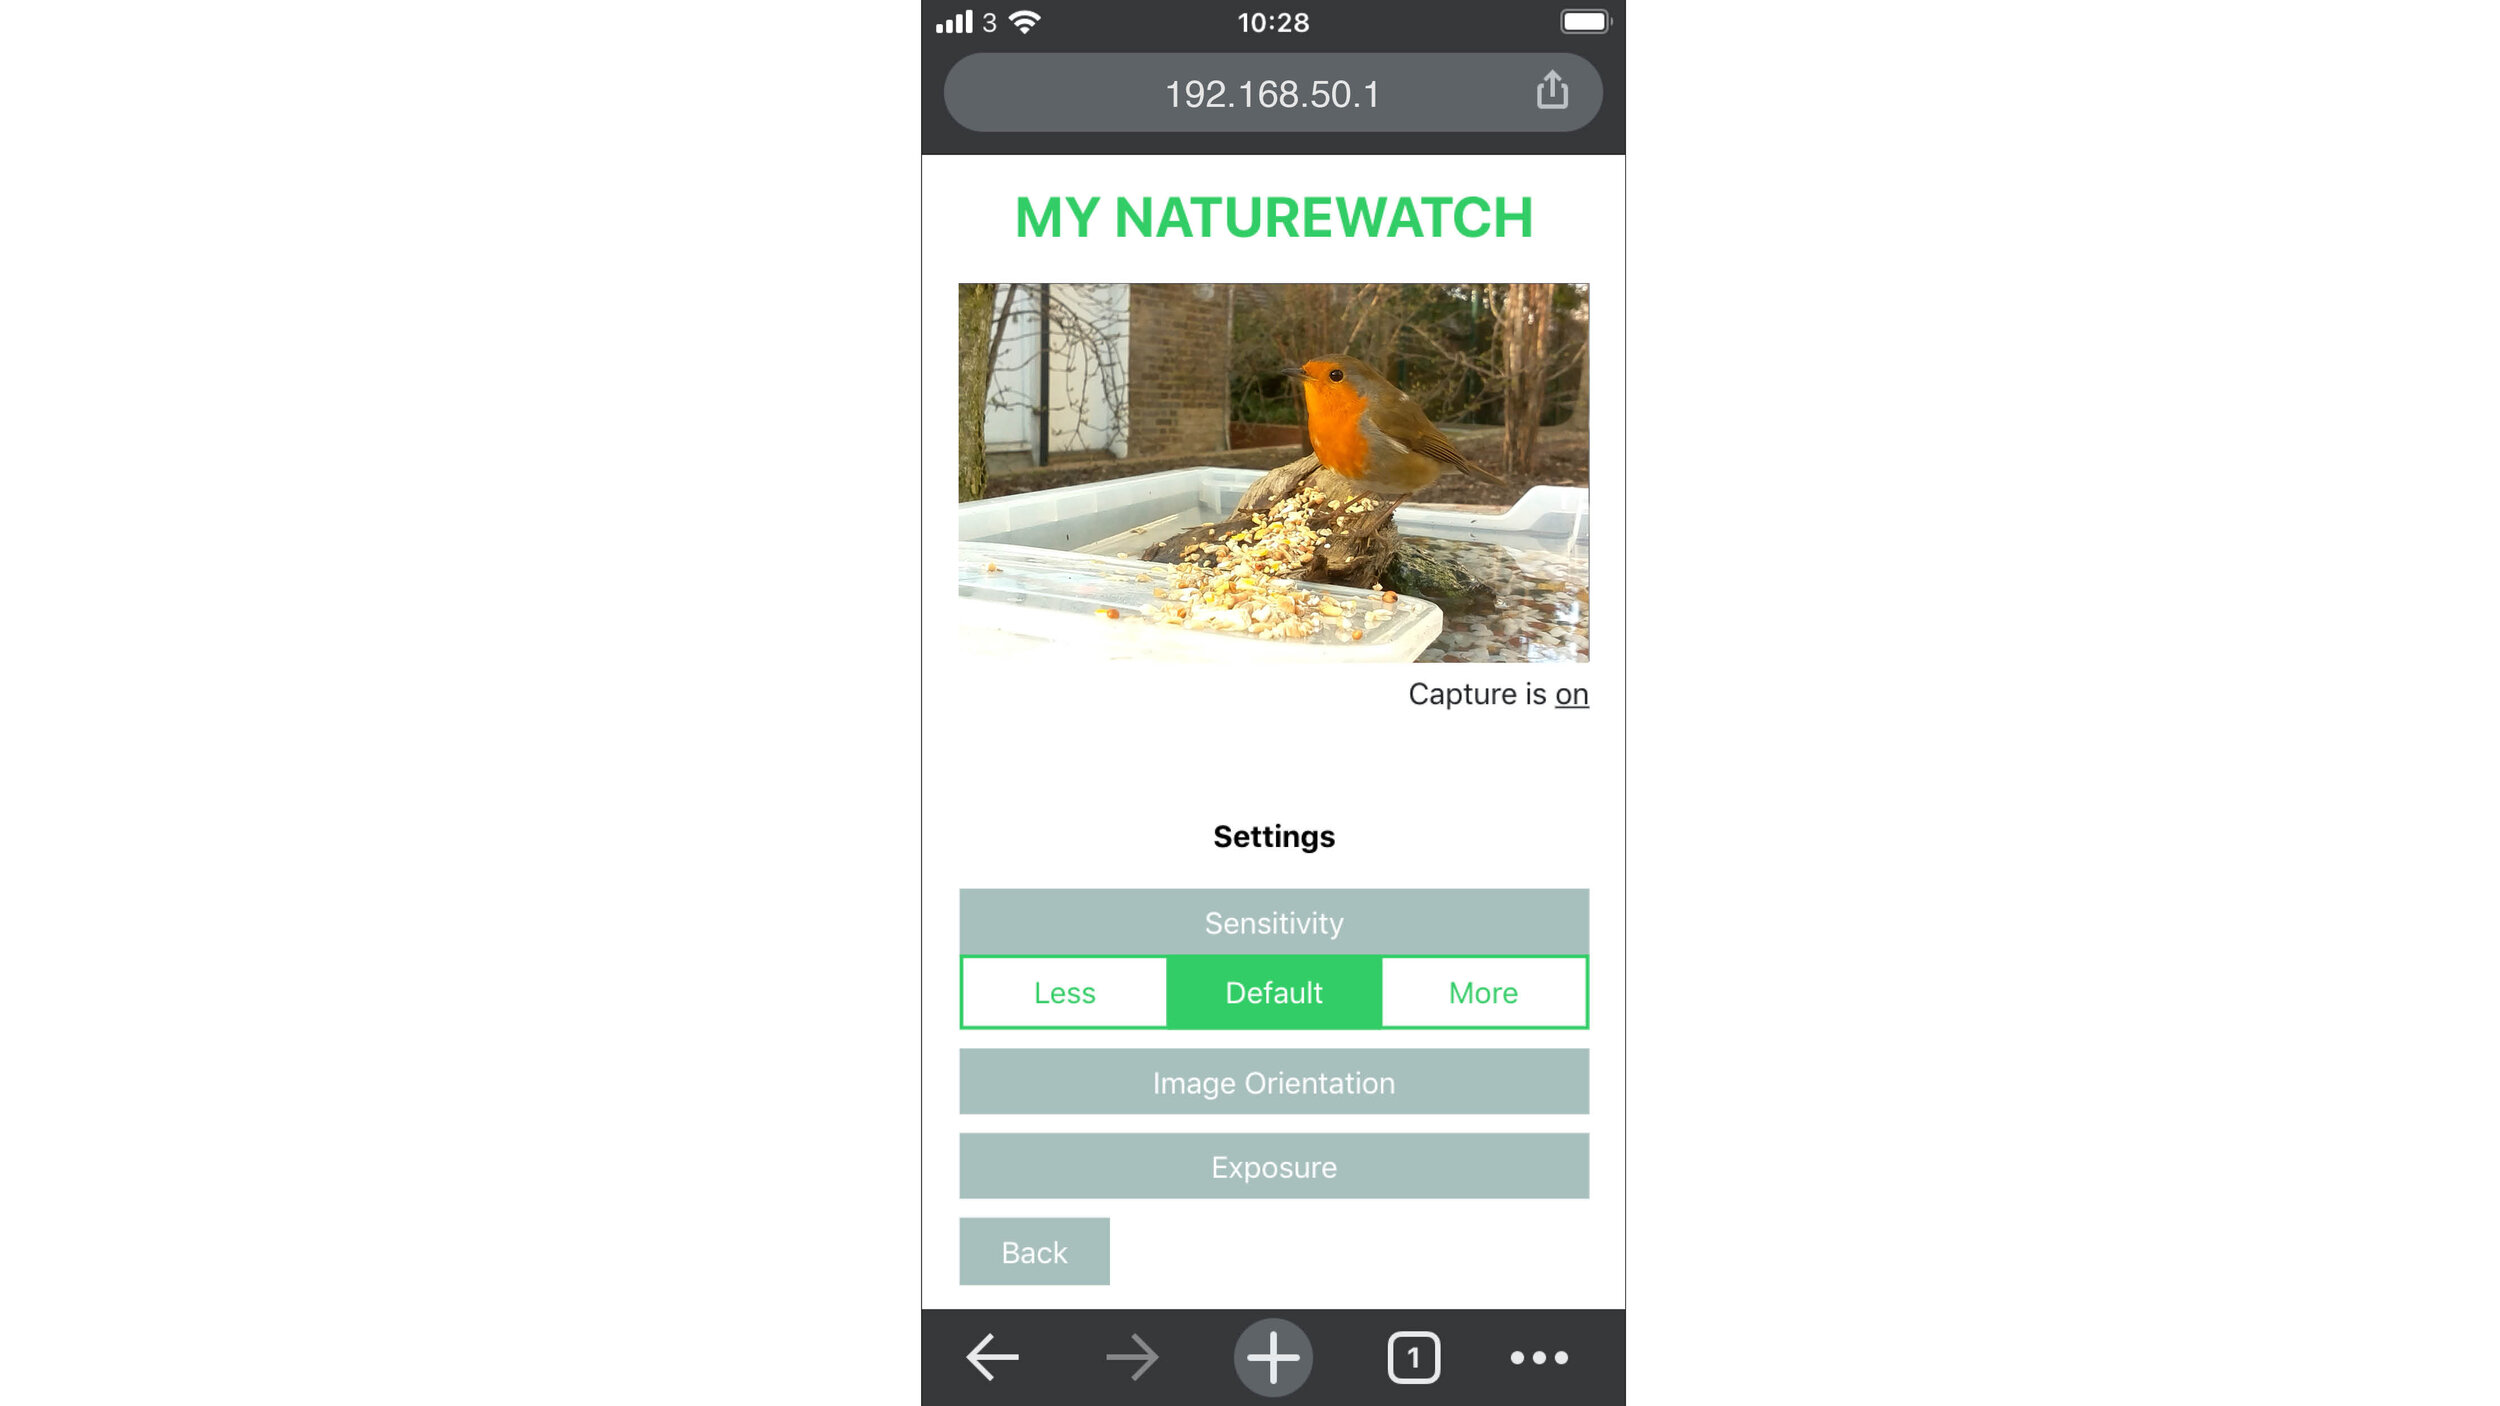
The My Naturewatch camera takes photos by looking for a significant change in what it can see. The sensitivity of the camera can be altered to prevent false positives – unwanted pictures taken when there is no wildlife in the camera frame.
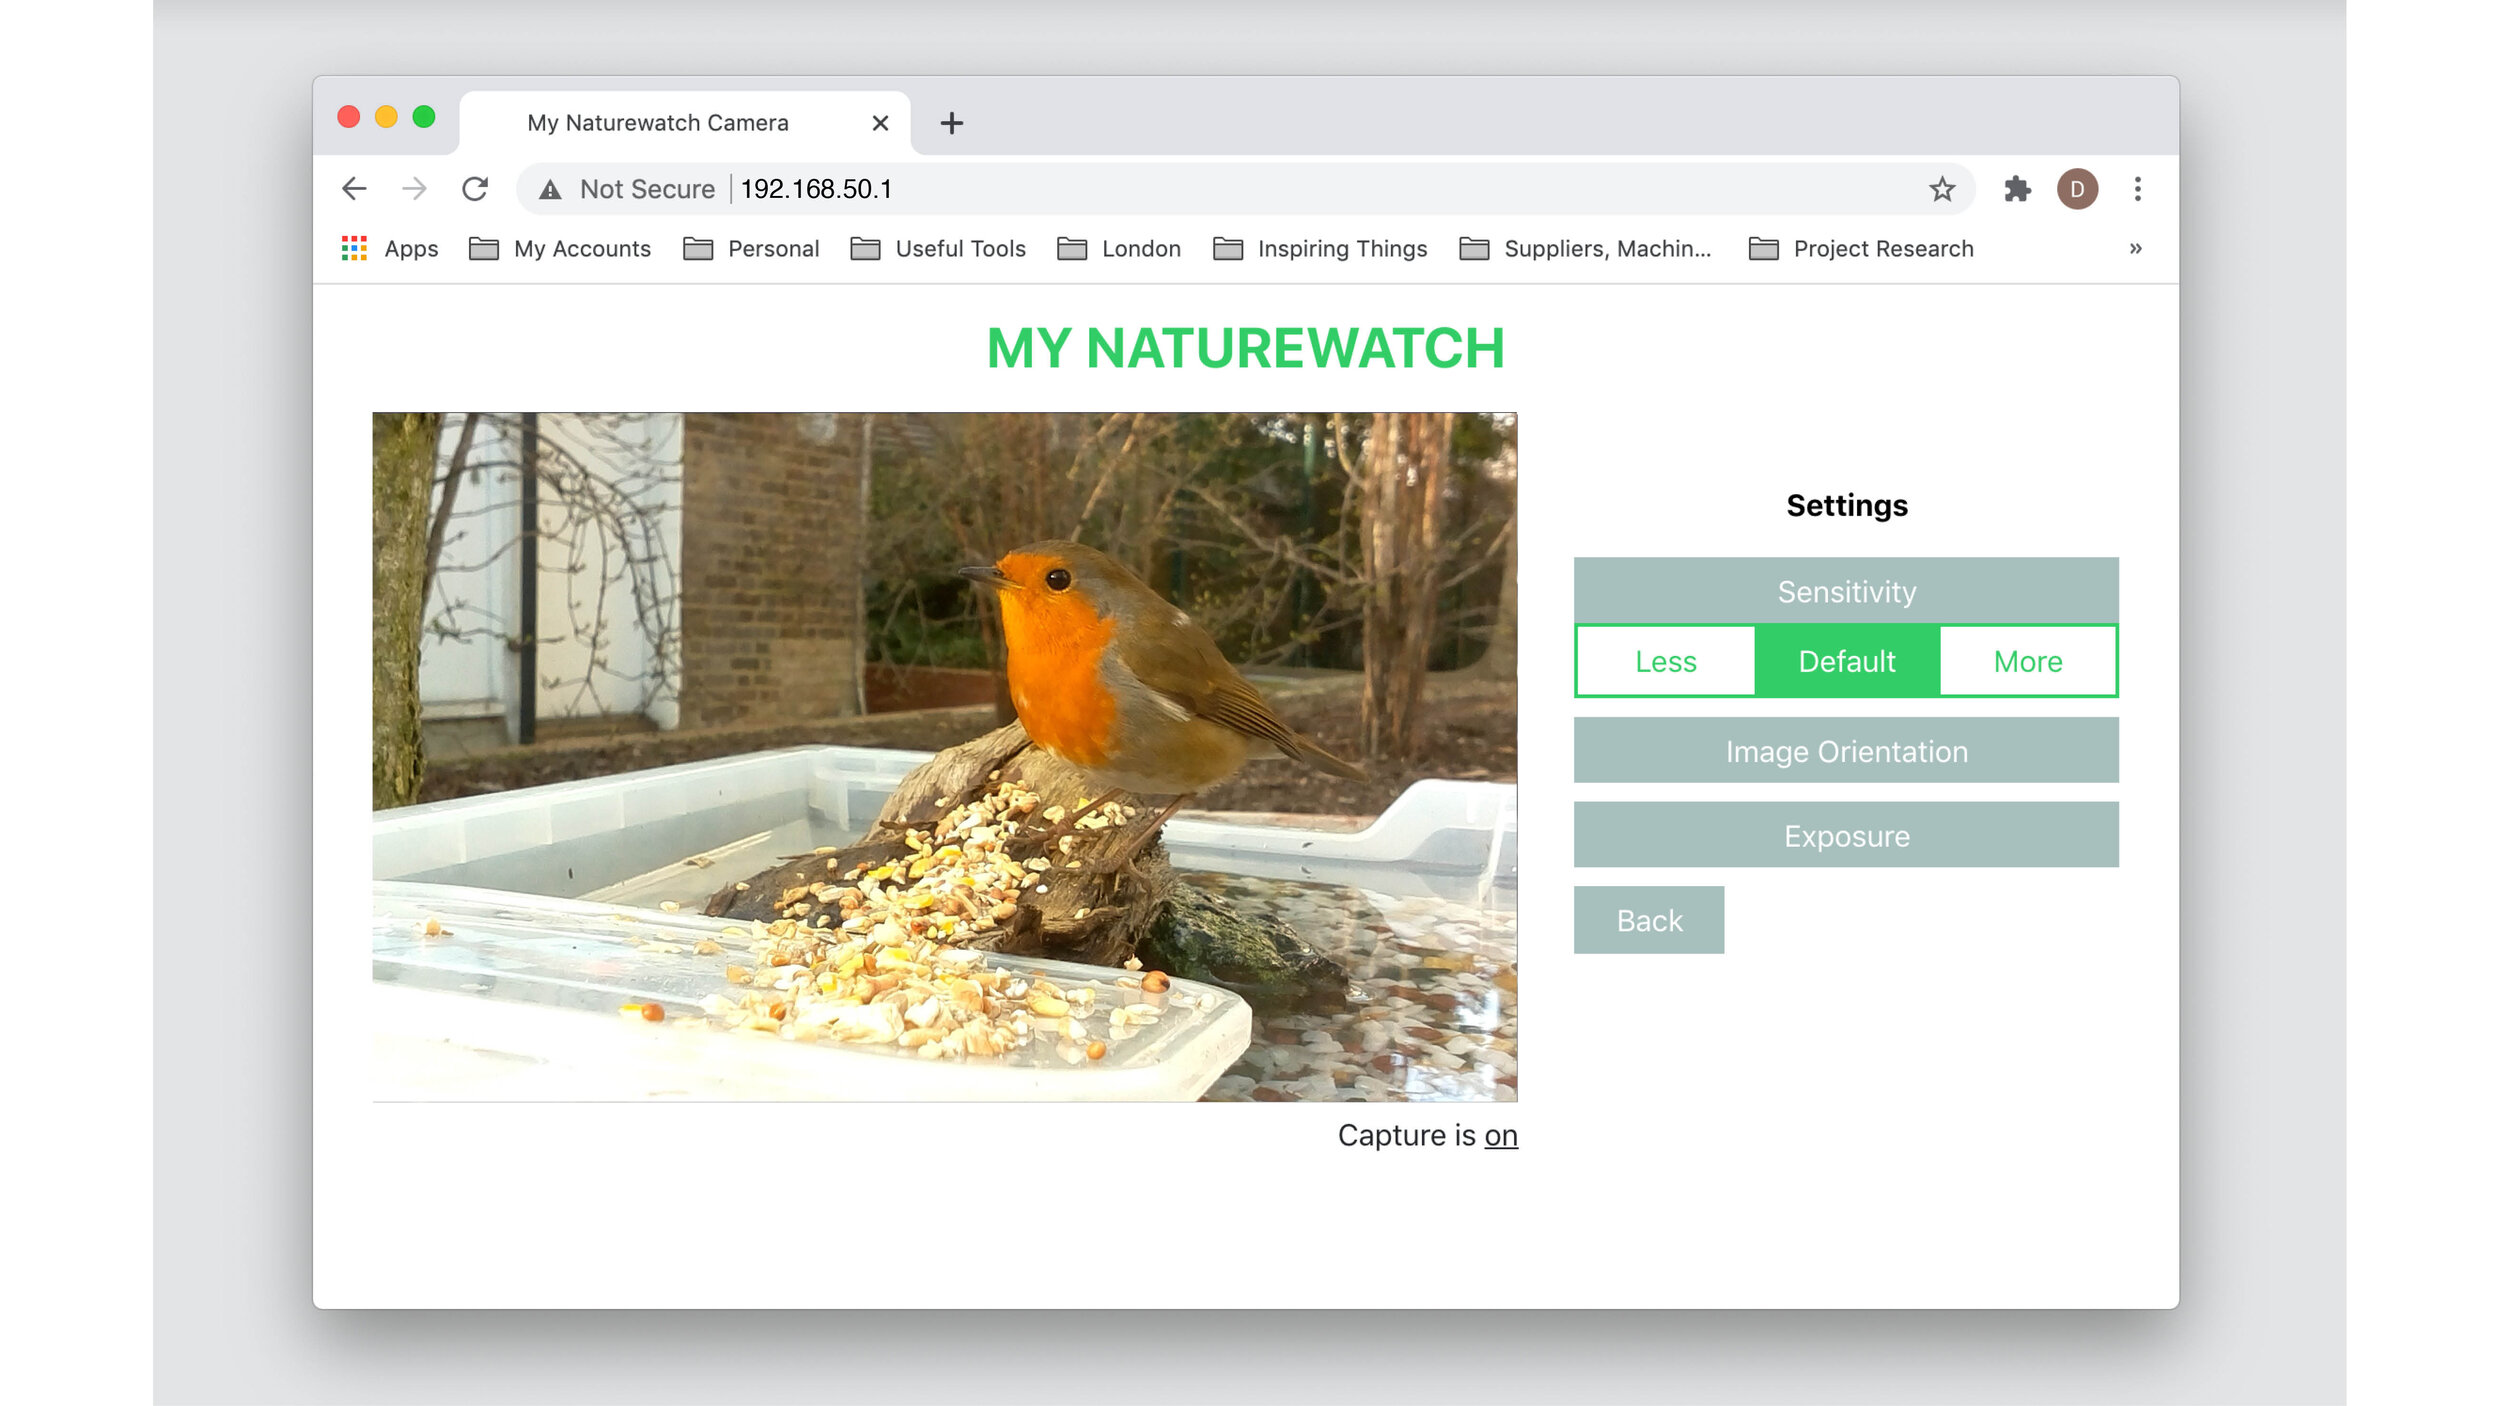
To adjust sensitivity, click Settings > Sensitivity. By selecting 'More' the camera looks for very small changes, however this could increase the number of false positives if there is background motion (such as rustling leaves). In 'Less' mode, the camera will only register big changes which could lead to wildlife being missed.
Altering the sensitivity of the camera is a trial and error process, but a good tip for setting up your camera is to try and position it so that the background has as little movement (trees, bushes, cars, people) as possible.
5. Change orientation
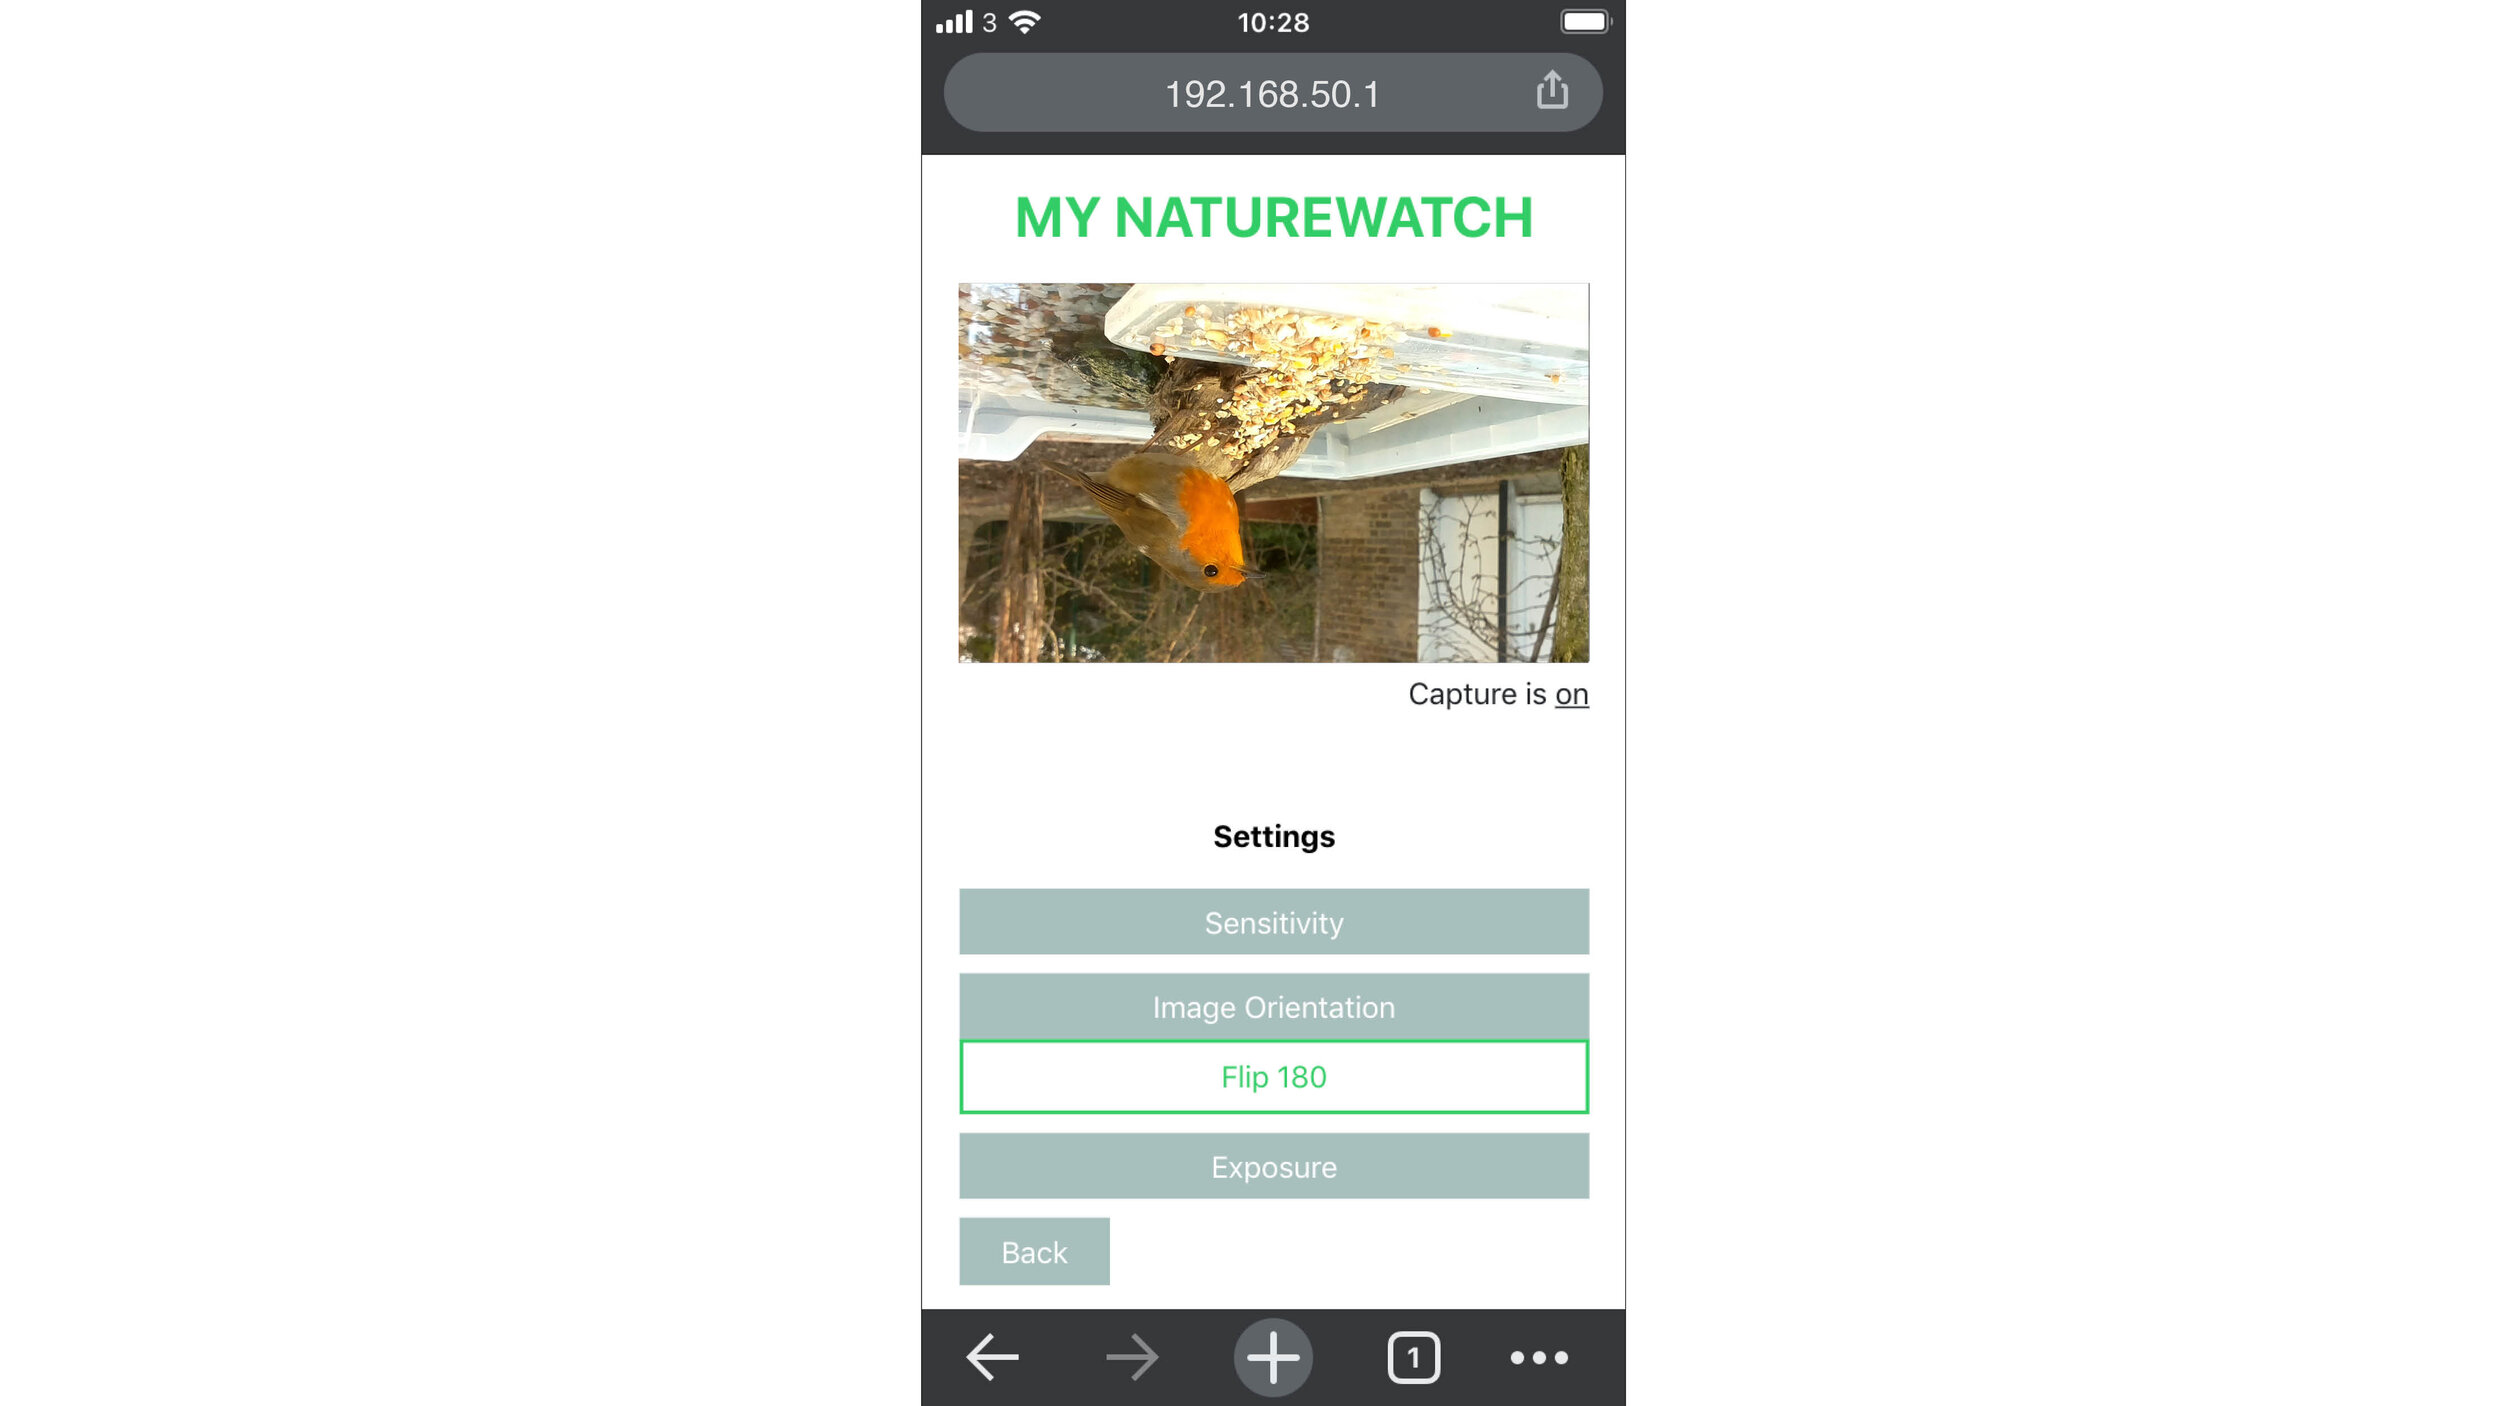
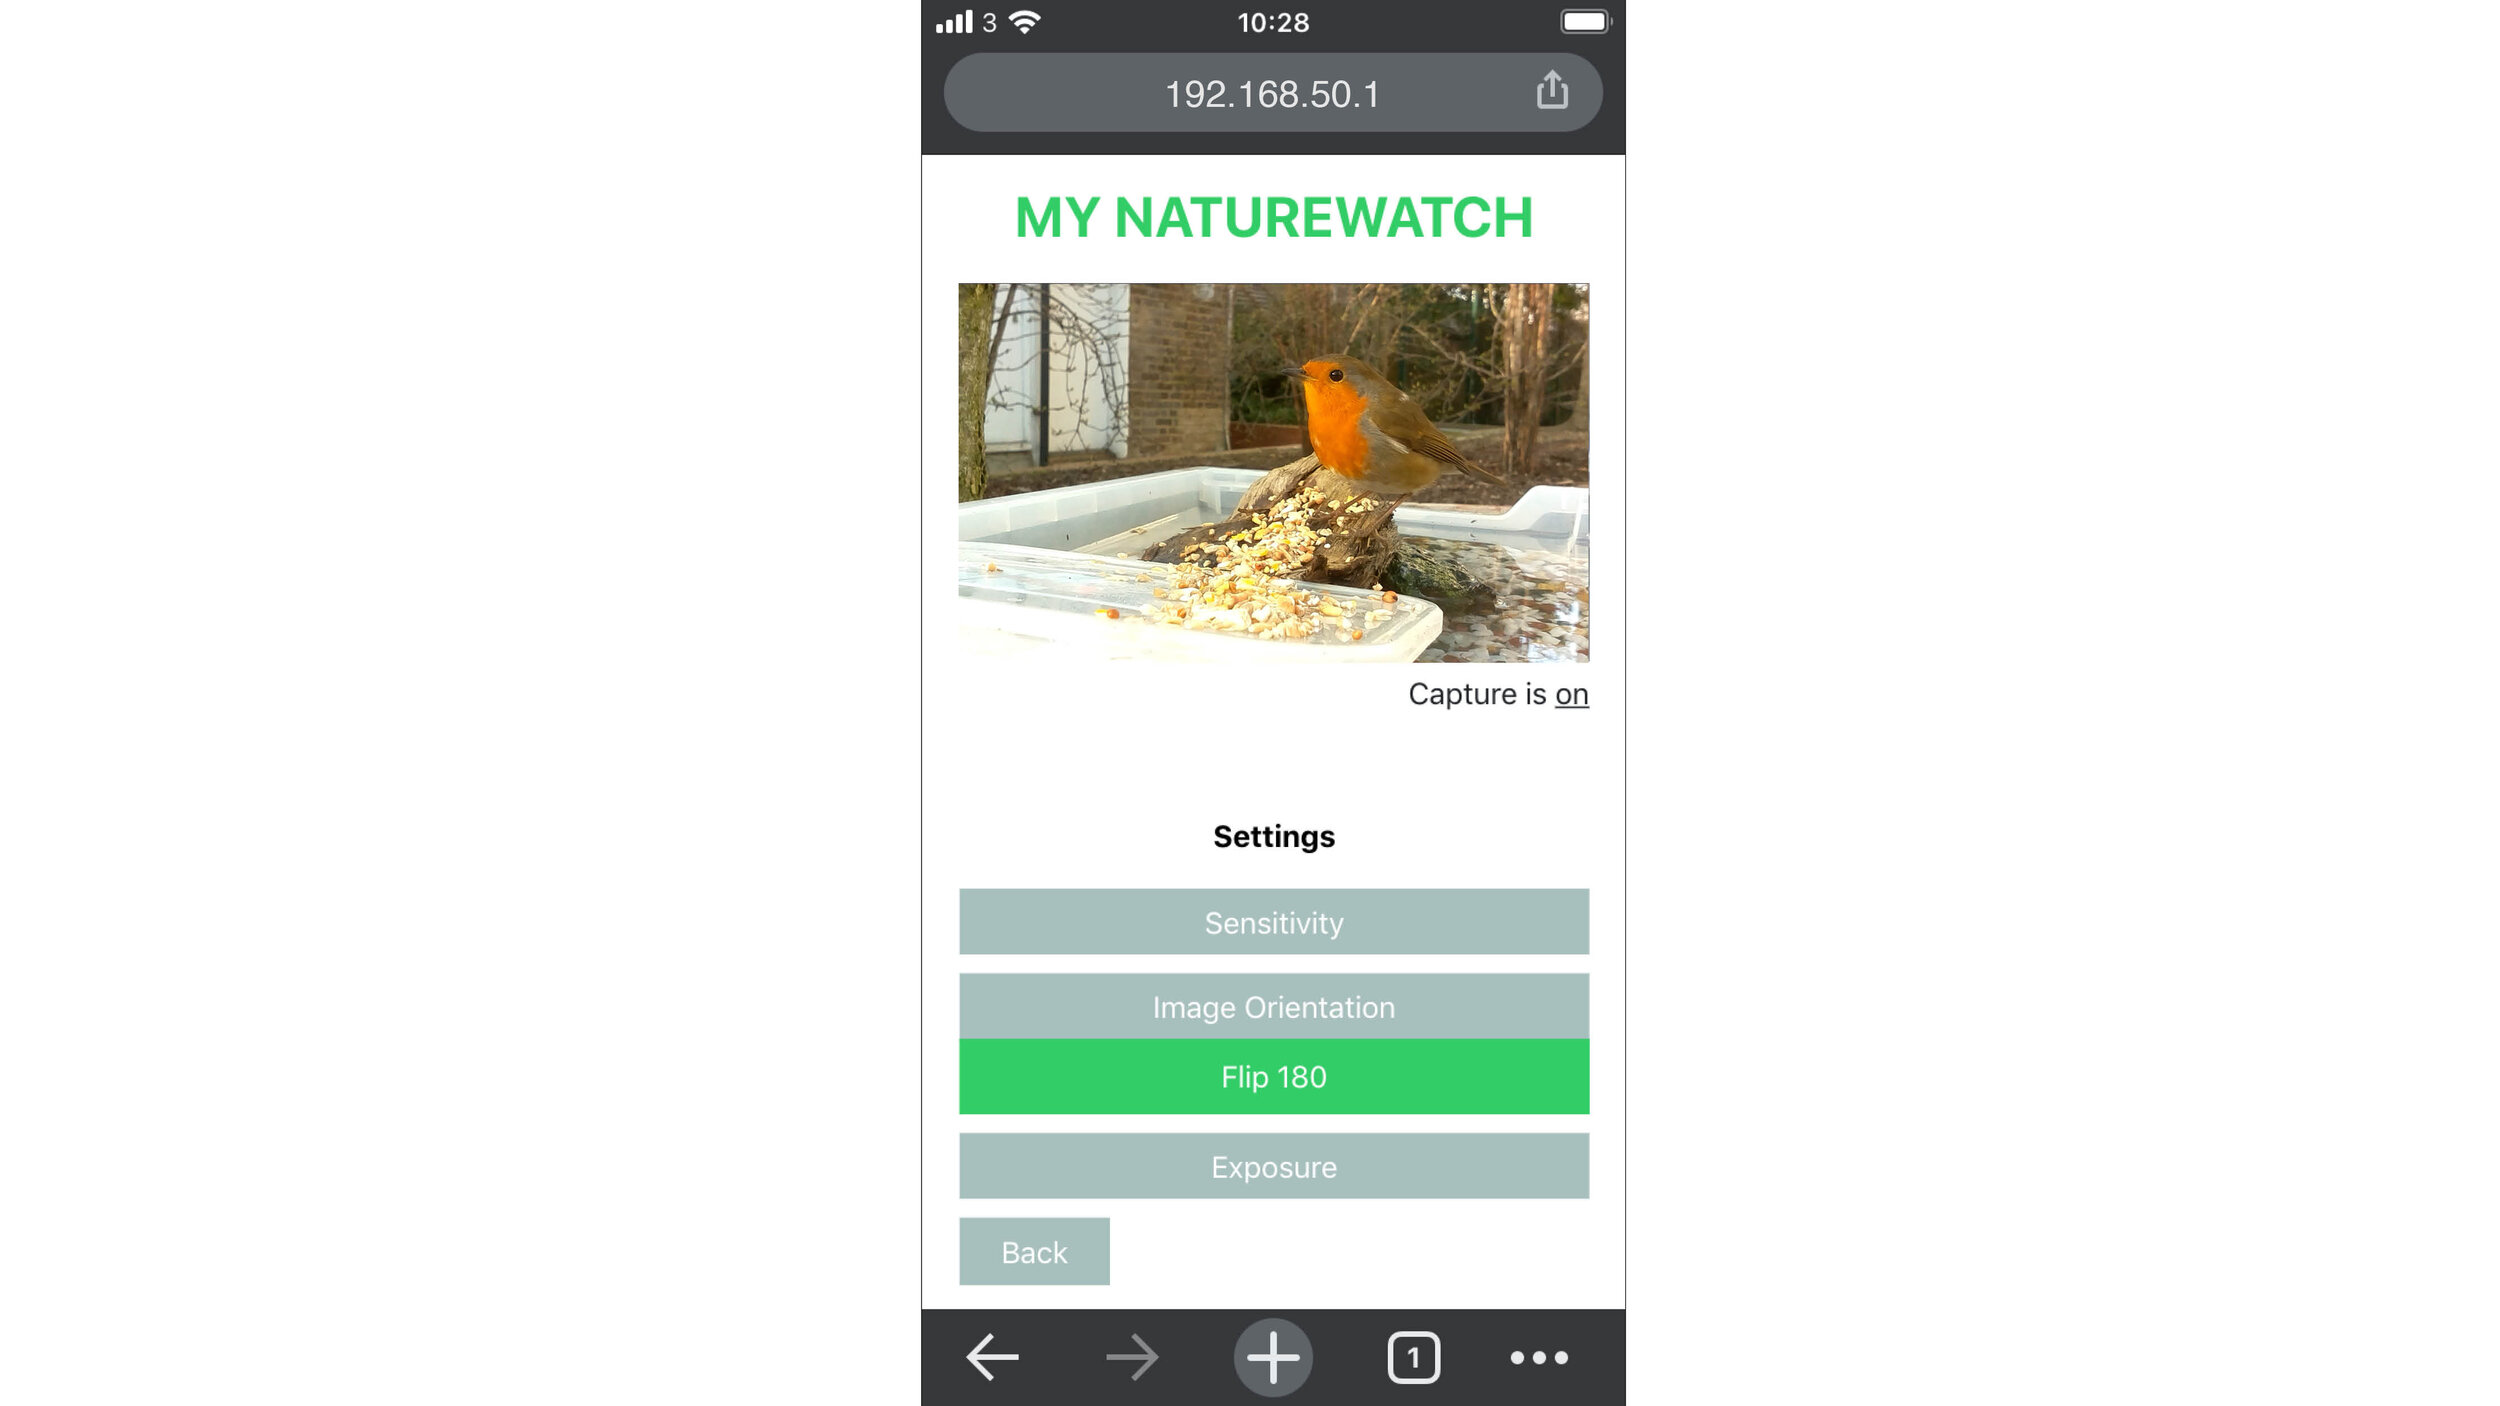
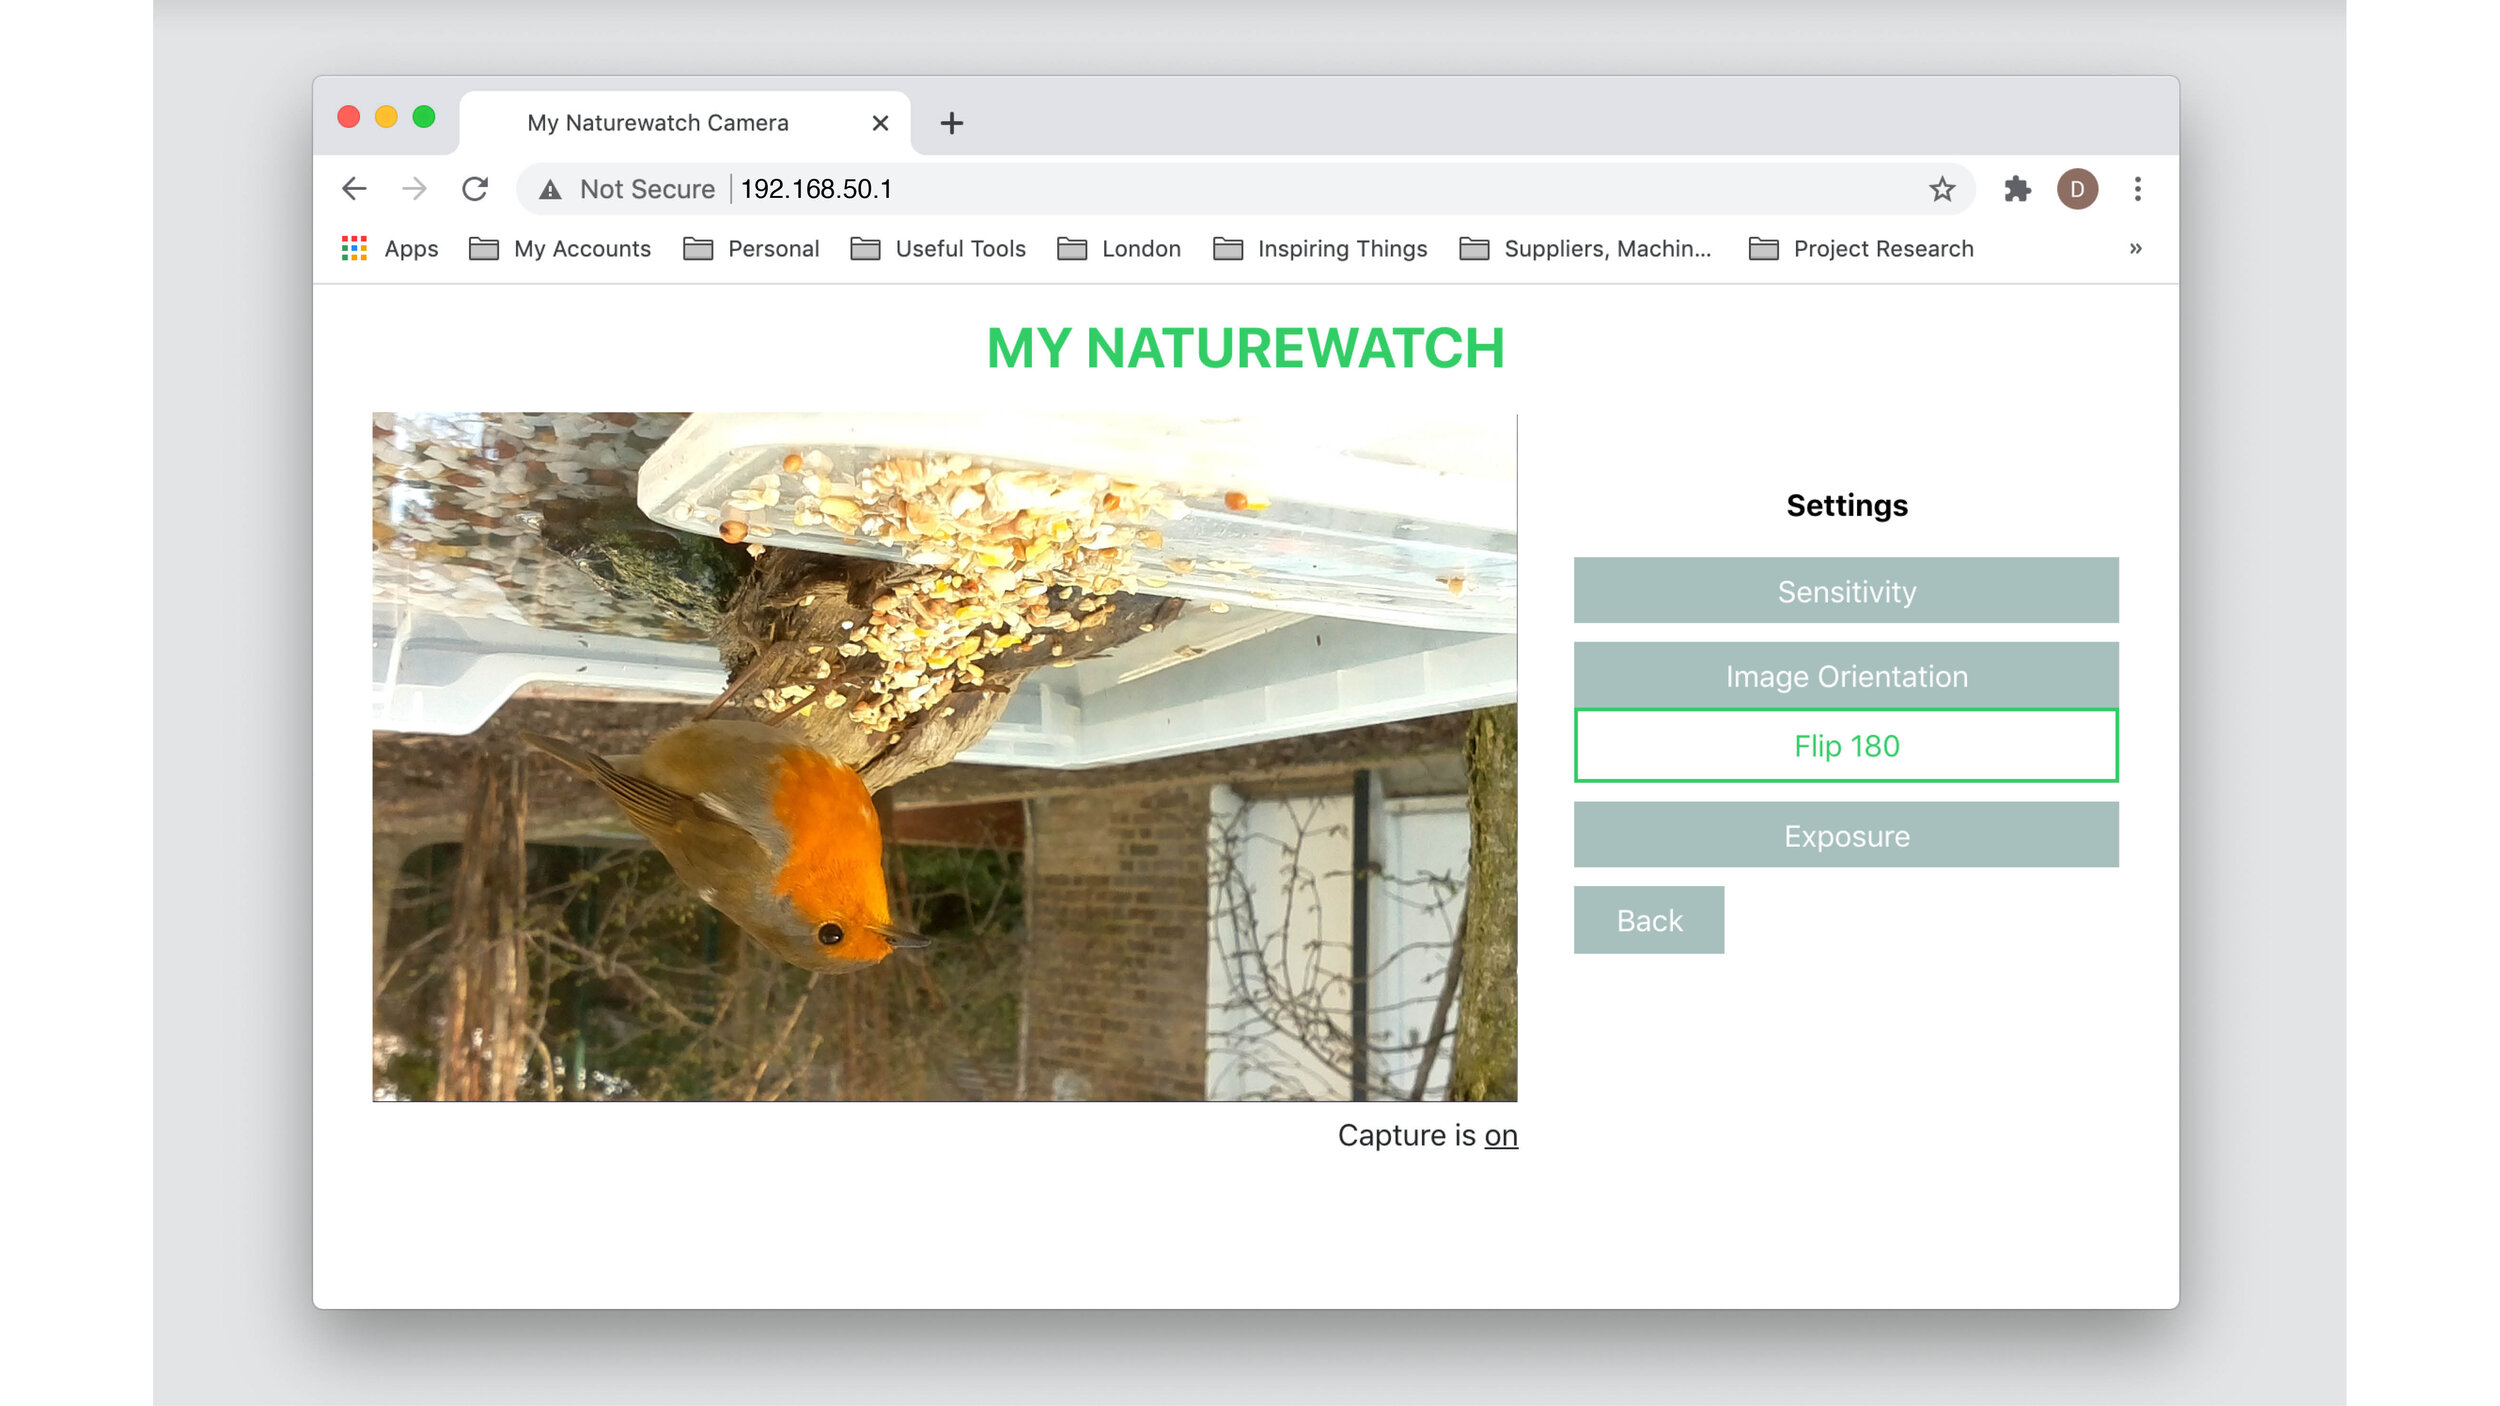
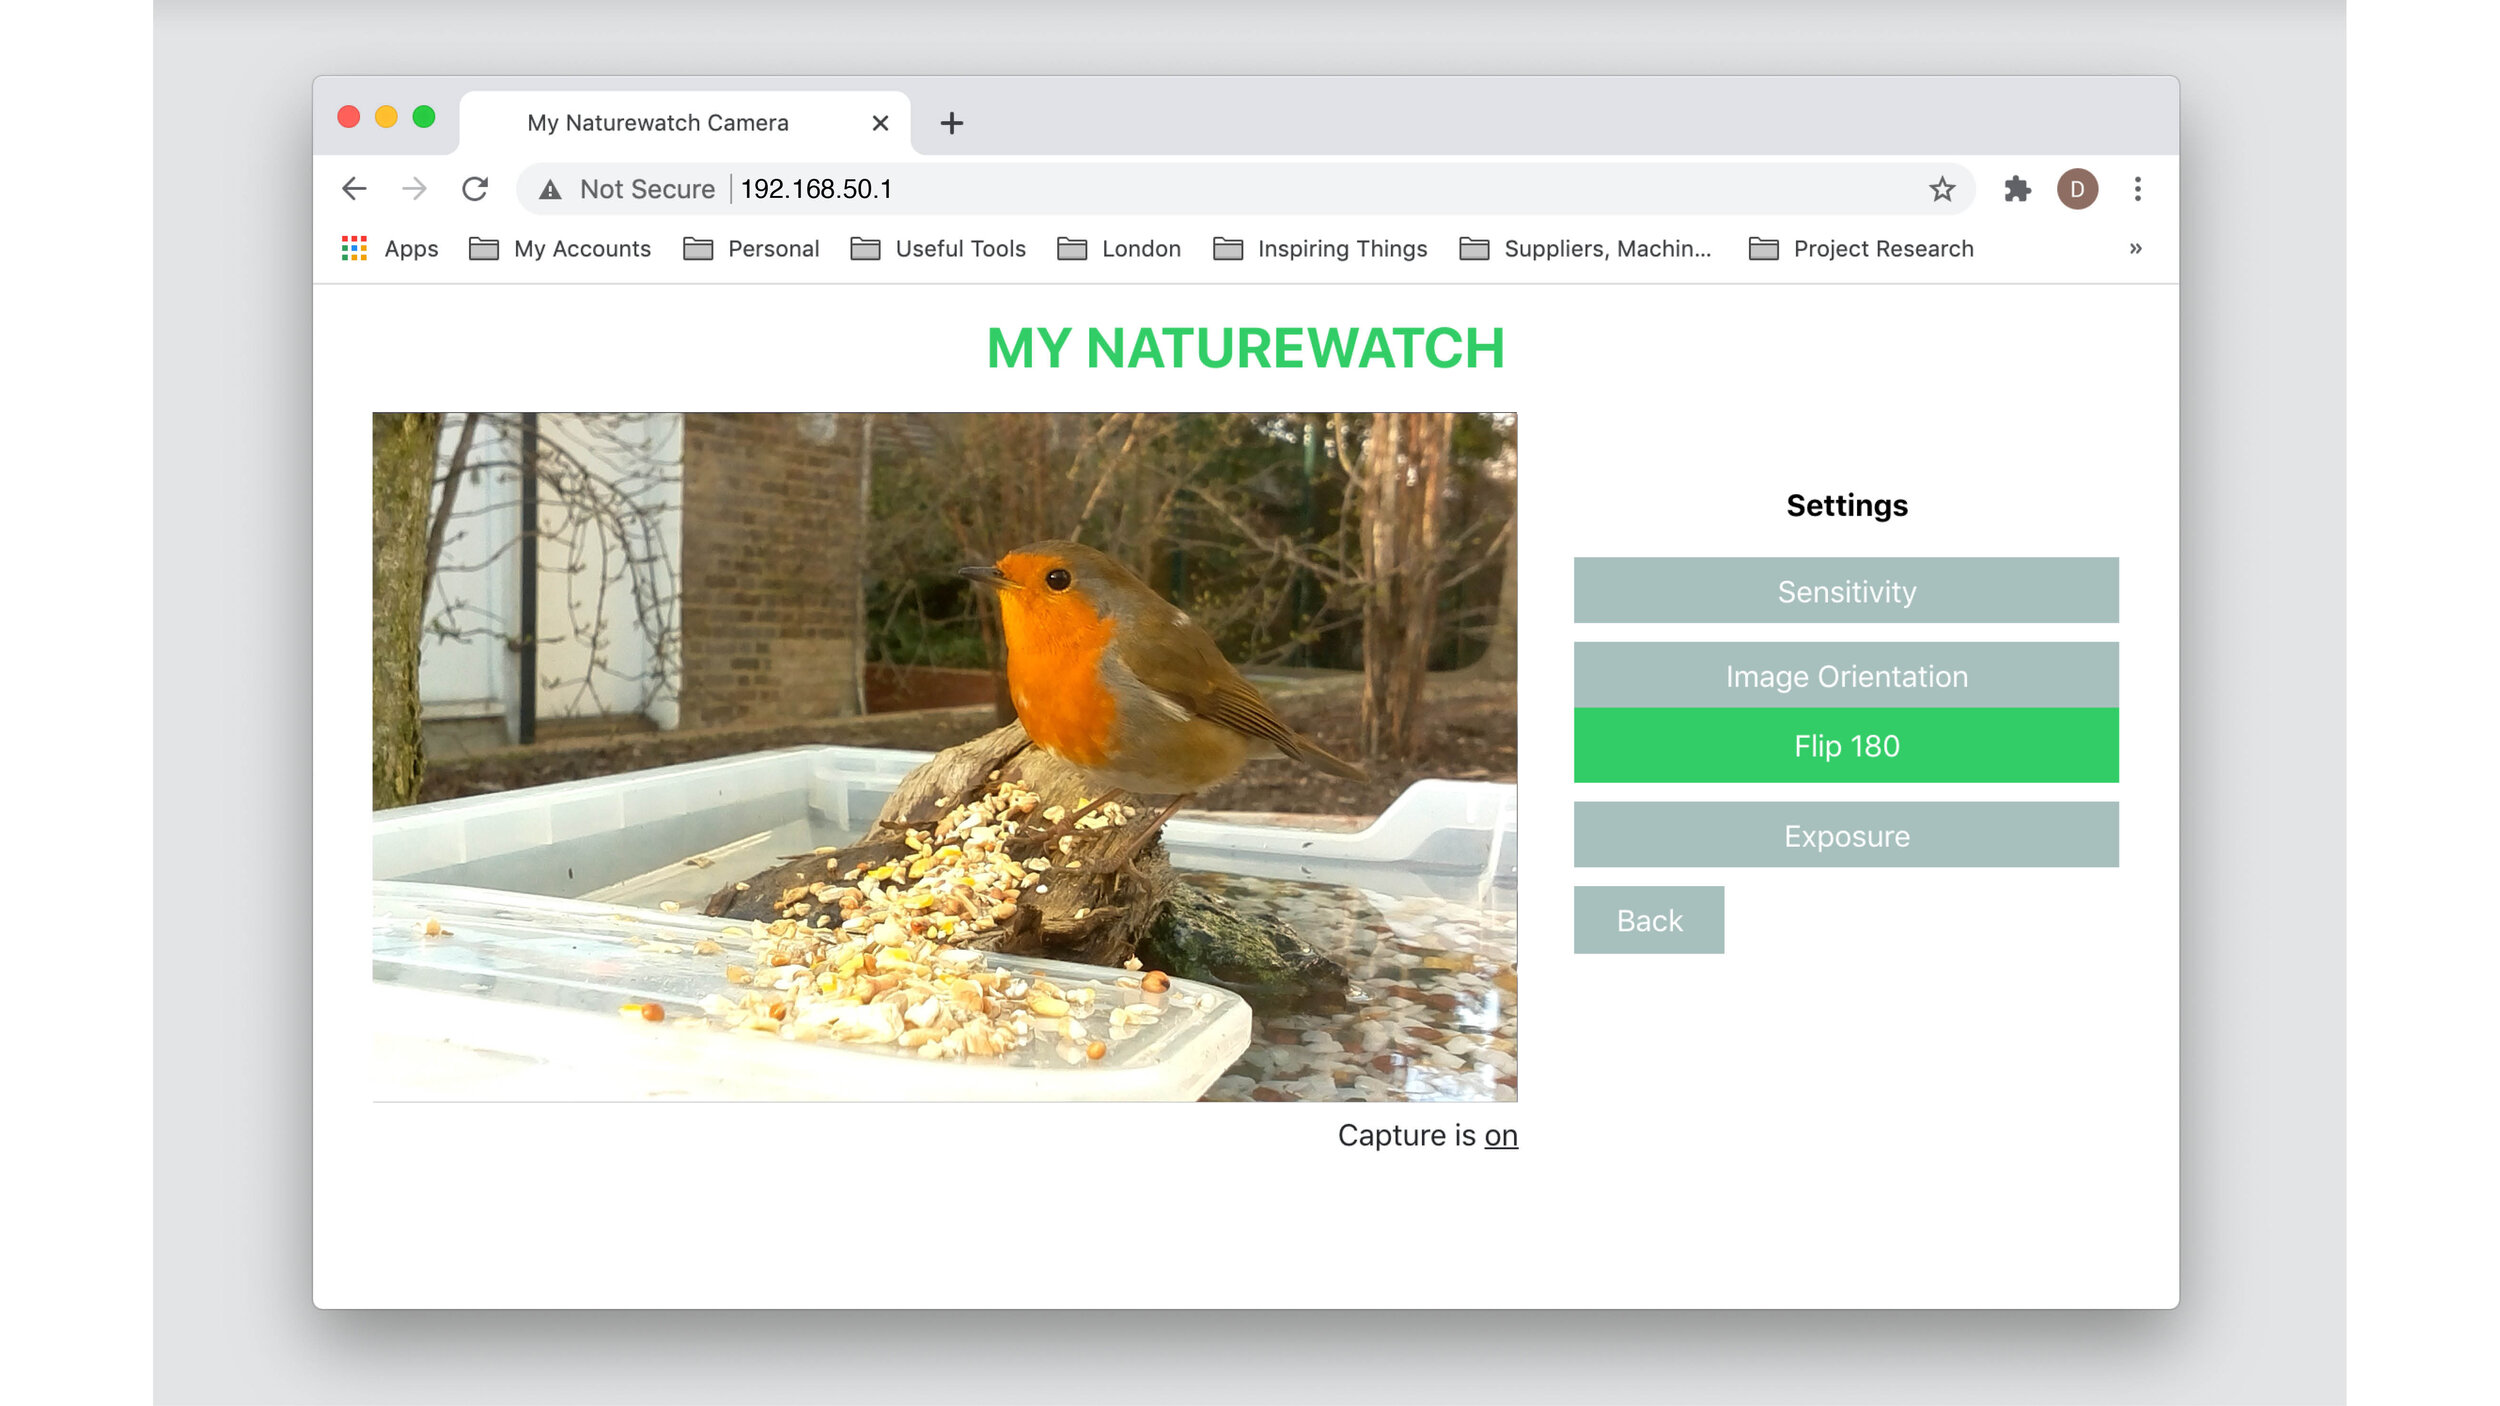
Depending on how you built you My Naturewatch Camera, the live preview feed may appear upside down. To correct this, click Settings > Image Orientation > Flip 180.
6. Change Exposure
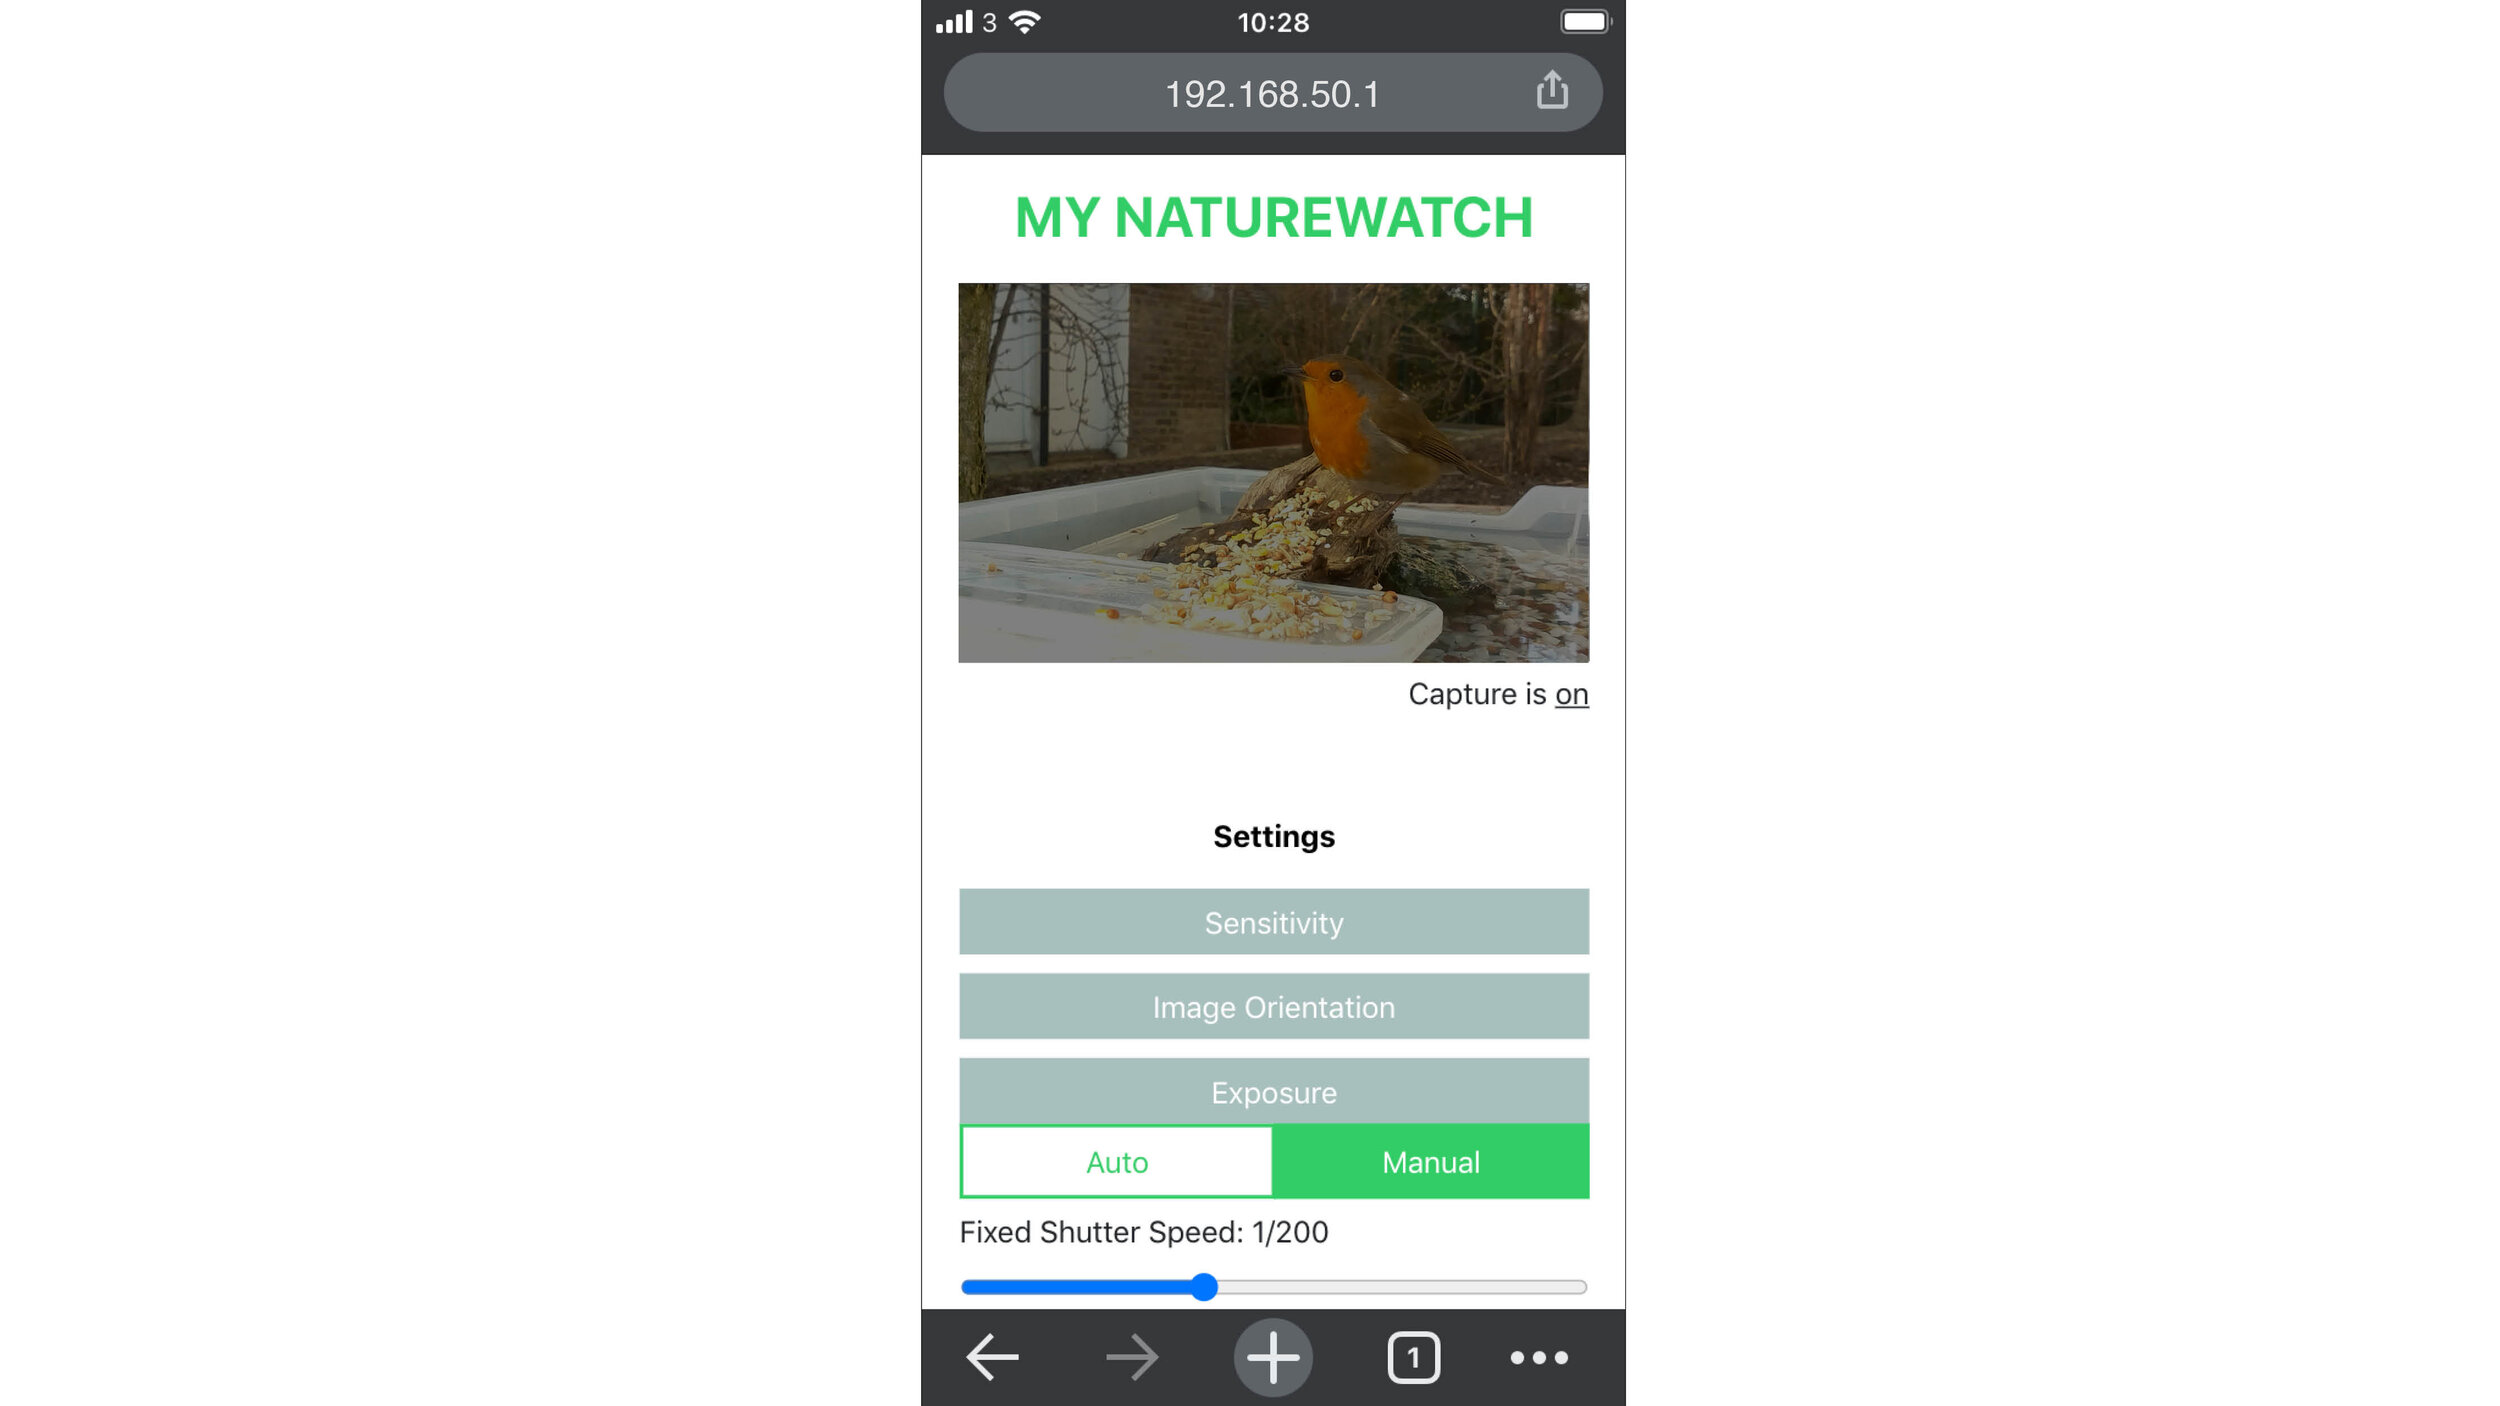
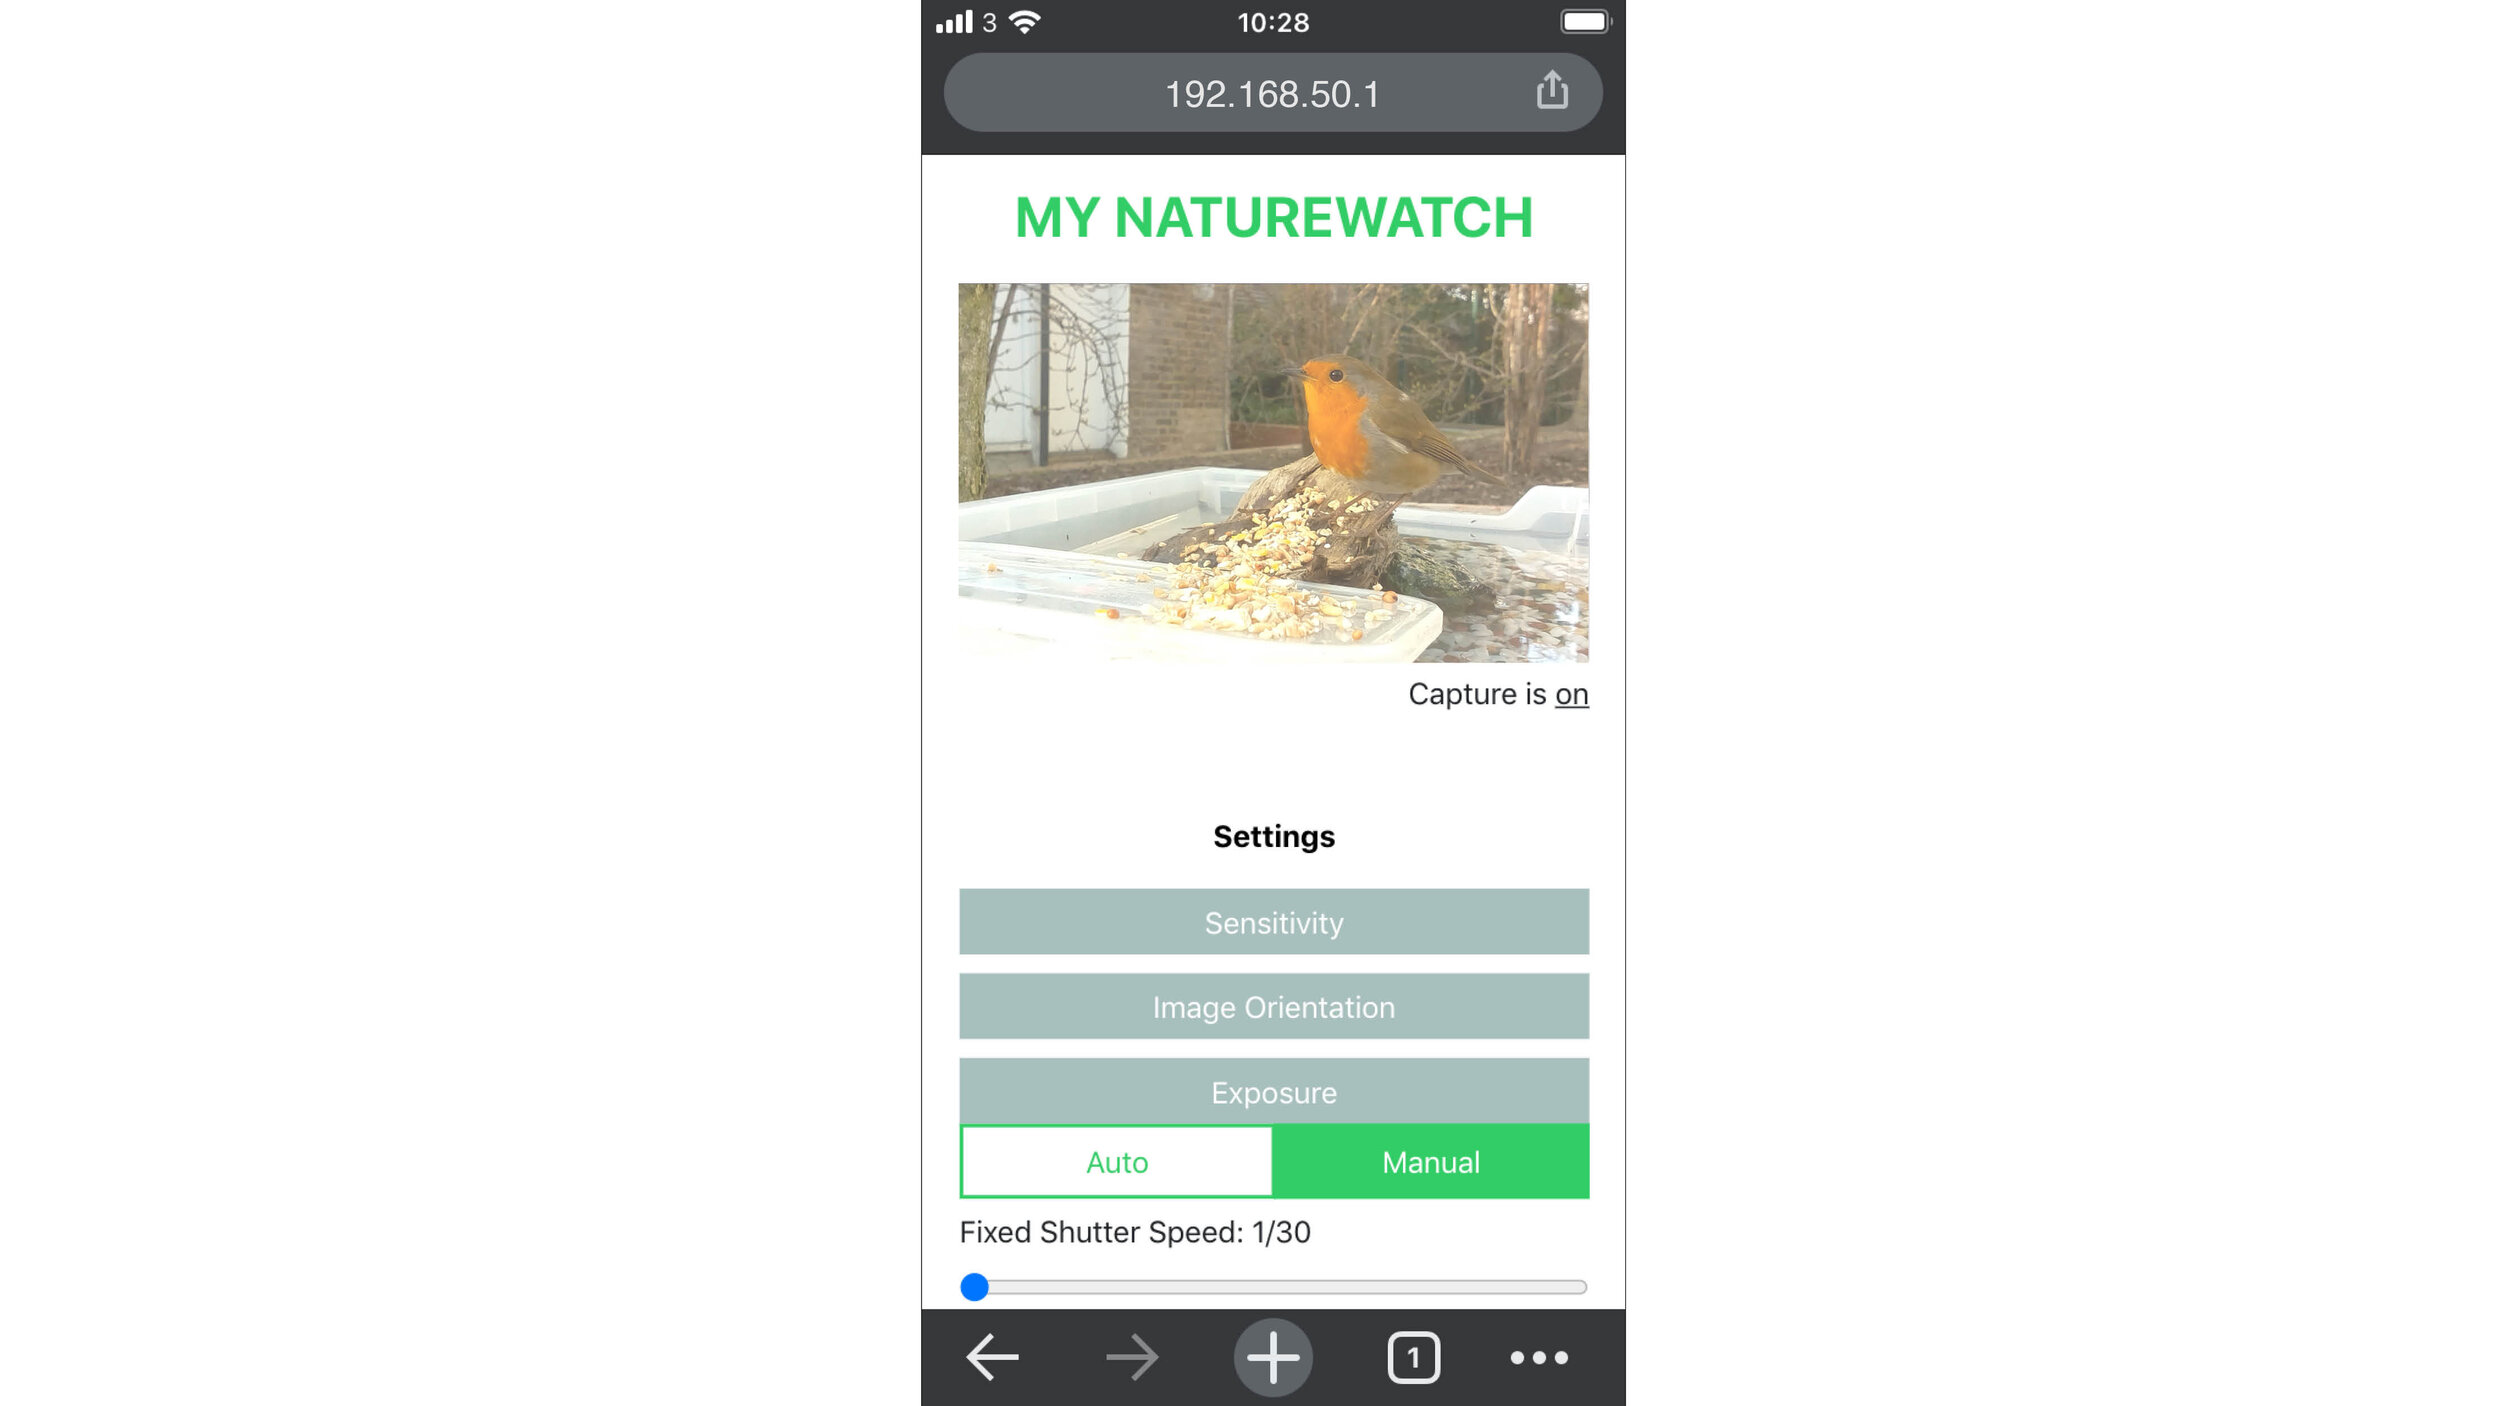
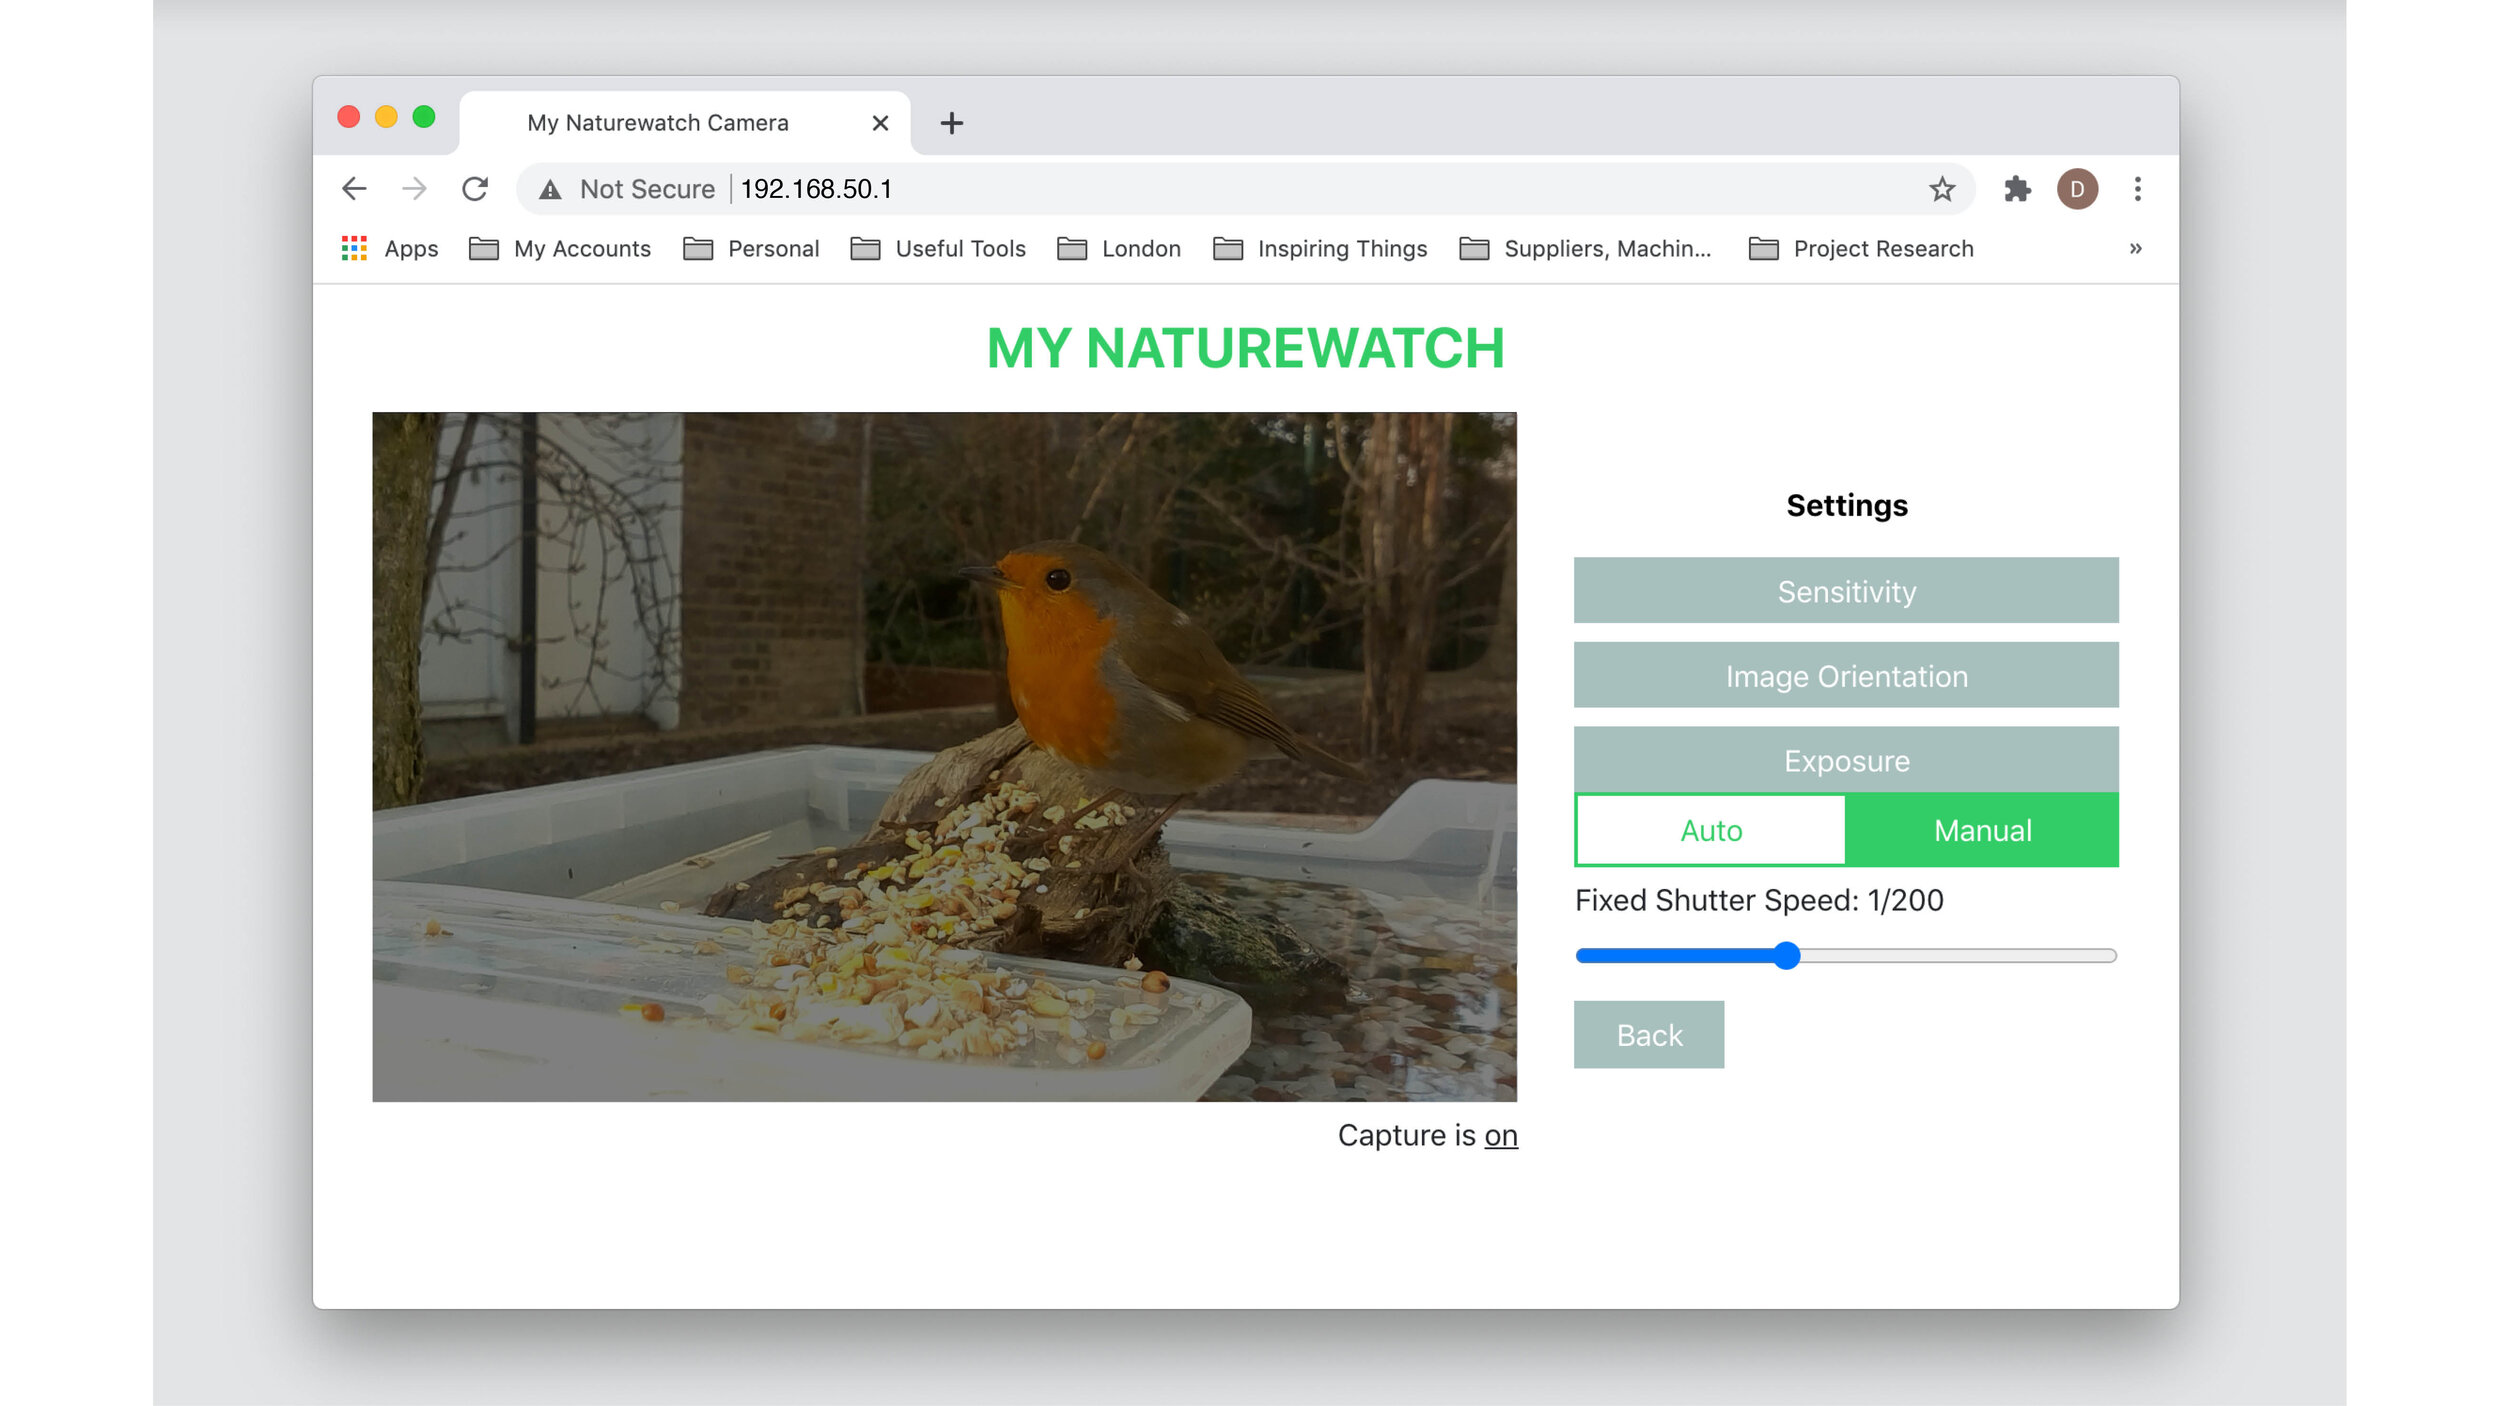
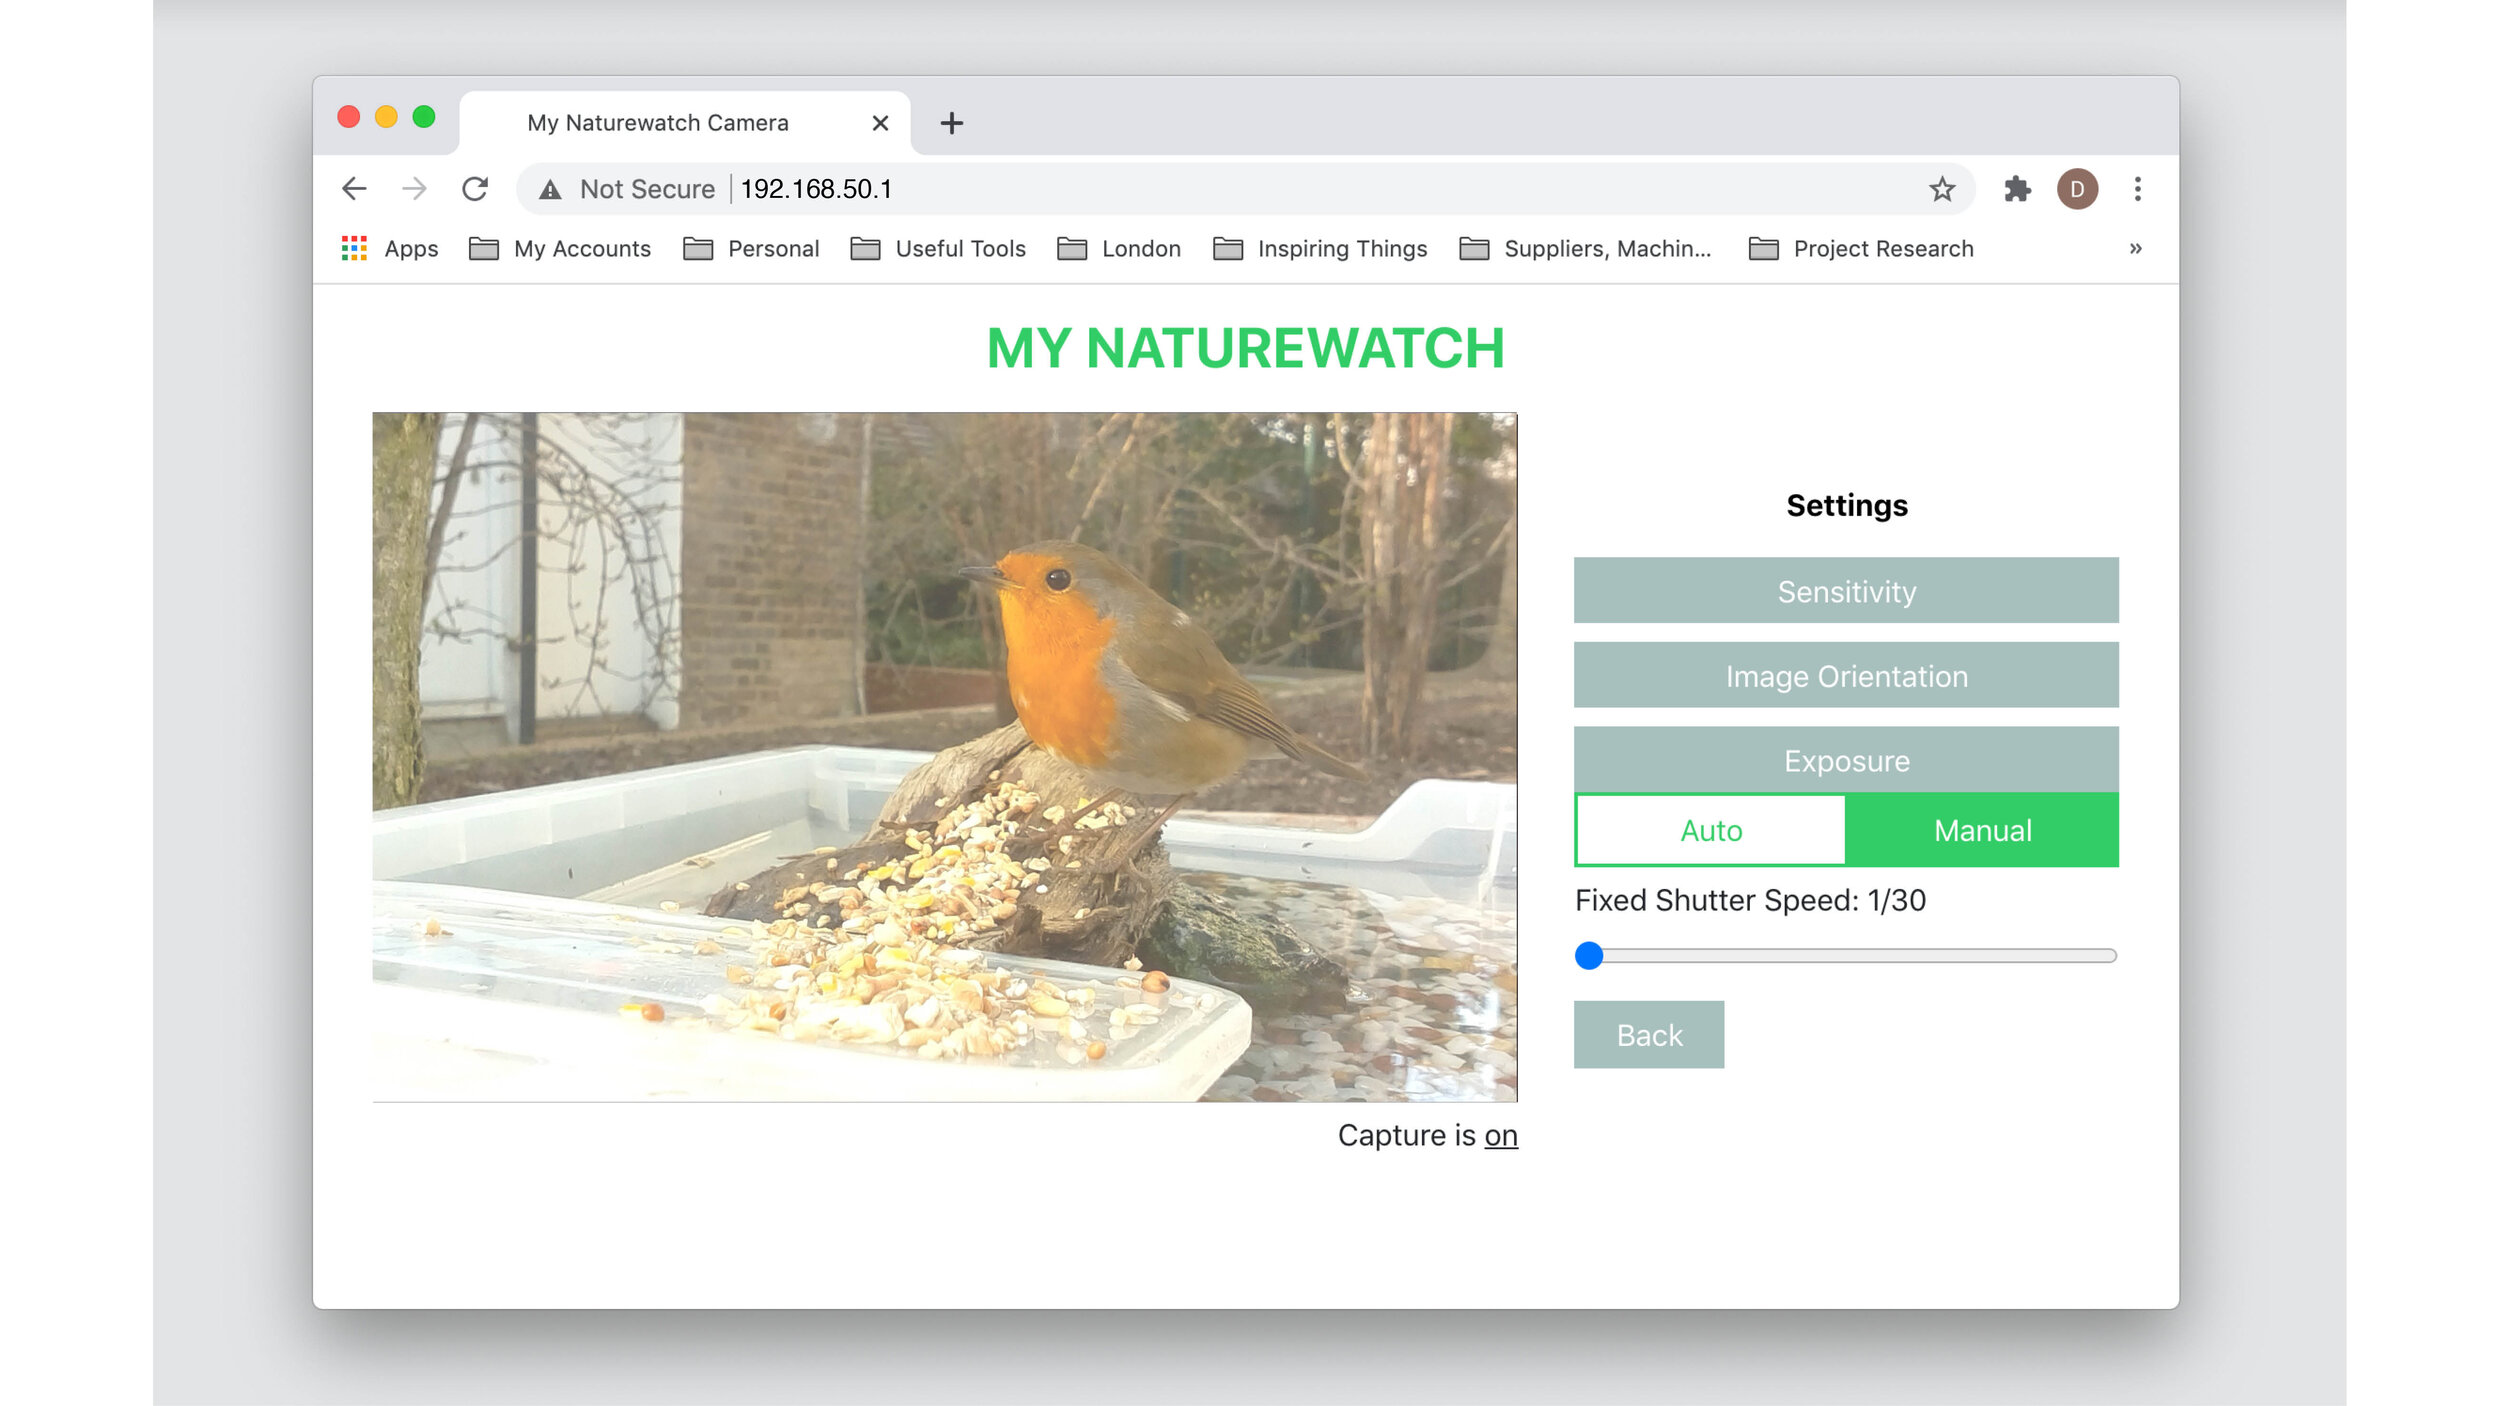
By Default, the My Naturewatch Camera is set to automatically control the exposure of the image. However the exposure can be set manually if the scene has mixed lighting conditions, or if you would simply like to modify the shutter speed to create different effects.
To switch to manual control, click Settings > Exposure > Manual. Moving the slider allows you to select a number of different shutter speeds and clicking the button 'Update Manual Settings' sends the setting to the camera.
7. Using the gallery
Pressing the ' Gallery' button on the main screen will lead to a new page showing all the pictures the camera has captured. In this page you will be able to preview, save and delete the media. The features of the gallery change depending on the device you are using.
Click here to learn about using the gallery on a mobile phone or tablet.
Click here to learn about using the gallery on a desktop.
8. Having problems?
If your camera is not working visit our Troubleshooting page where you will be able to do a check up of your camera and find information on how to fix common problems.
9. Share your photos!
Post your pictures to Instagram and Twitter and don't forget to tag them with #mynaturewatch and #springwatch. See more on our gallery page and in the discussion Forum.
10. Advanced features
The following features are only recommended for advanced users:
A Few Tips
Please note that in warm weather, we do not recommend putting the My Naturewatch Camera in direct sunlight as this can lead to overheating issues.
You do not have to remain connected to the camera’s wi-fi for it to function and continue recording.
The battery pack of the Naturewatch Camera will have to be charged every 12 hours or so (depending on the battery).
For best results, try to frame the image of the Camera so that the action you expect to capture will be 0.5 - 1 metre away.
Experiment with different ways of mounting My Naturewatch Cam. Near a bird feeder, hanging in a tree, pointing at the ground...
Try different types of bait. Lots of animals – birds, foxes, rats, badgers – like apples, for example.
The infrared camera has an infrared filter over the lens. This makes it very effective for capturing activity in low light levels, however colours will appear washed out if used during the day.
Using a wildlife camera can be like fishing: sometimes nothing bites. Be patient and keep trying!