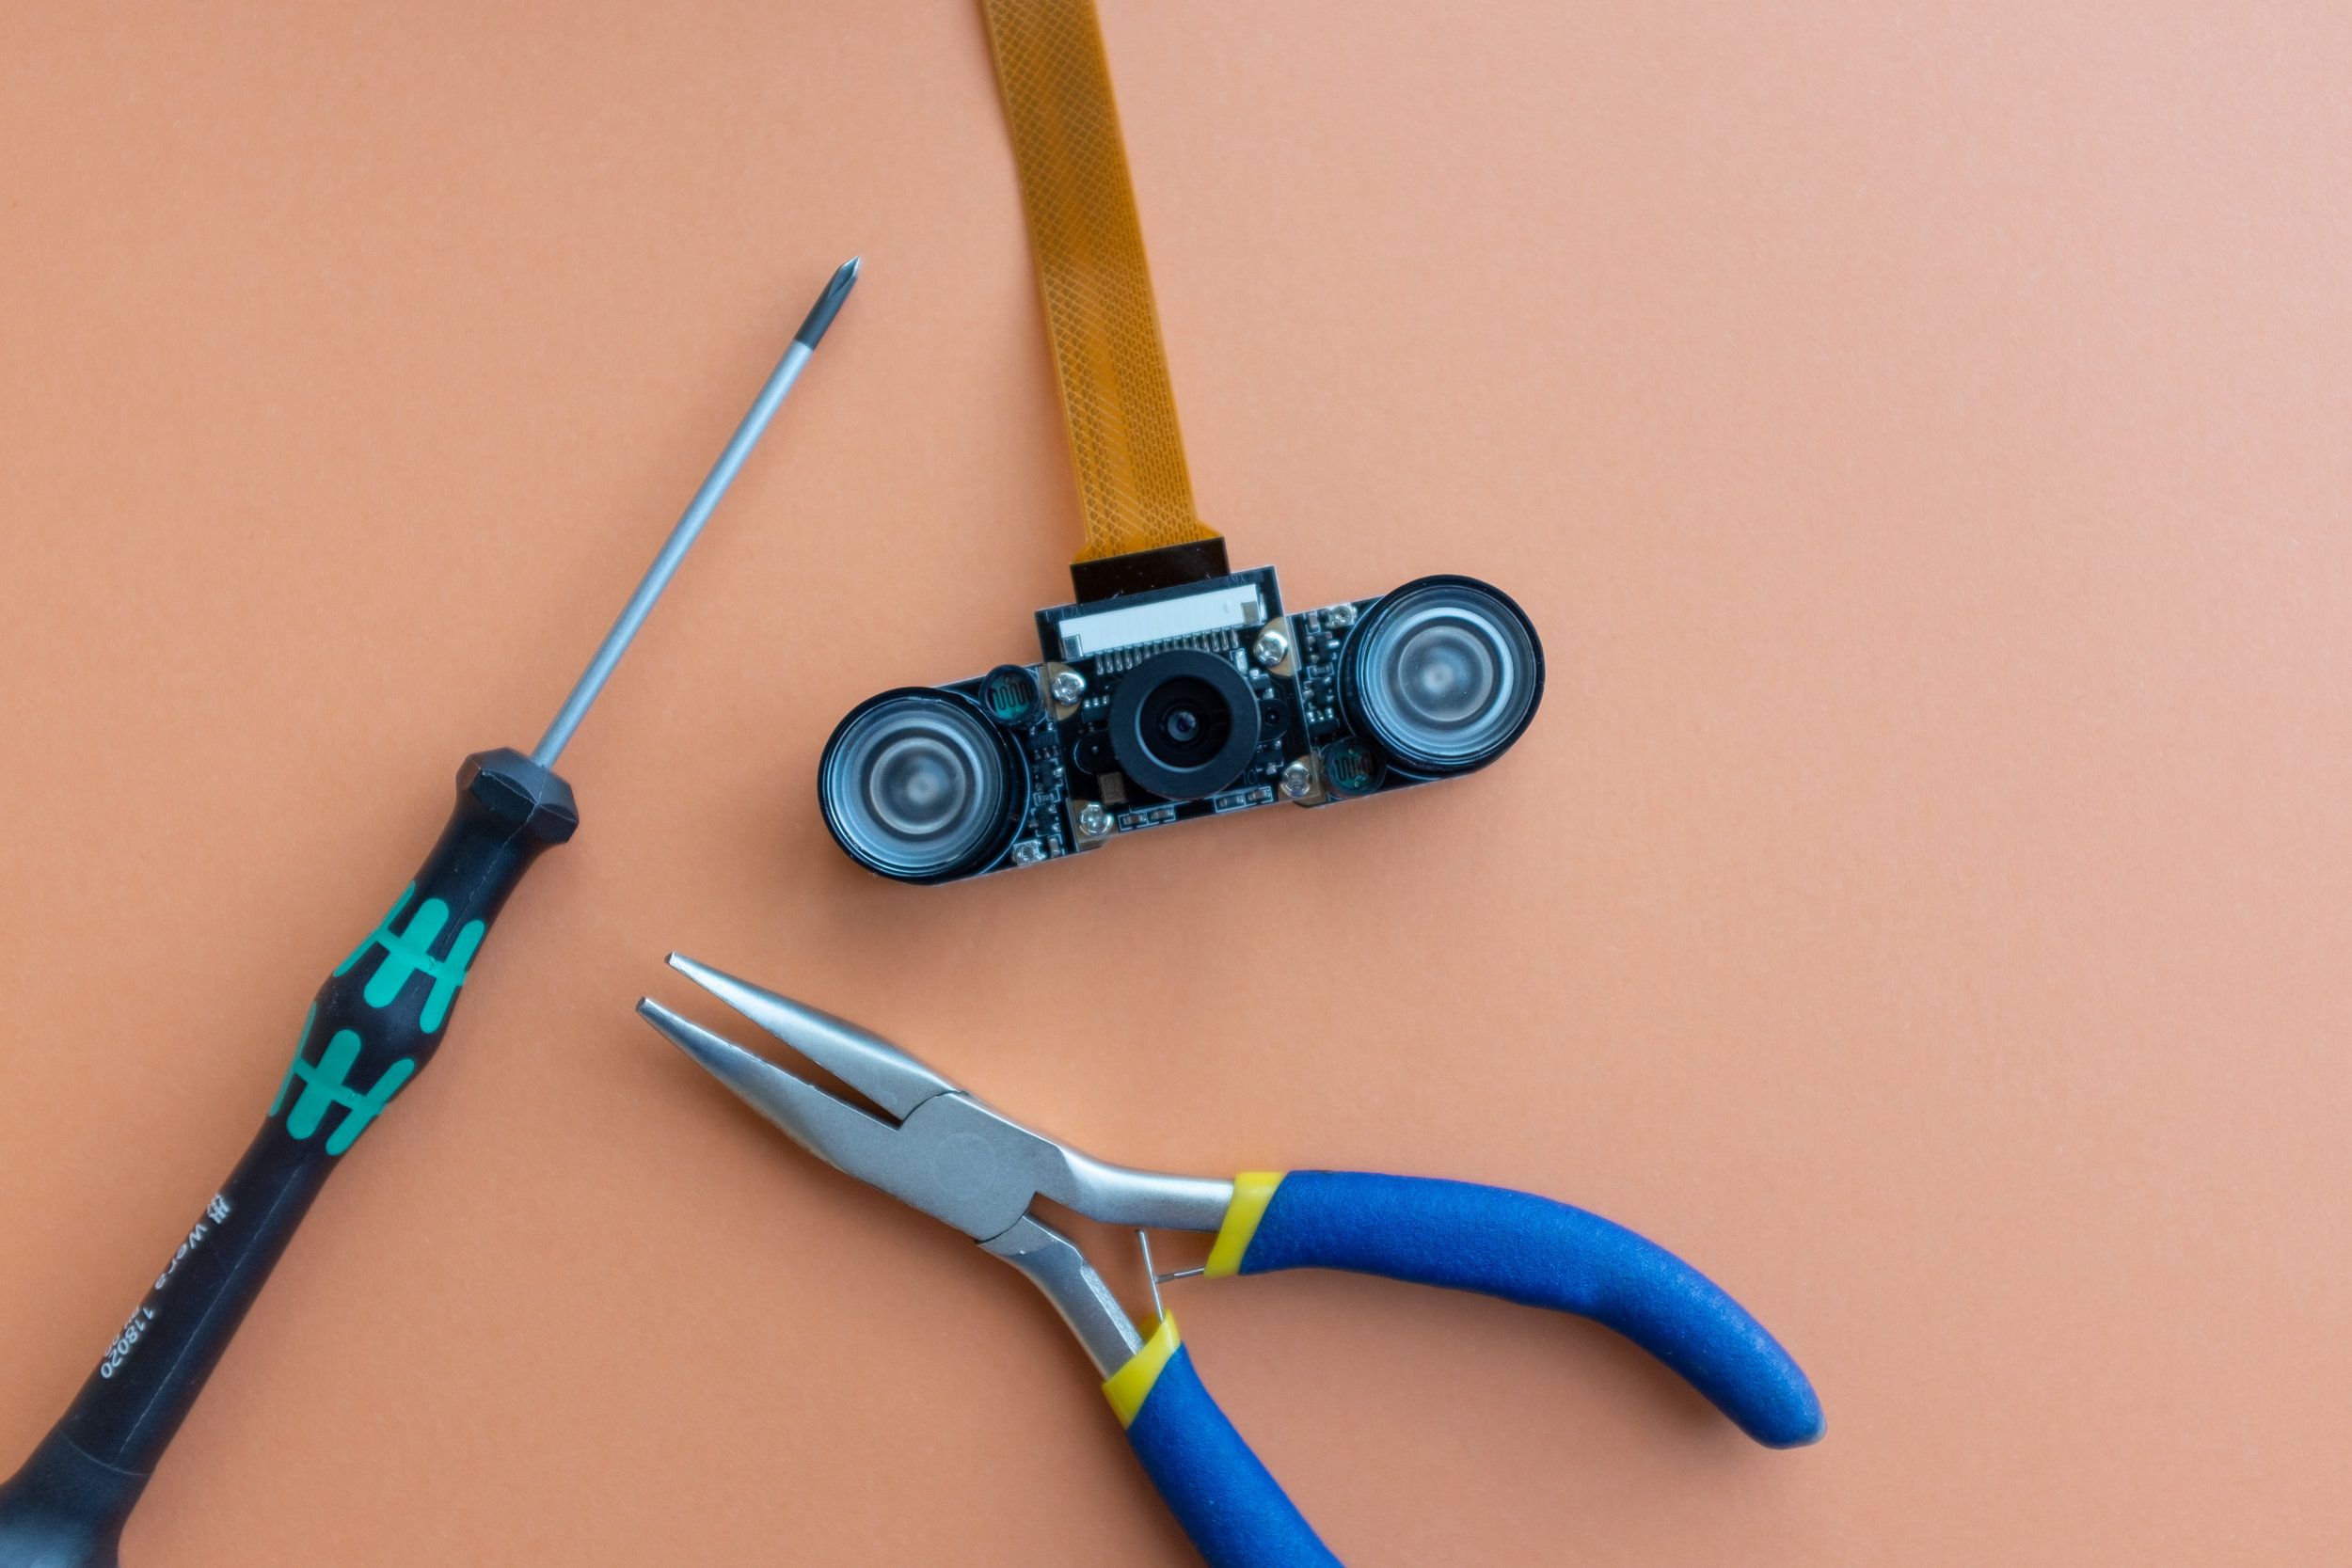
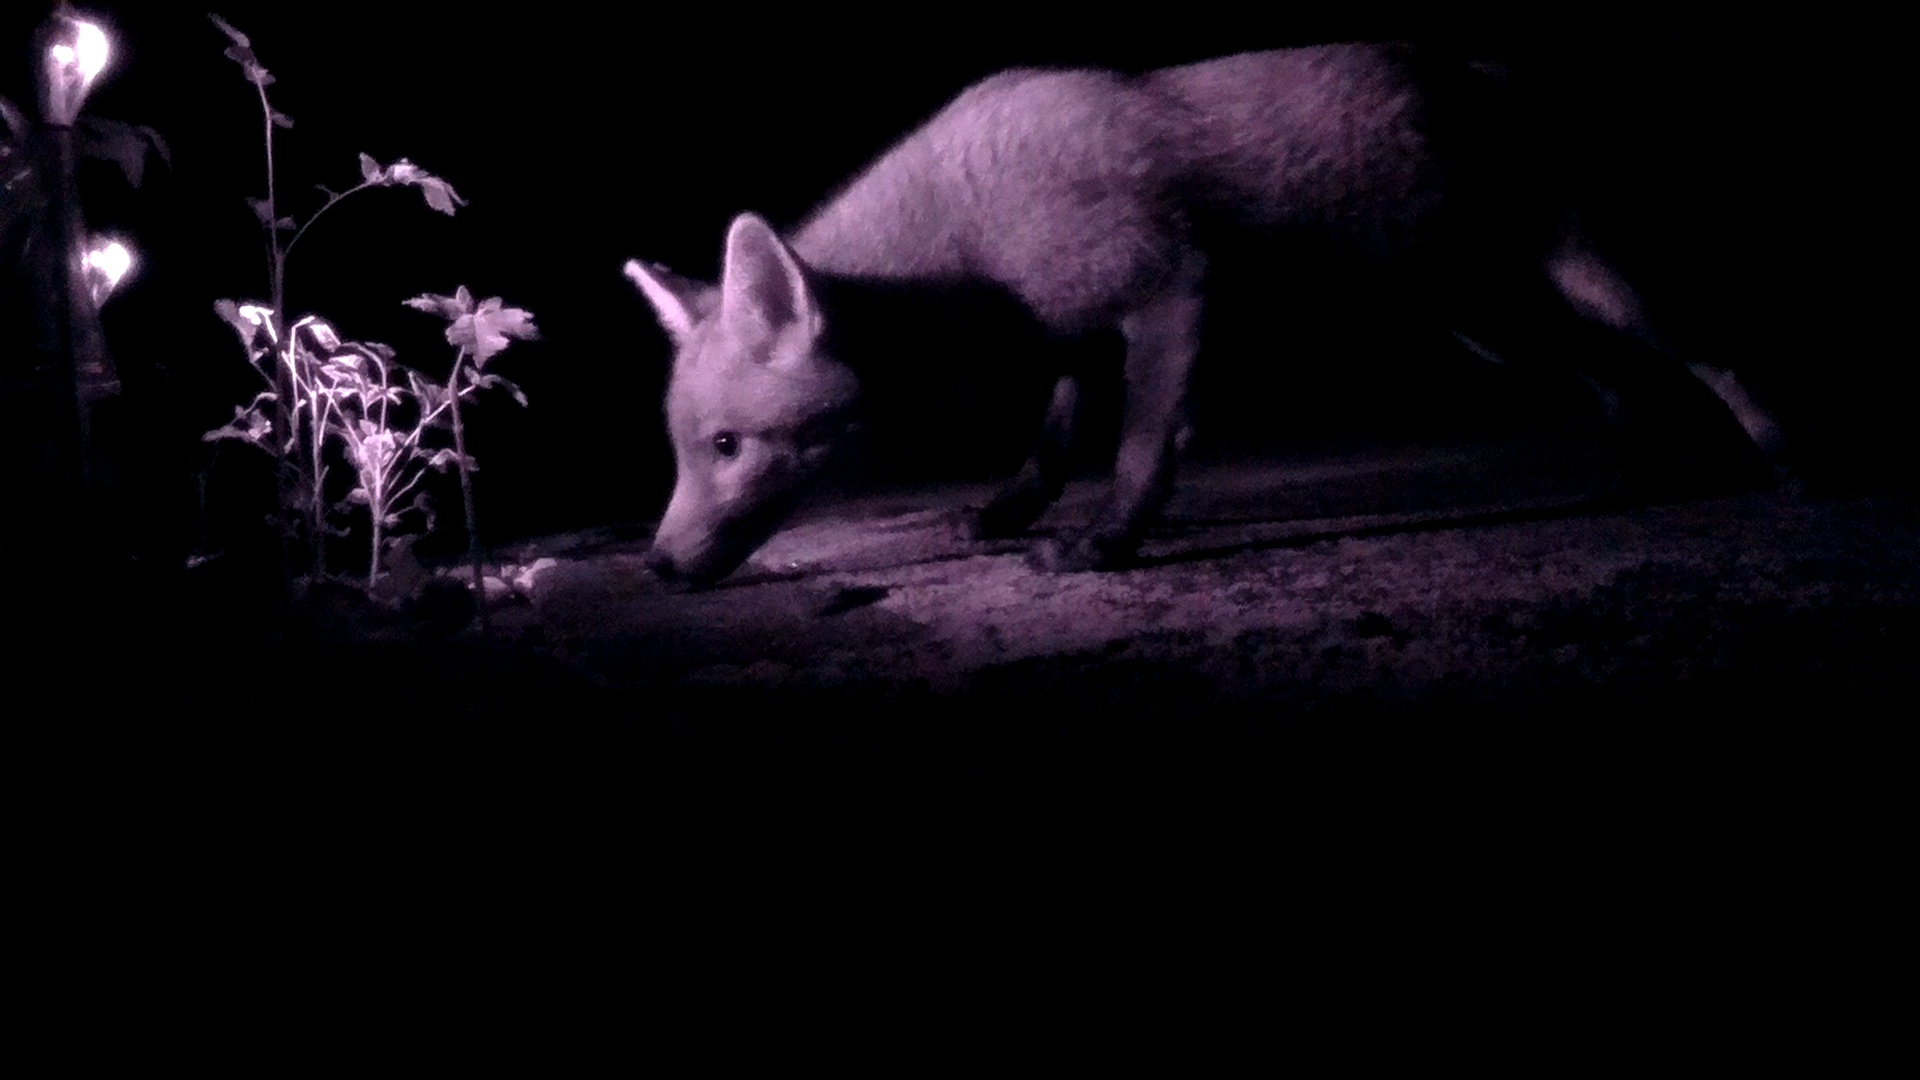
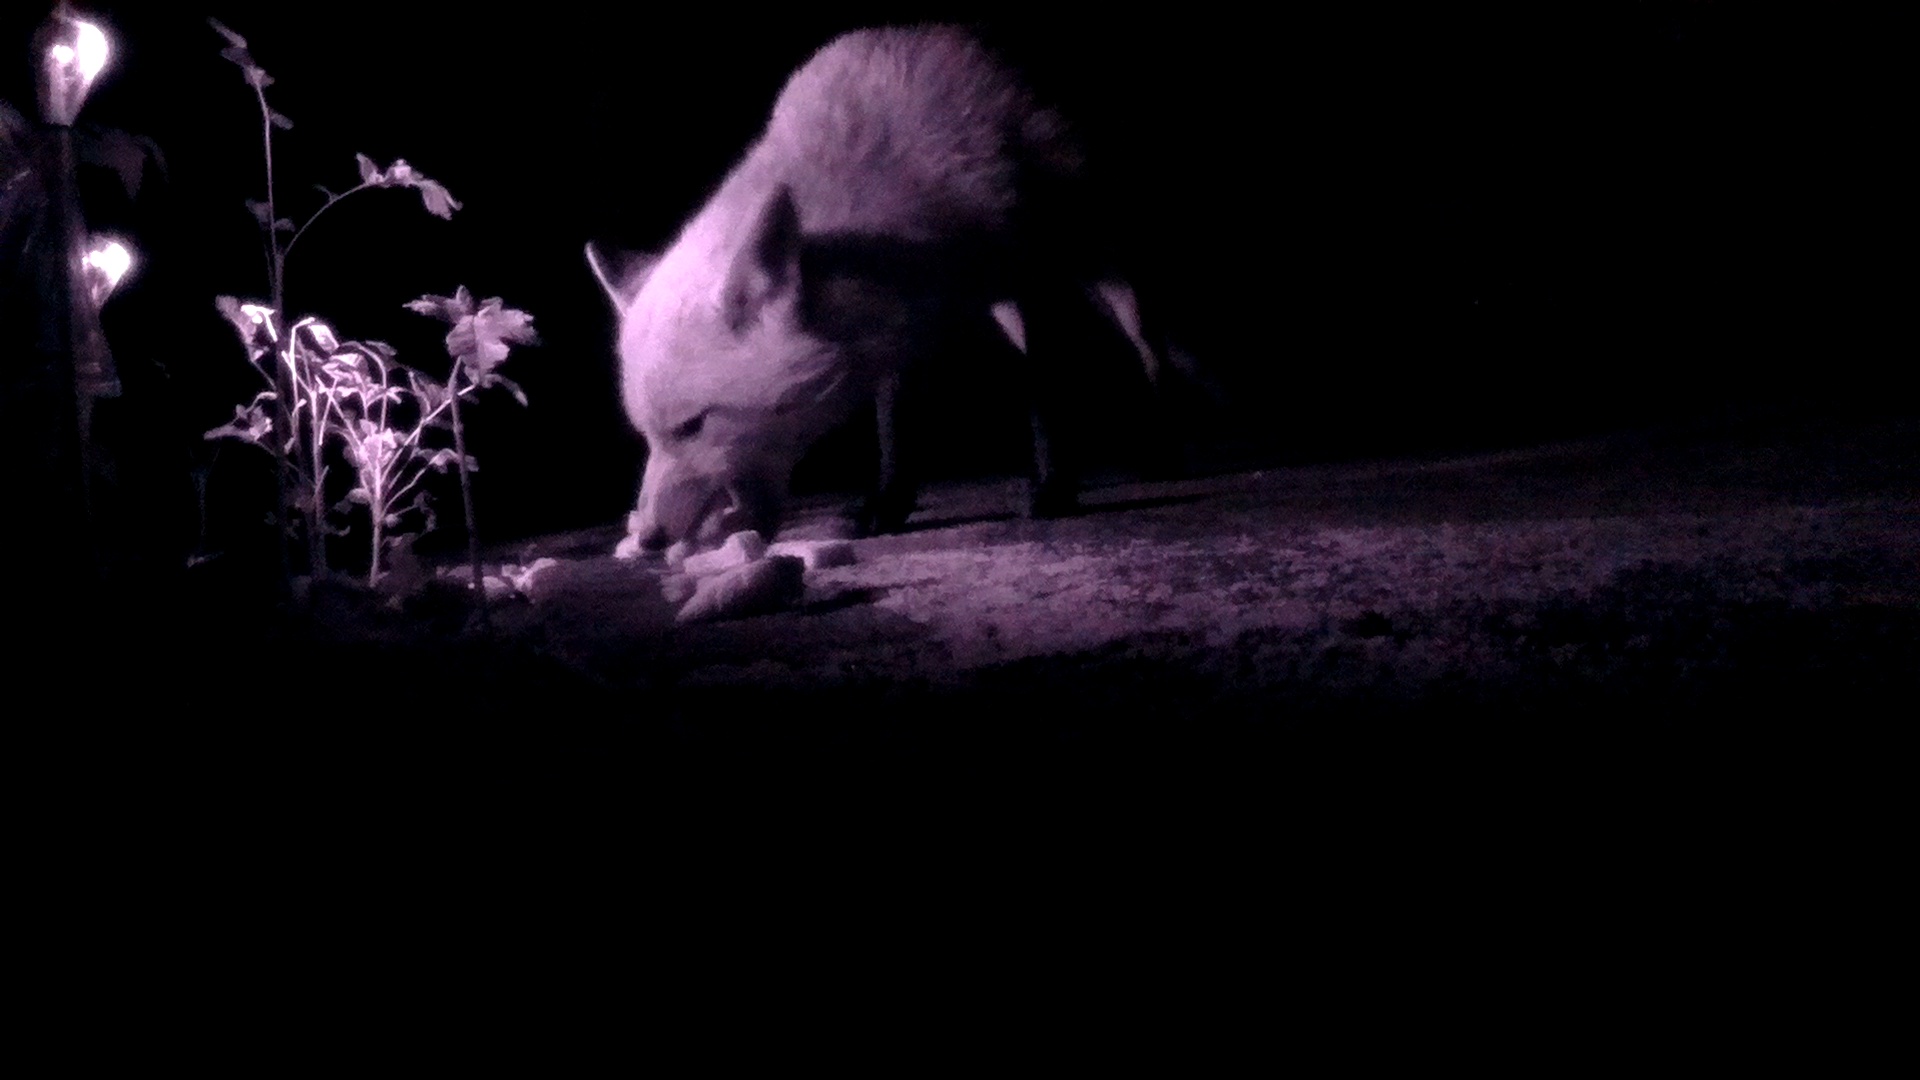
The standard setup of the Raspberry Pi Infrared Camera achieves good functional results at night or in low-light conditions, but with a little time and patience, the infrared LED lights can be separated from the camera and used to light subject more cinematically and remove the night vision red eye effect caused by the light source being next to the camera lens.
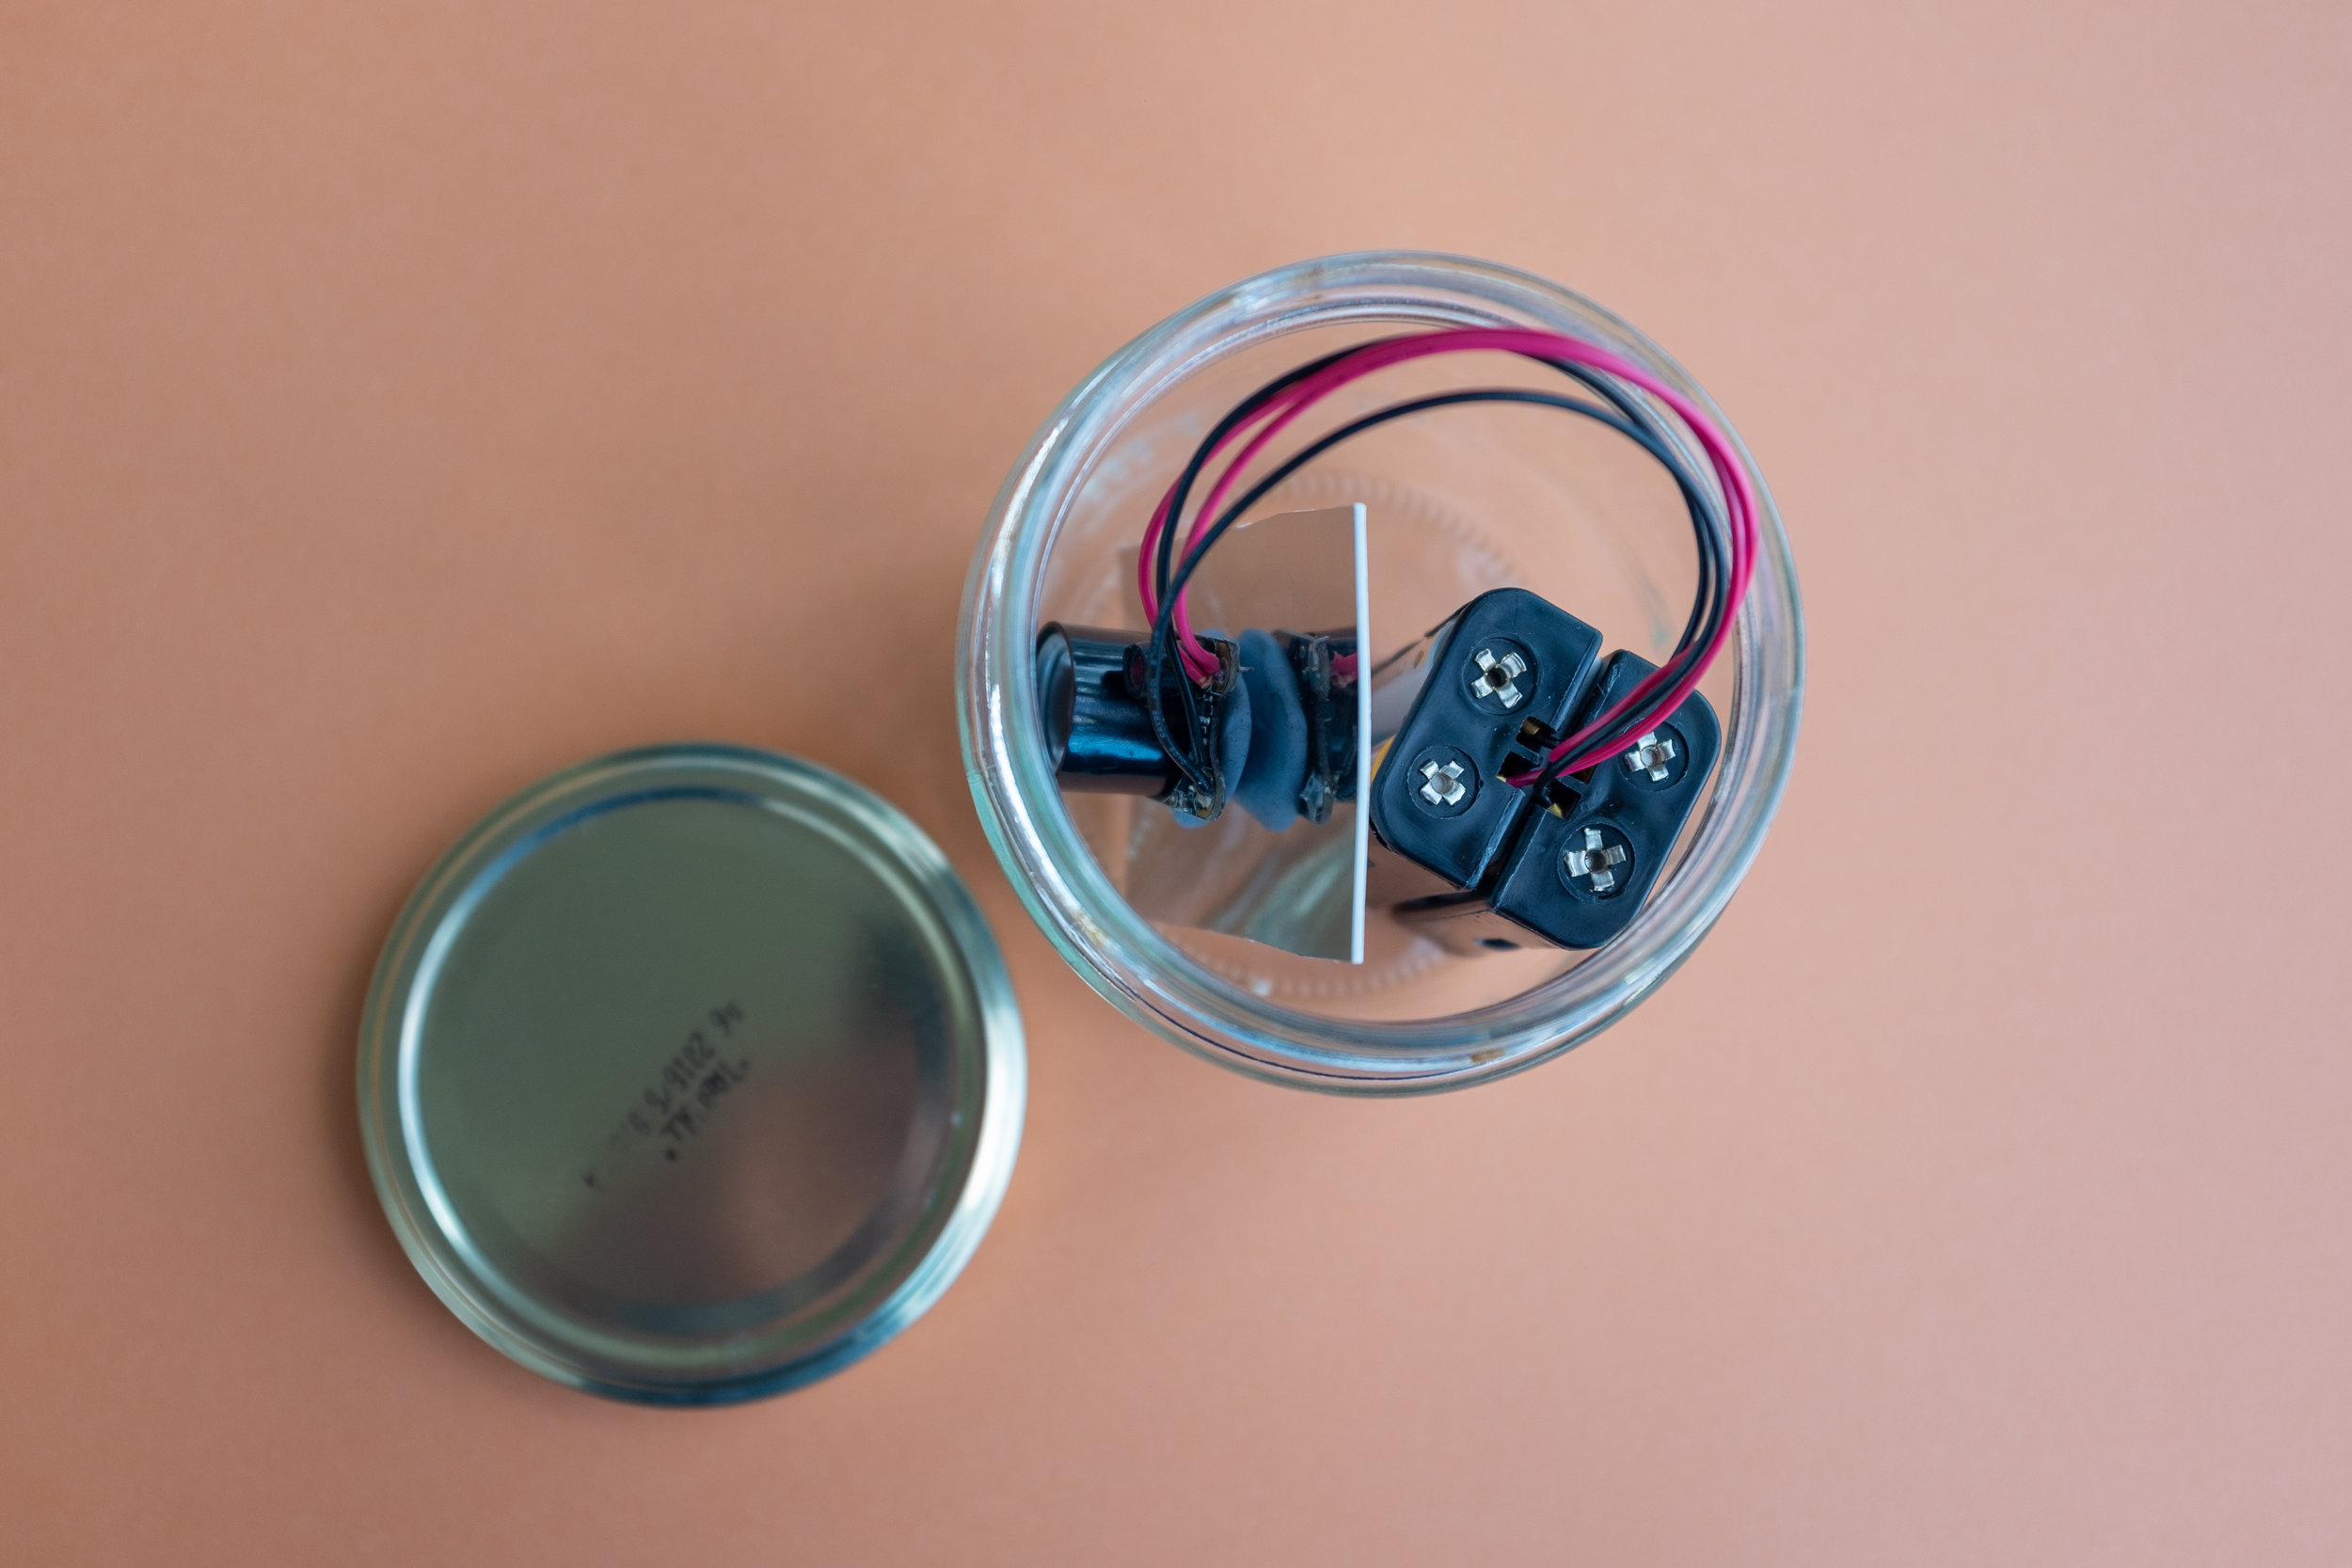
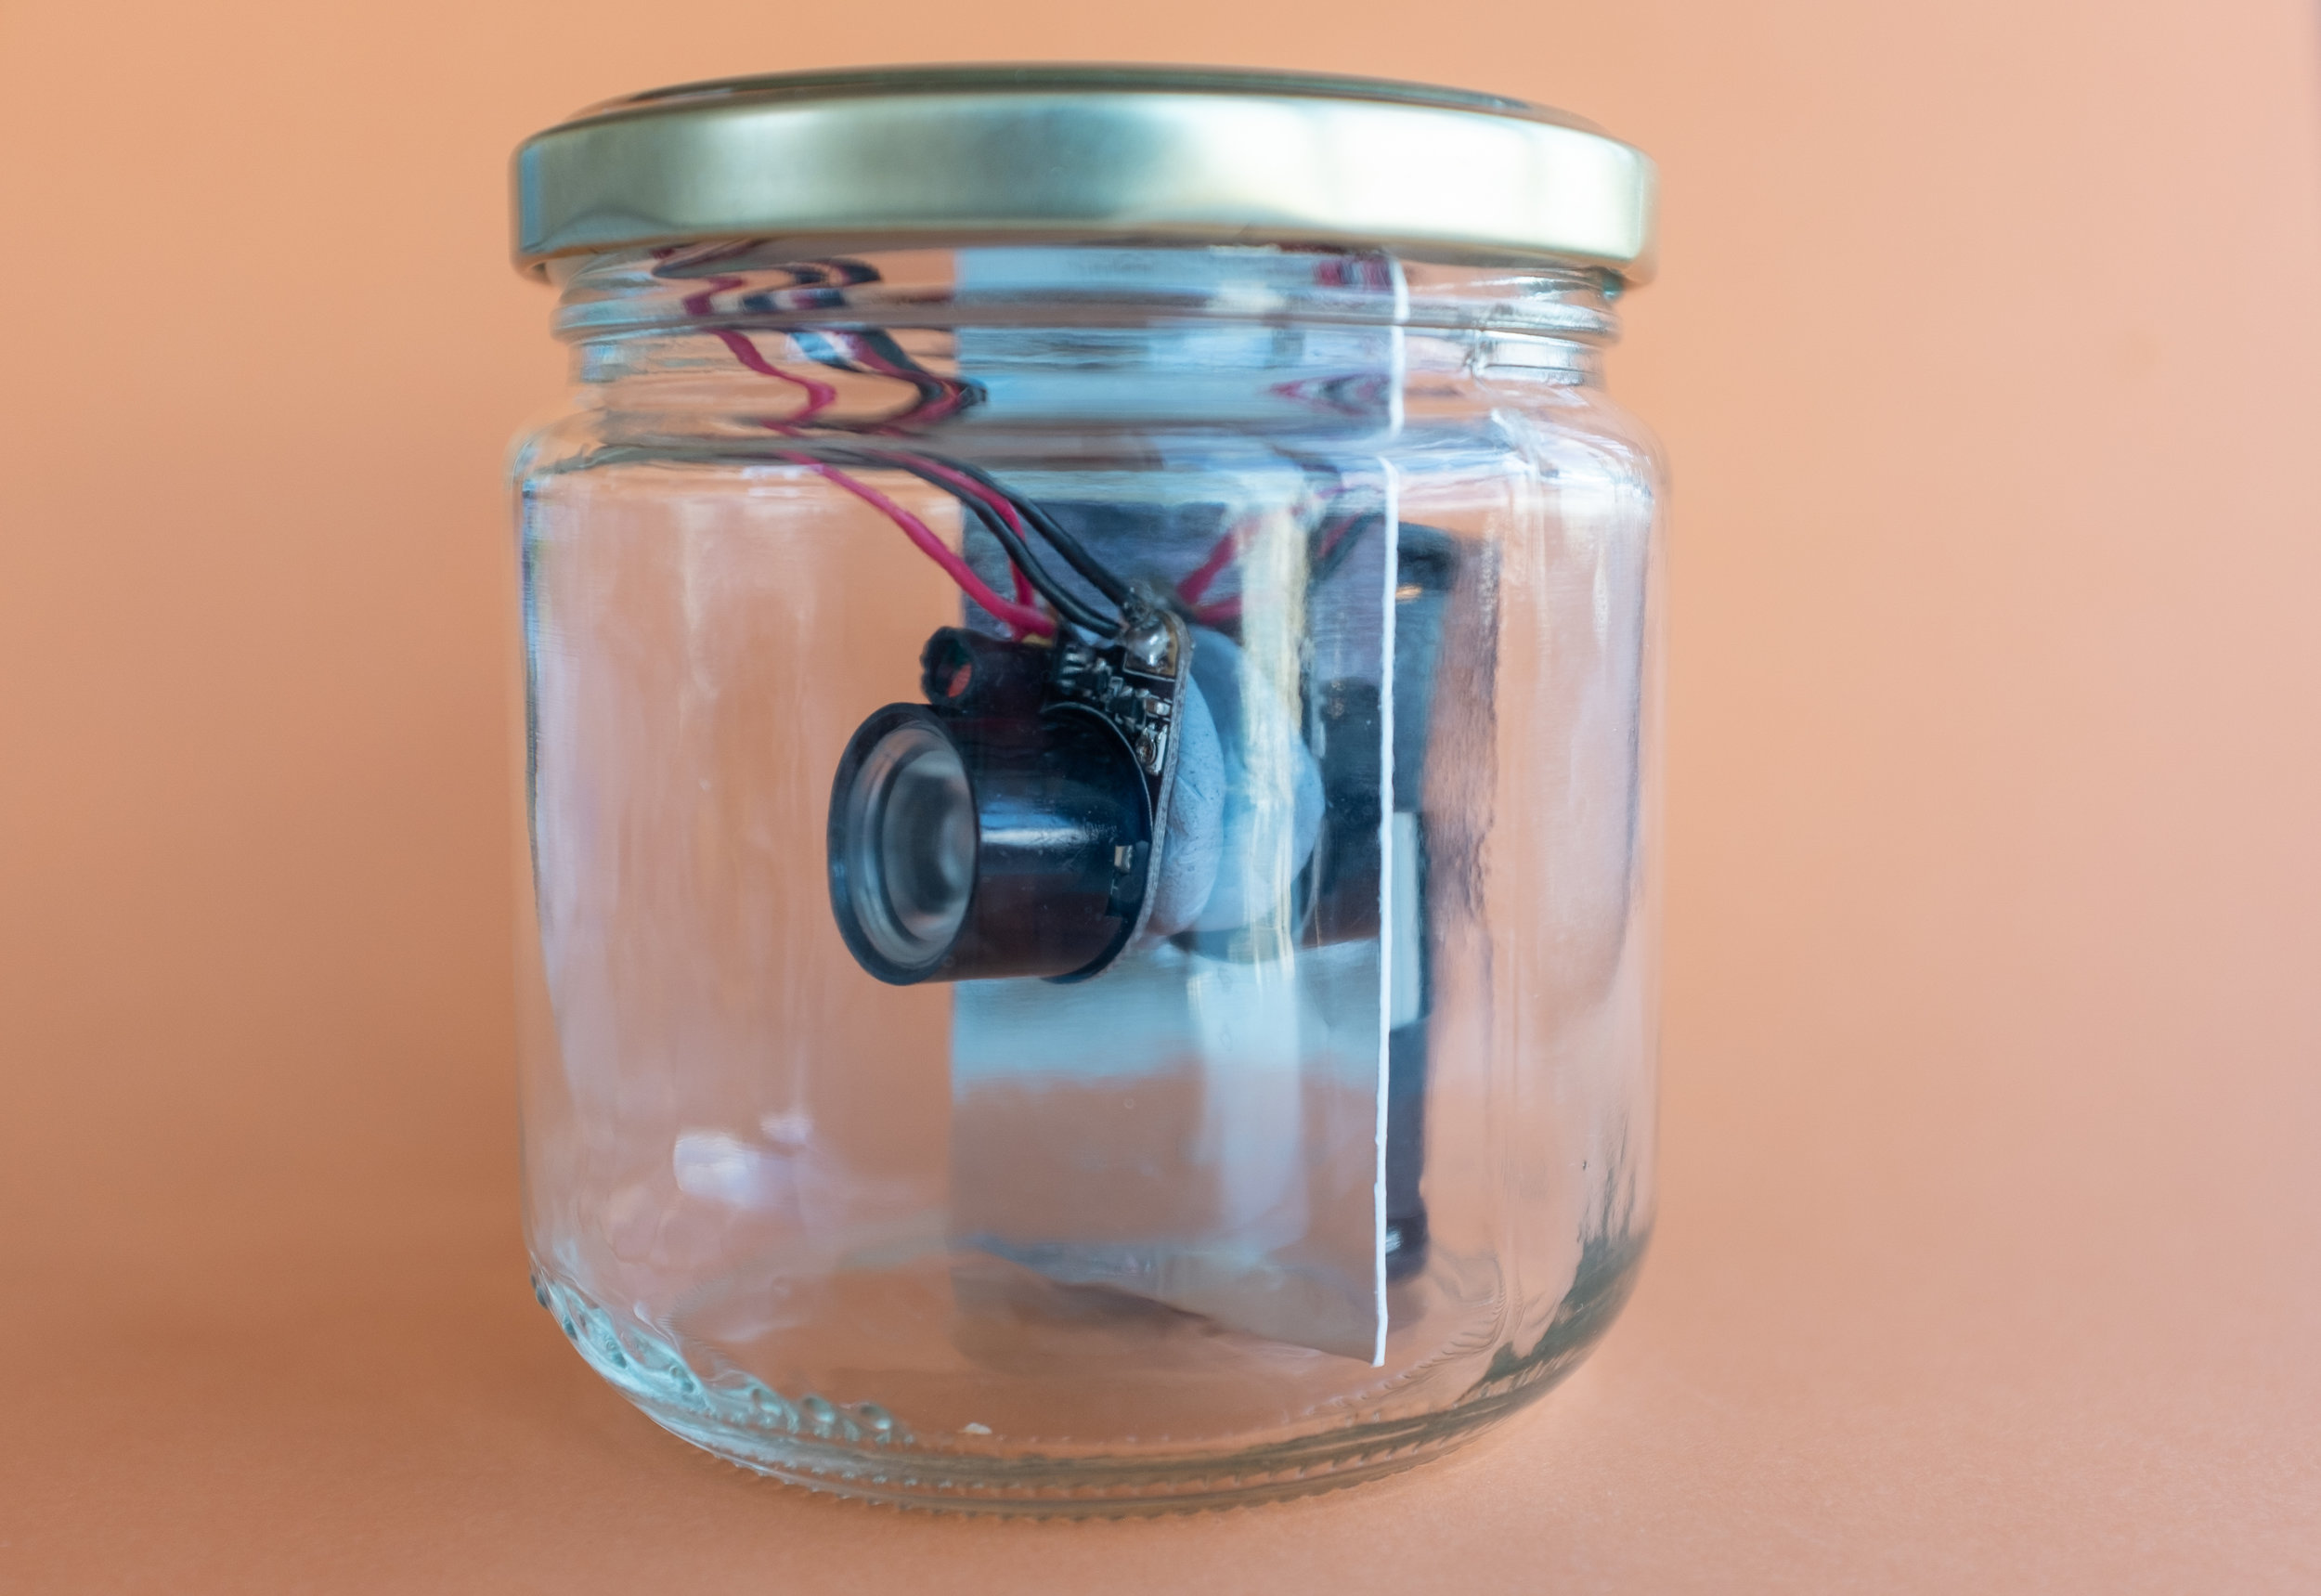
The Raspberry Pi Infrared Camera is a package of three PCB's, bolted together to transmit power from the camera module to the each LED light via exposed copper pads on each board. In most cases, these boards are supplied unattached and have to be assembled by the user. Separating the LED lights is therefore straightforward and there are two basic options to power them as movable lights. First, is to solder extension wires to between the exposed copper pads on the PCB's, which has the advantage of retaining a single power (battery) source for the entire camera setup but causes problems in thinking about how to waterproof the tethered lights. The second option, shown below, separates and powers the LED lights independently using rechargeable AA batteries and housed in jam jars.
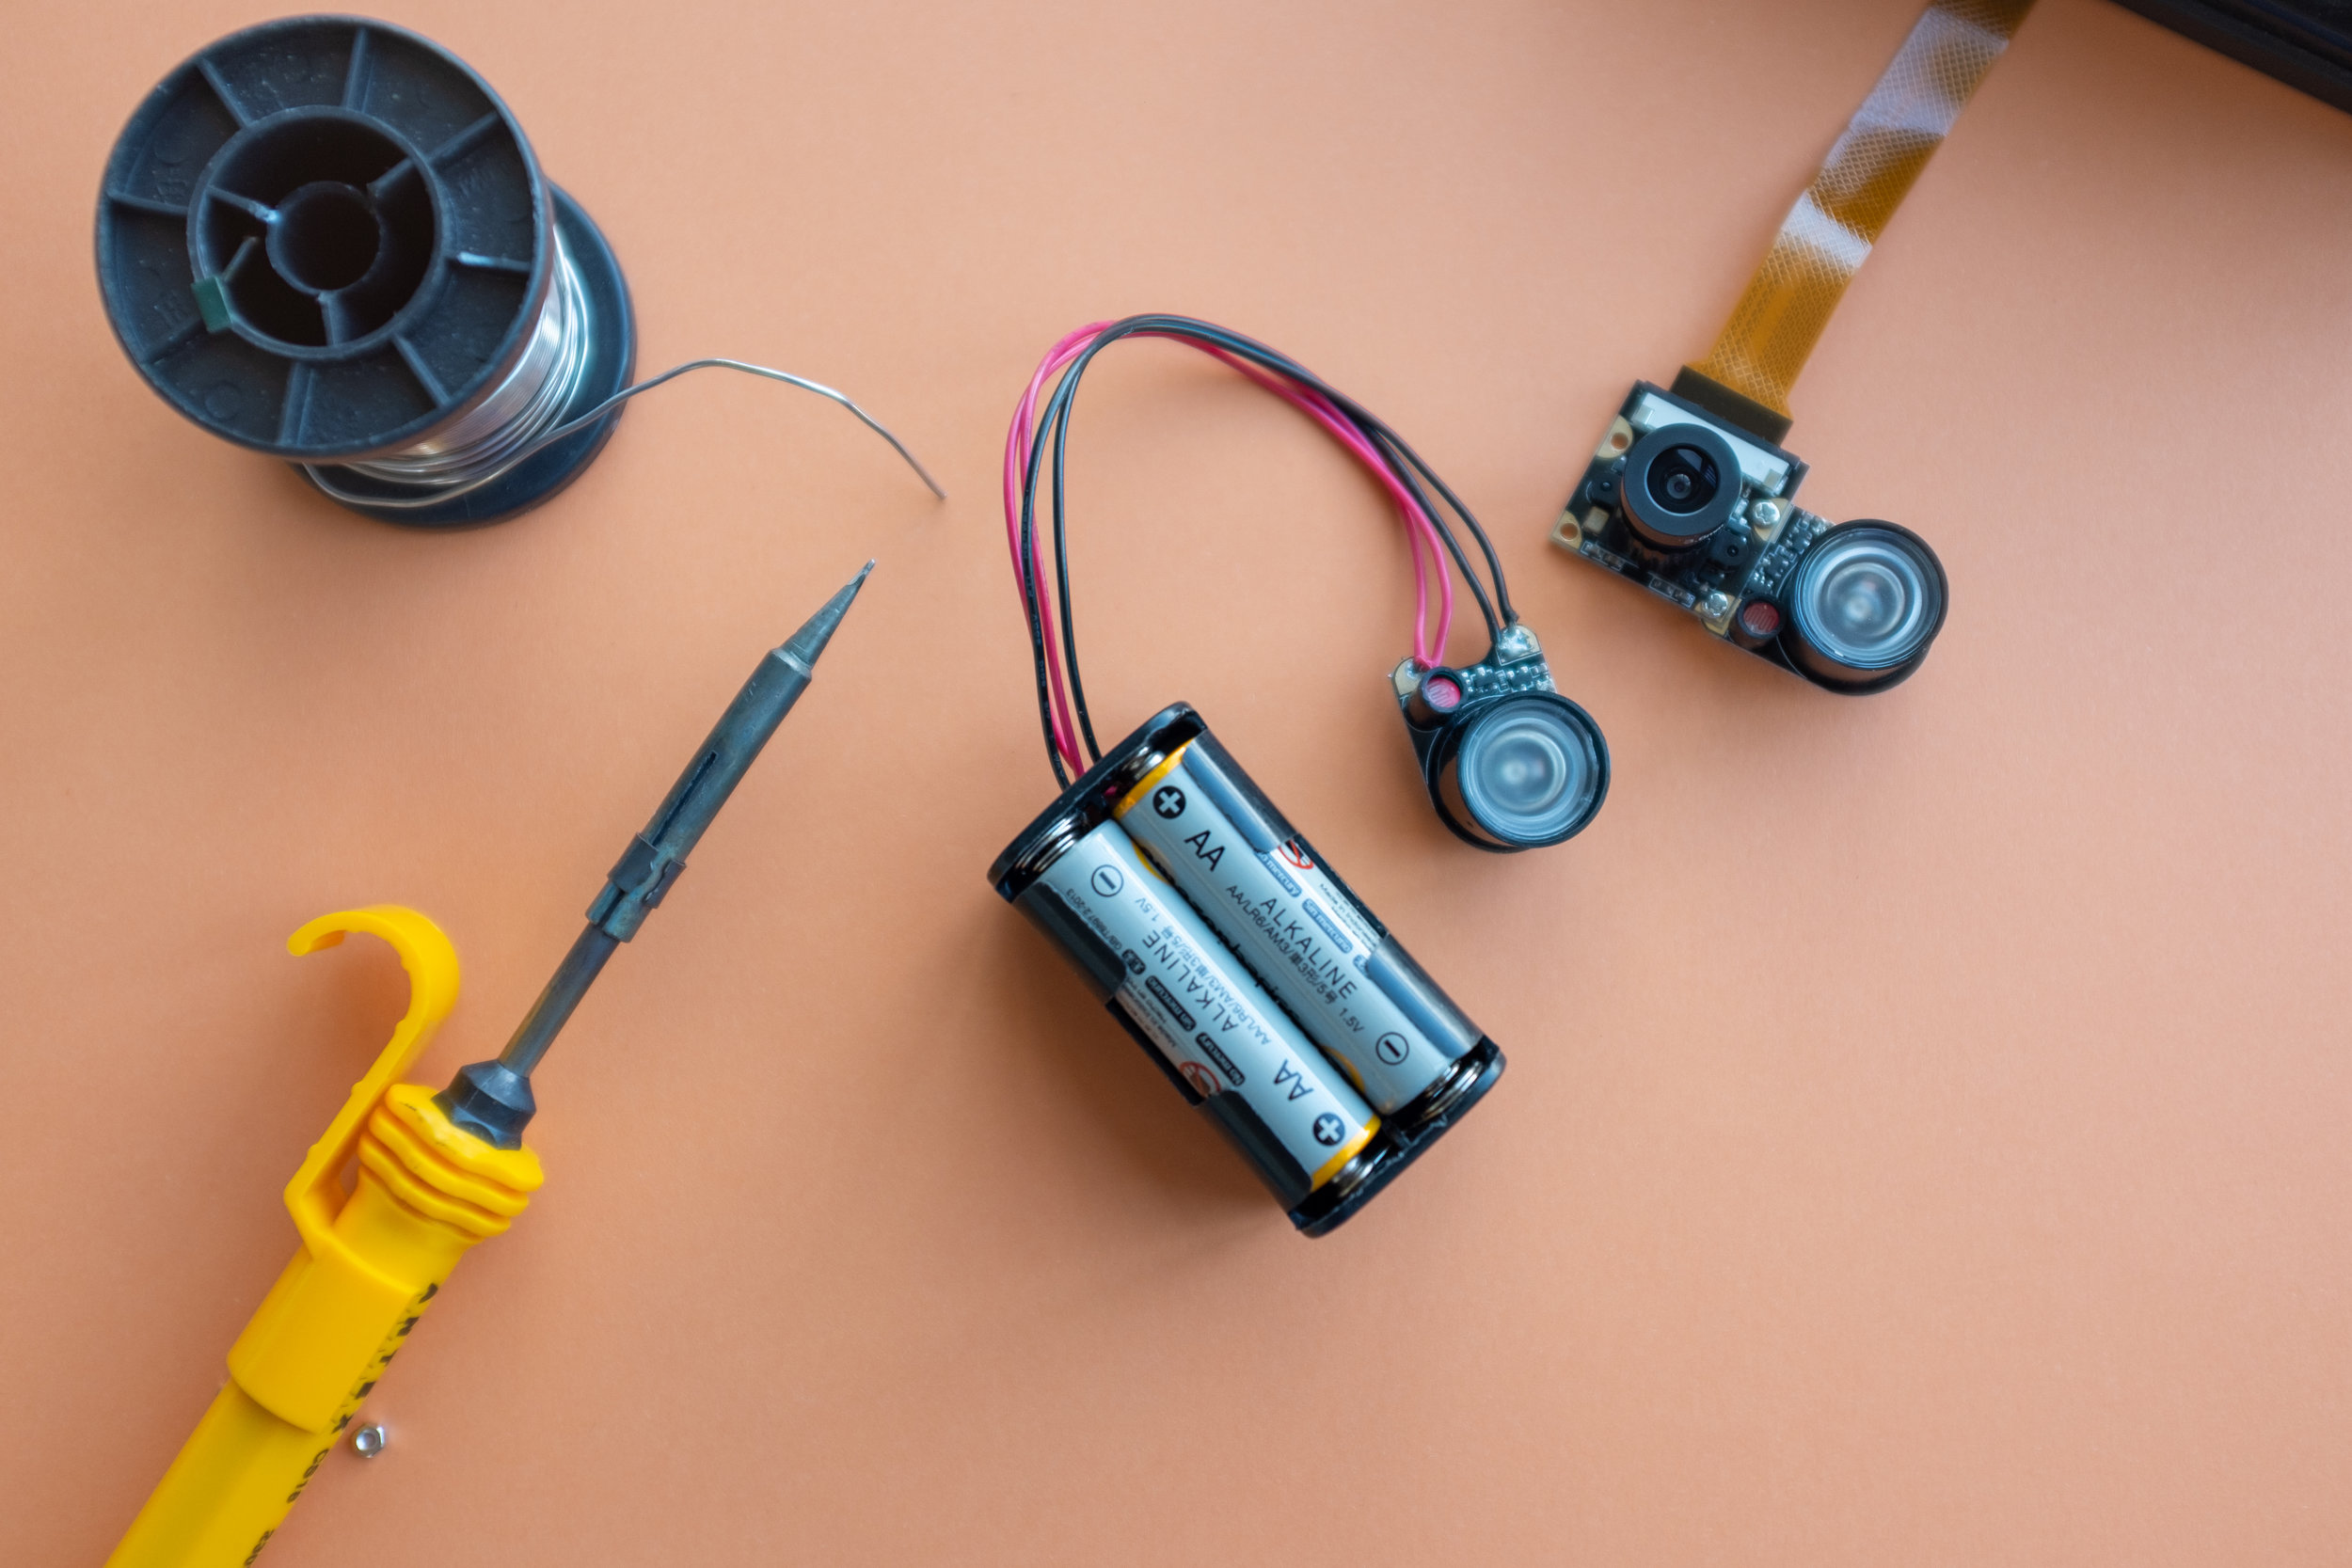
The 3 volt output of two AA batteries connected in series (such as the twin battery holder used below) is perfectly adequate to run the LED light for several hours. For all night use, we found it best to have double this capacity by using two, twin battery holders connected in parallel in order to share the load. Building the external light is reasonable straightforward using basic soldering skills.
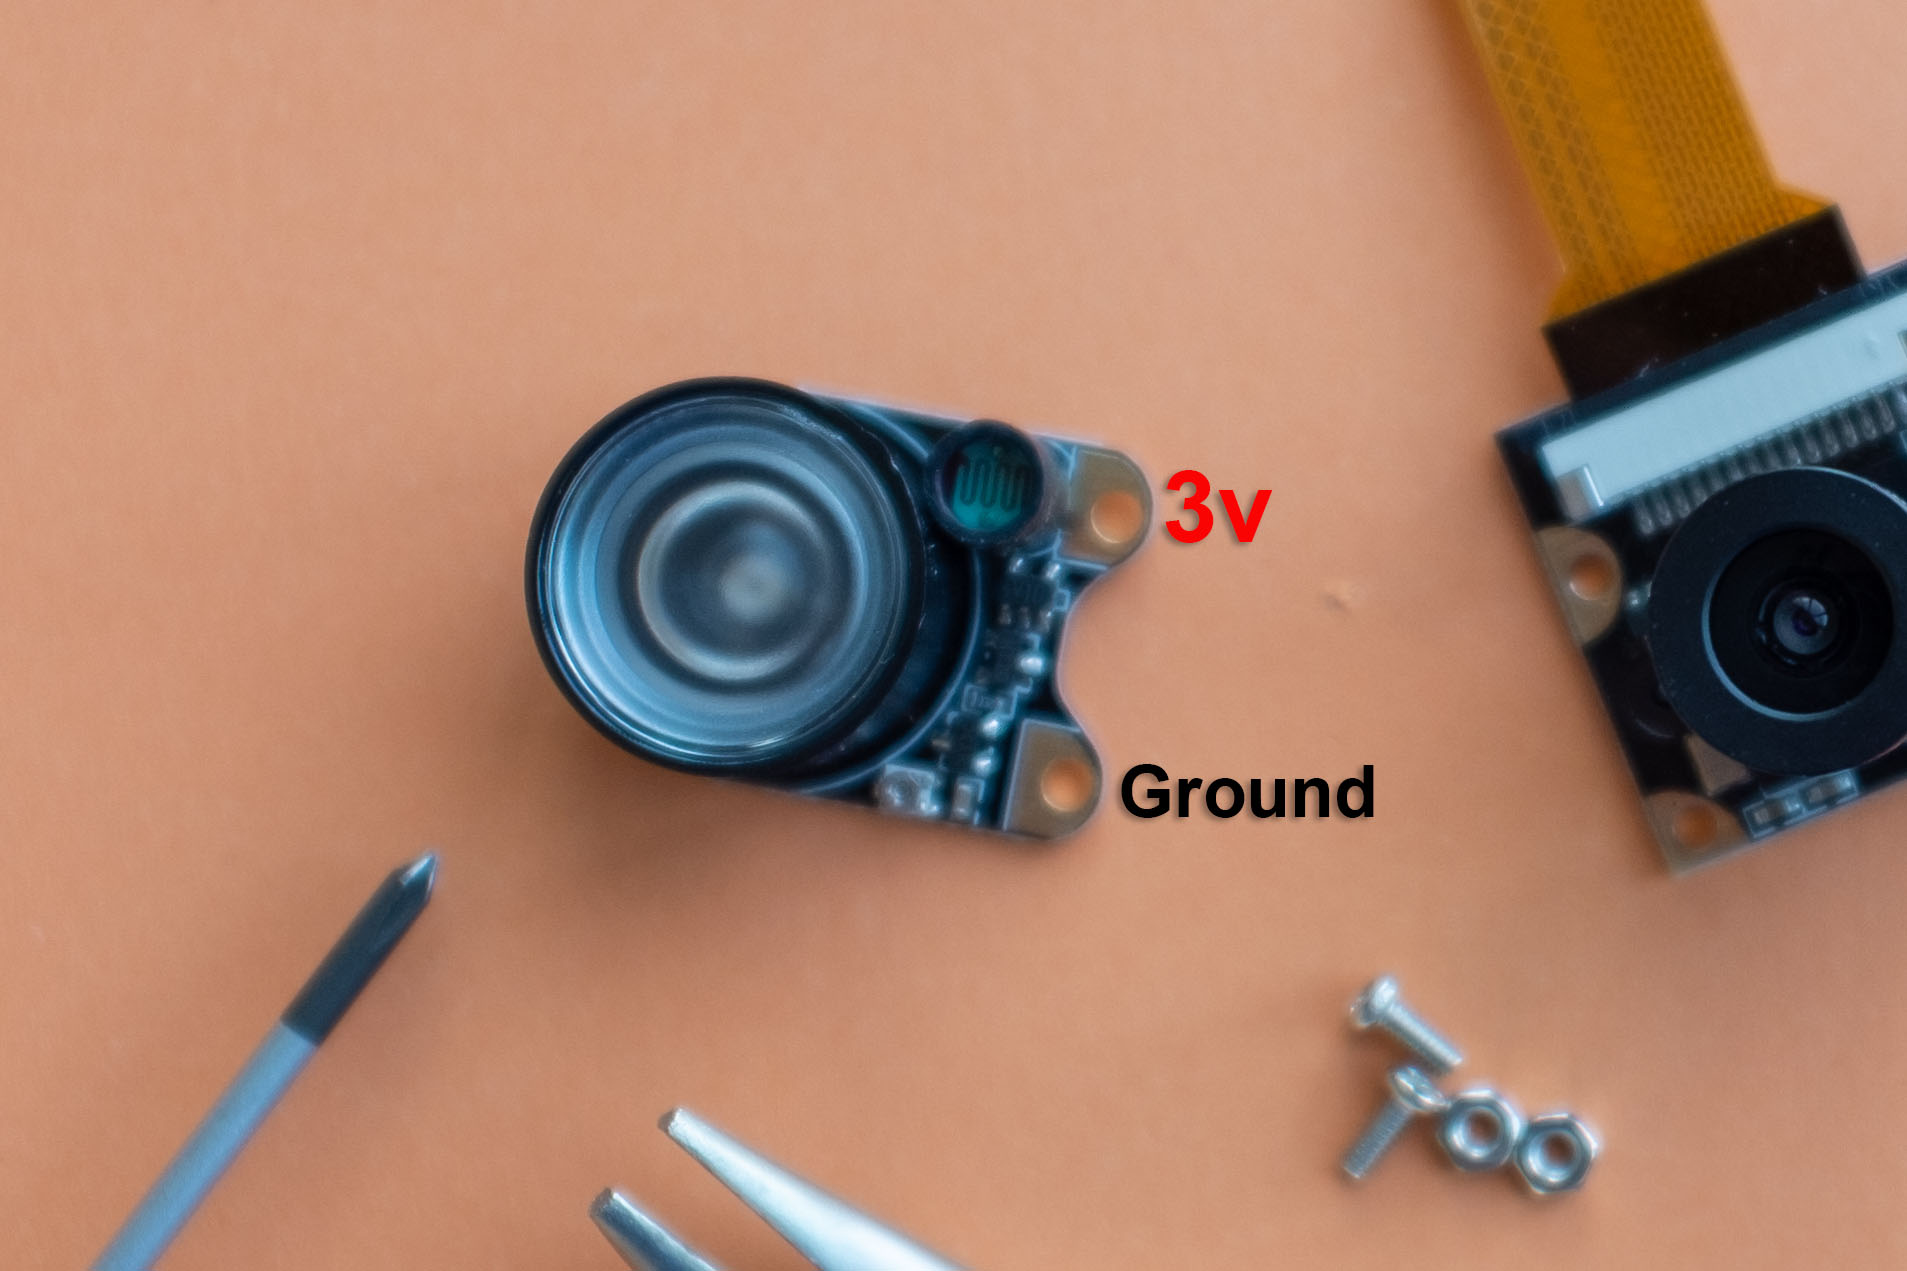
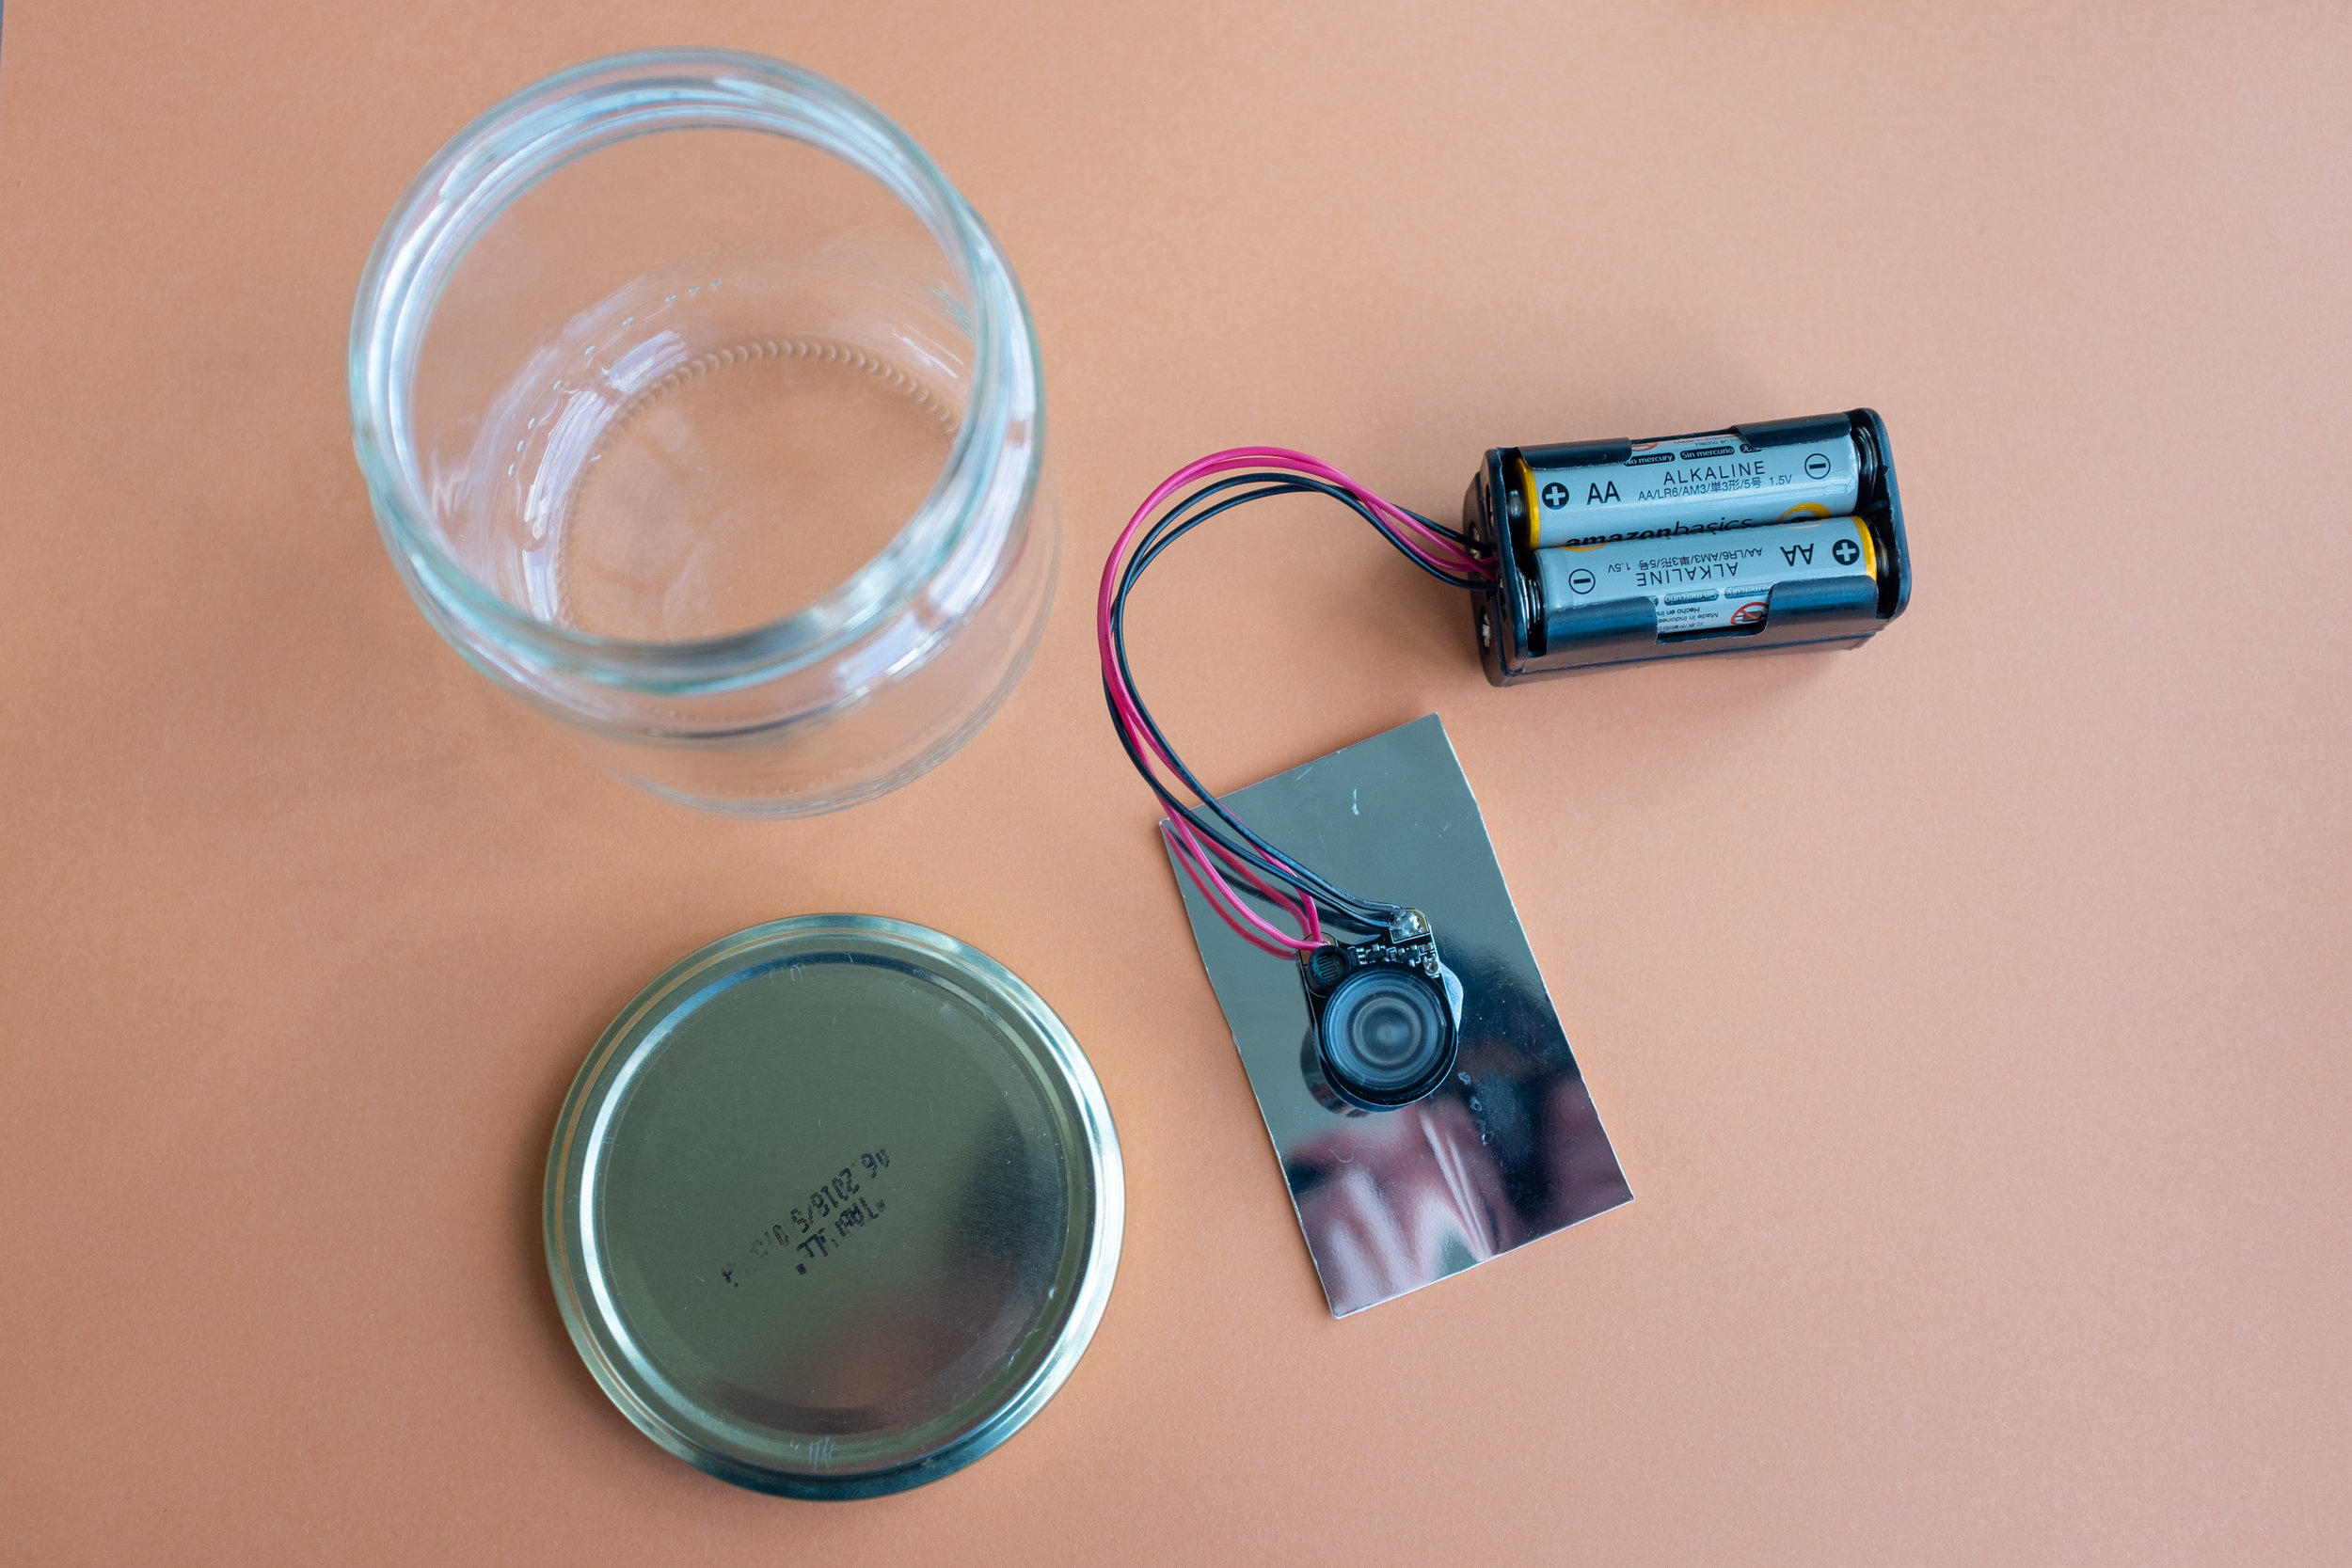
To simplify the process, try to purchase battery holders that have flying leads already attached. Solder the two ground (black) wires to the ground terminal on the LED light. This isn’t marked, but is on the left, if the board is orientated with the terminals on the bottom and the LED light at the top, facing you. Solder the 3v (red) wired to the other terminal. We found it helpful to add a piece of mirrored card behind the LED to help focus the light, but this isn’t necessary. The battery packs and LED then can be mounted in any suitably sized, clear, jam jar.
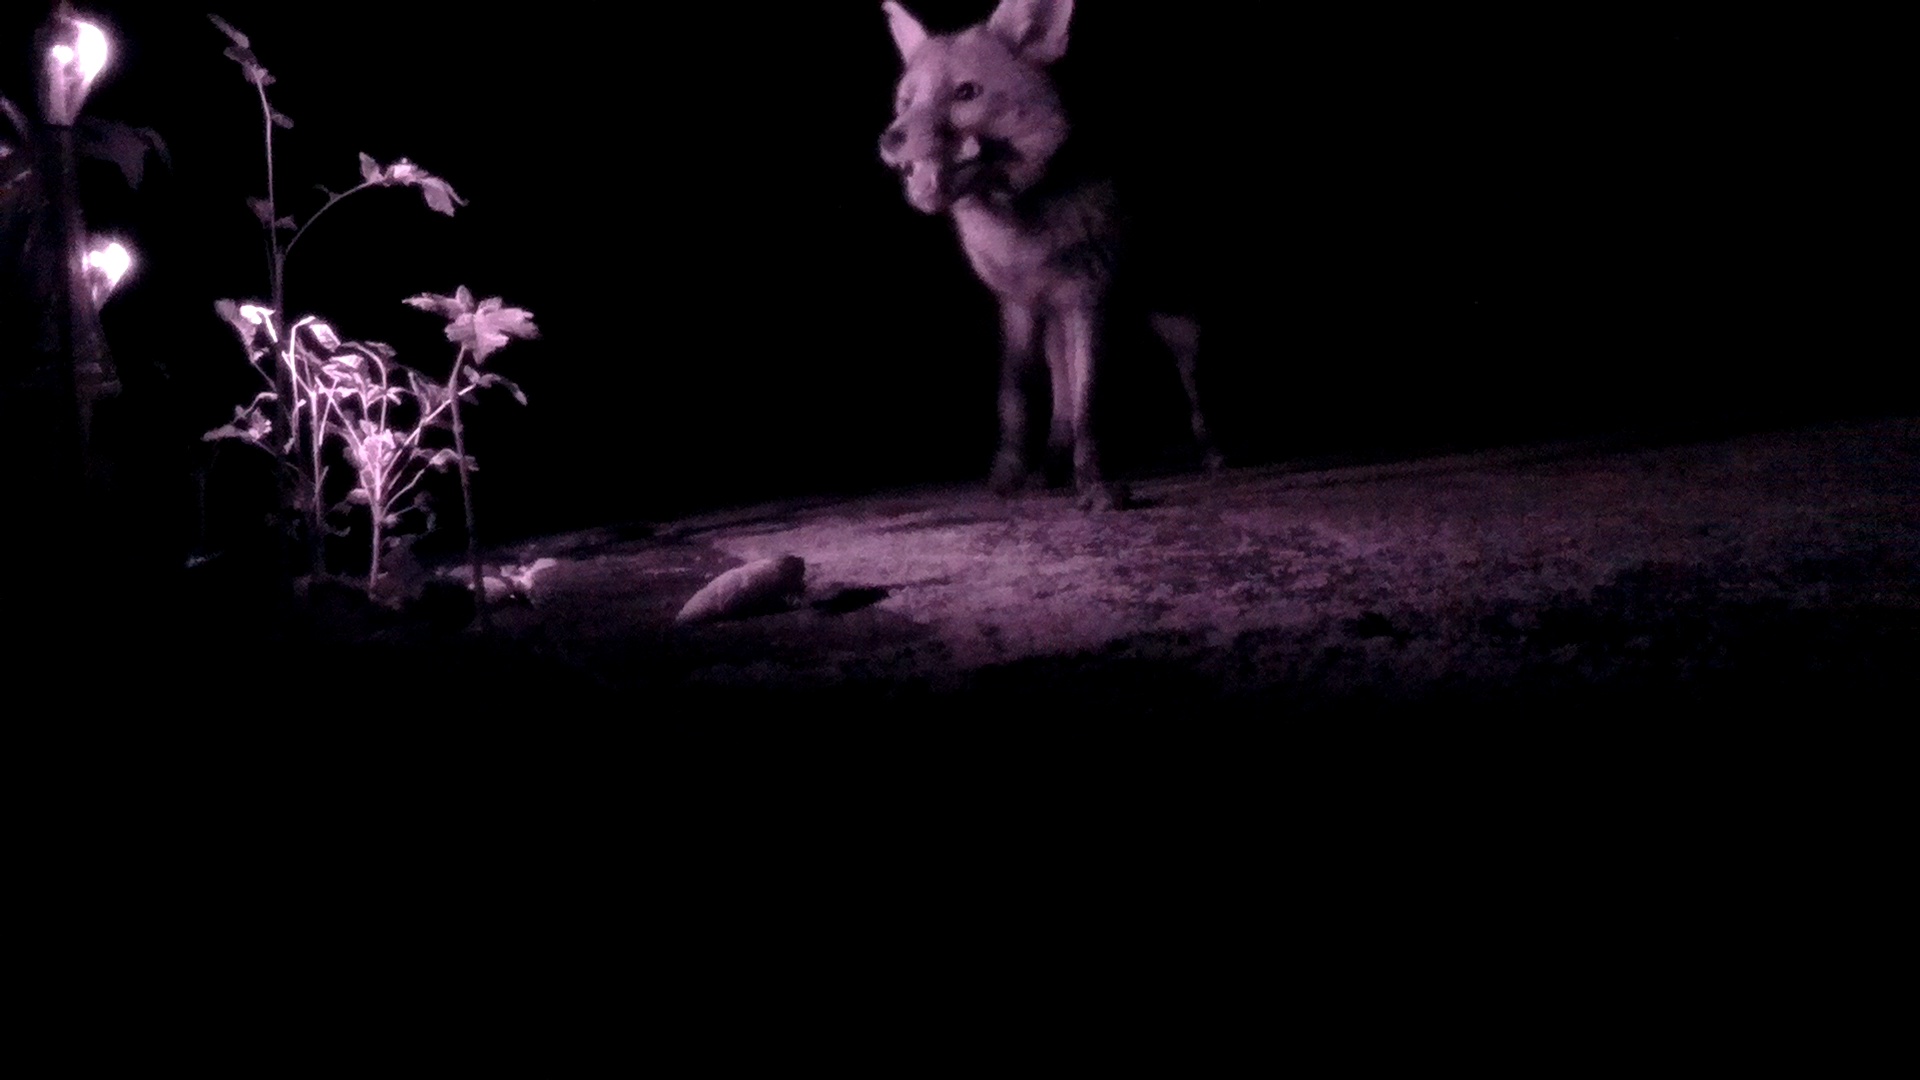
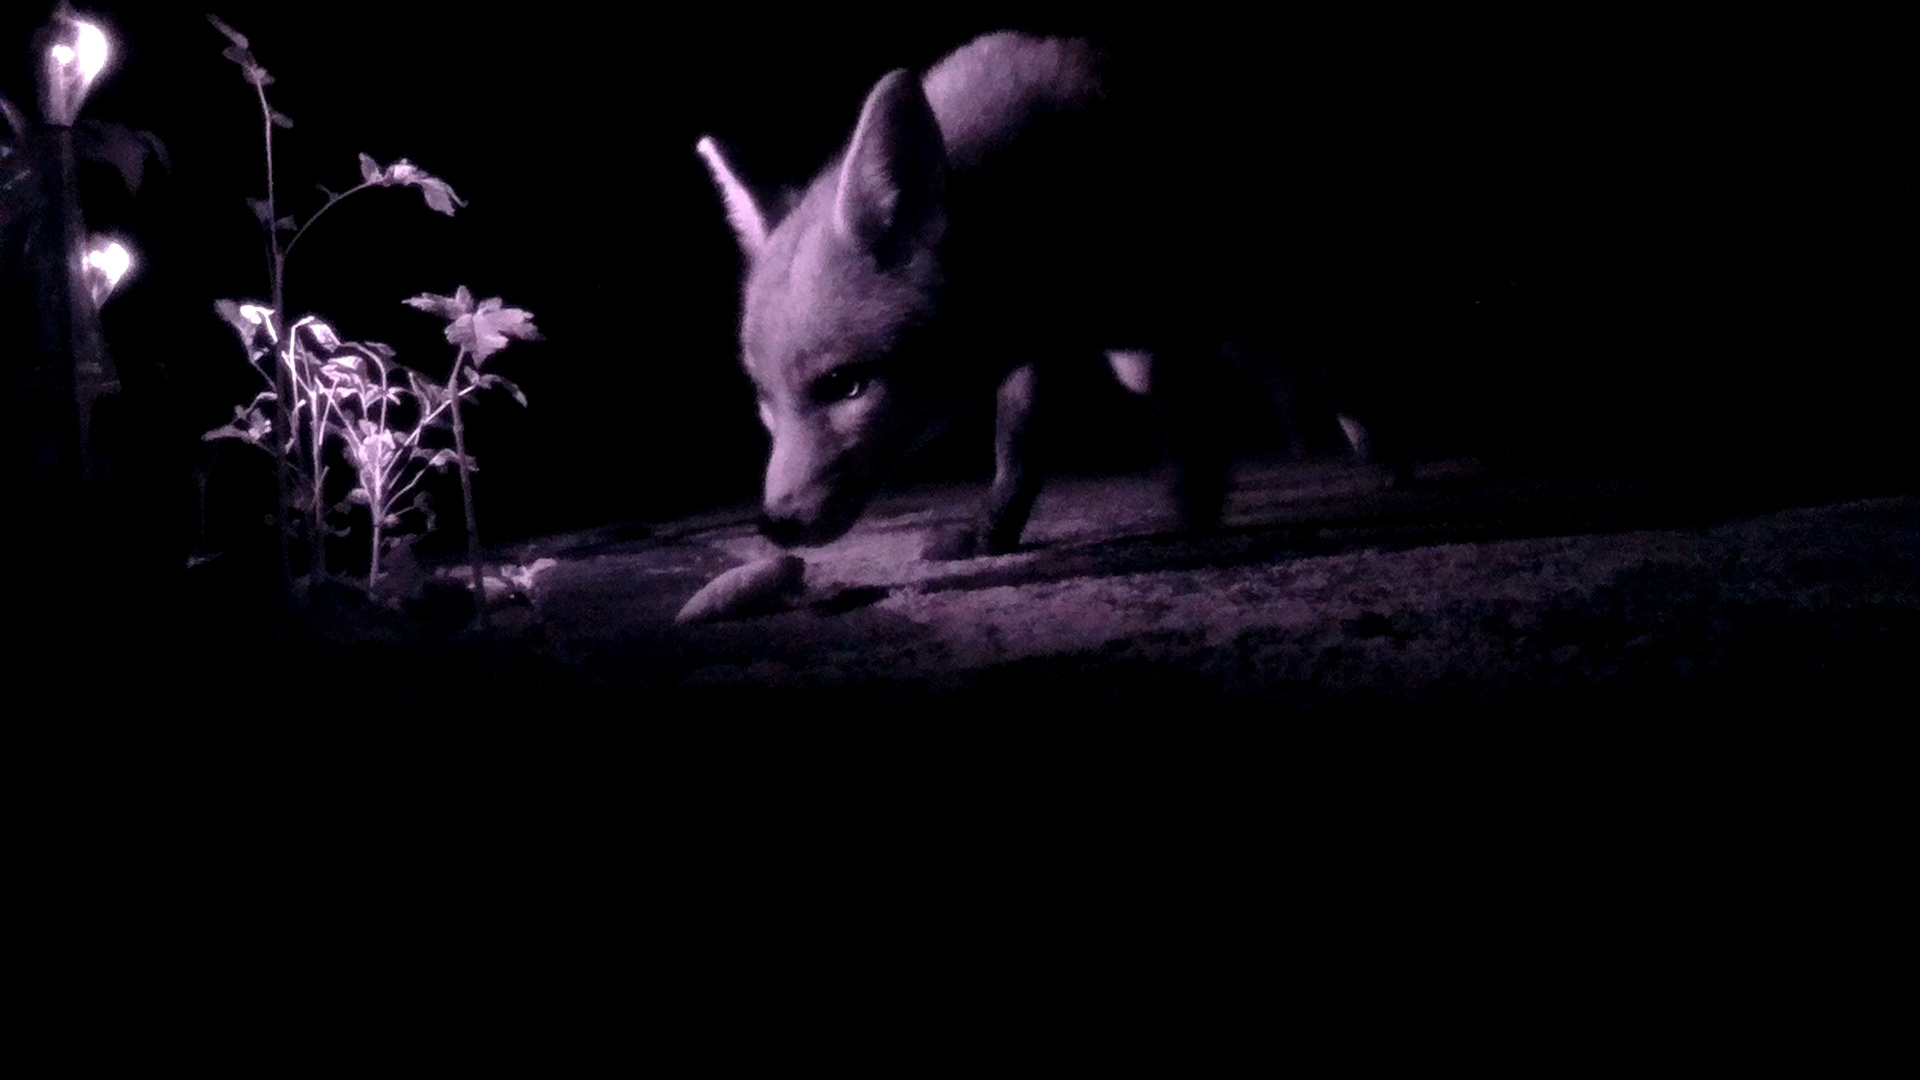
Experiment with lighting position, to the side of the subject looks good (as with the images of the fox below) but there are many combinations. Also try adding other infrared light sources, old TV remote controls are a great source of redundant infrared LED’s.
If you have any hints, tips or stories that you would like to share with the My Naturewatch community through this blog, please email: interaction@gold.ac.uk

